Close your eyes and run your fingertips over that cracked mahogany surface; do you feel the history or just the heartbreak? Restoring Heirloom Furniture is not about erasing the past but rather about negotiating with it using physics as your primary language. When you touch a piece that has survived a century, you are feeling the tensile strength of old-growth timber and the slow degradation of animal-based proteins in the glue. It is a tactile conversation between your warm palms and the cold, porous grain of the wood. The goal is a sympathetic repair, which means we are not aiming for a factory-fresh plastic finish. We want to preserve the patina while reinforcing the structural integrity. You can smell the oxidized linseed oil and the faint, sweet scent of cedar as soon as you open the joints. It is intoxicating. We are looking for that perfect balance where the repair is invisible to the casual eye but structurally sound enough to last another four generations. Grab your apron; we are about to dive into the molecular level of wood fibers and chemical bonds.
THE STUDIO KIT
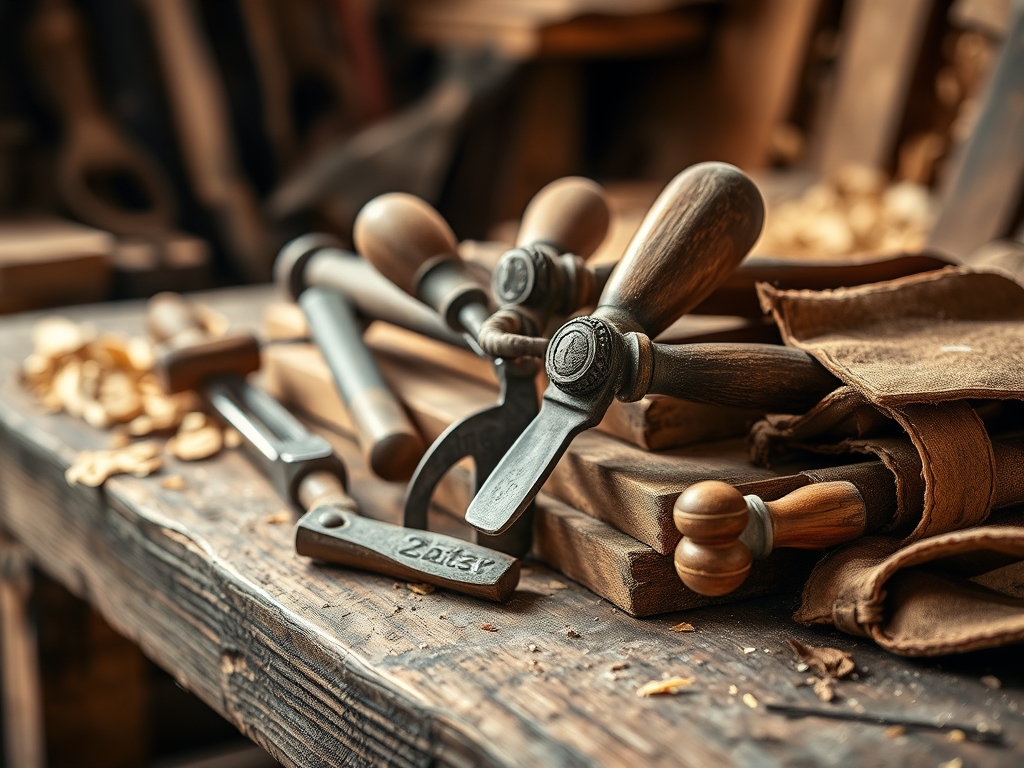
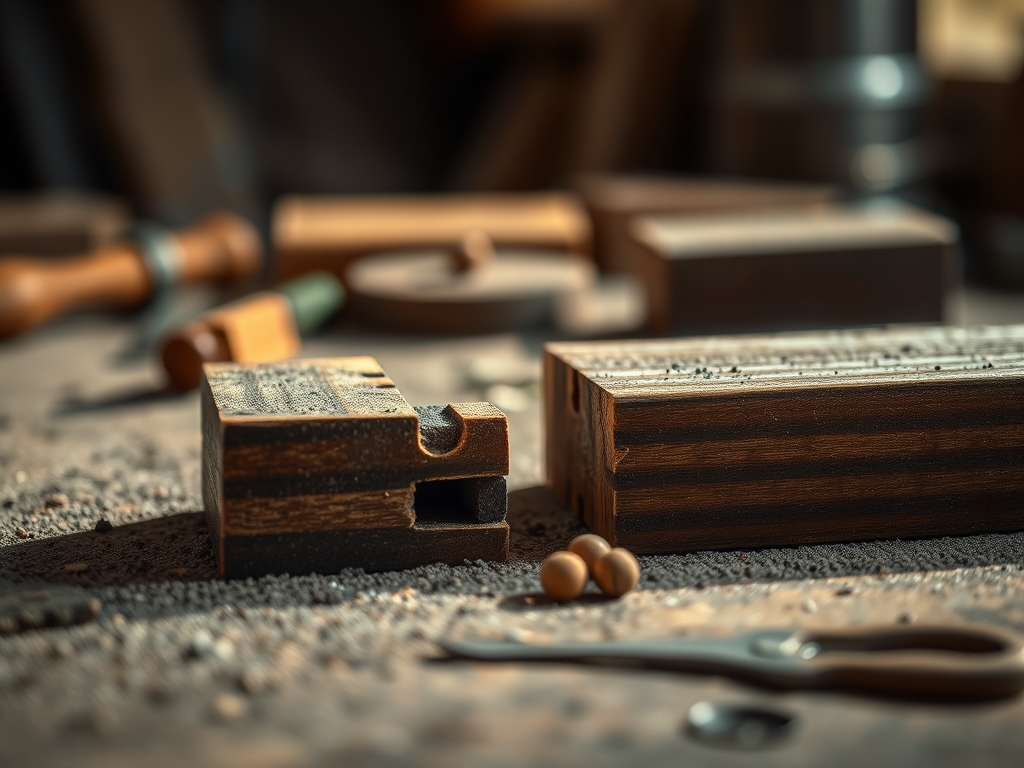
Our toolkit for this transformation is a mix of high-precision instruments and traditional materials. First, you need a set of digital calipers to measure the exact thickness of replacement veneers down to the hundredth of a millimeter. For cleaning out tight mortise joints, an awl and a sharp marking knife are non-negotiable. We use hide glue specifically because it is reversible and has a high viscosity that allows for a long open time. You will also need a bone folder for smoothing down delicate veneer patches and a jeweler's saw for intricate fretwork repairs.
Material Substitutions: If you cannot source period-accurate white oak, look for recycled heart pine with a similar ring density. Instead of synthetic wood fillers, which lack the hygroscopic properties of real wood, mix fine sanding dust from the piece itself with a drop of shellac to create a perfectly matched paste. This ensures the patch expands and contracts at the same rate as the surrounding material.
THE TEMPO
The "Maker's Rhythm" is a slow, deliberate dance. You cannot rush the desiccation of wood or the curing of traditional finishes. Phase one is the Diagnostic Assessment, which takes about two hours of poking, prodding, and measuring. Phase two is Deconstruction, which can take anywhere from four to eight hours depending on how stubborn the old adhesives are. The Structural Reconstruction phase is the longest, often spanning three days to allow for proper clamping and glue setting. Finally, the Surface Refinement and finishing take another two days of layering and buffing. Total time? Budget at least a full week. Remember, wood is a living material; it moves, it breathes, and it demands your patience.
THE CORE METHOD
1. The Surgical Cleanse
Before you apply a single drop of new adhesive, you must remove the crystallized remains of the old glue. Use a distilled water solution on a cotton swab to gently soften the proteins. This process relies on capillary action to draw the moisture into the old bond without saturating the surrounding fibers.
Mastery Tip: Always check the pH of your cleaning agents. Antique finishes are often acidic; using an alkaline cleaner can cause a chemical reaction that permanently darkens the wood tannins through a process called oxidative staining.
2. Fiber Alignment and Realignment
If the wood is warped, we use a technique called moisture-gradient clamping. By applying a damp cloth to the concave side and heat to the convex side, we force the cells to expand and contract. We use a moisture meter to ensure the internal humidity of the wood stays between six and eight percent.
Mastery Tip: This works because of hygroscopic expansion. Wood cells are like tiny straws; when they absorb water, the cell walls thicken, causing the entire board to move. Controlling this movement is the key to a flat surface.
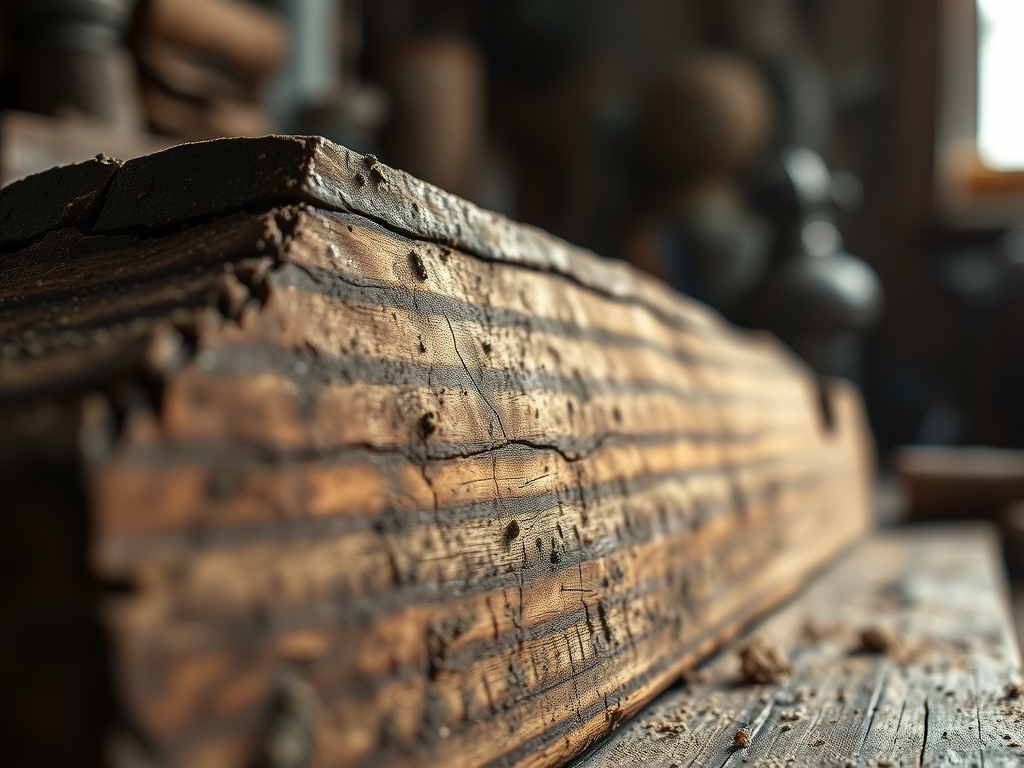
3. The Invisible Patch
When a piece of veneer is missing, we use a marking gauge to scribe a precise geometric shape around the void. We then cut a matching piece of "donor" wood, ensuring the grain direction and fiber density match perfectly. This creates a seamless transition that disappears under a finish.
Mastery Tip: To achieve a perfect fit, slightly undercut the edges of your patch at a five-degree angle. This creates a "wedge" effect that uses mechanical friction to lock the piece in place, reducing the reliance on the glue line.
4. Finishing with Shellac
We apply shellac in thin, multiple layers using a French polishing technique. This involves a "rubber" made of wool and linen. The alcohol in the shellac acts as a solvent that melts into the previous layer, creating a single, continuous film.
Mastery Tip: The science here is evaporative cooling and polymerization. As the alcohol evaporates, the lac flakes harden. The friction from your hand generates heat, which helps the resins flow into the microscopic pores of the wood.
THE TECHNICAL LEDGER
Maintenance & Longevity: To keep your heirloom in peak condition, maintain a stable environment with a relative humidity of 45 percent. Use a high-quality microcrystalline wax instead of aerosol sprays. This wax is chemically inert and provides a moisture barrier that does not yellow over time.
Material Variations:
- Sustainable: Use FSC-certified reclaimed timber for structural blocks.
- Recycled: Salvage old hardware from non-restorable "parts pieces" to maintain period accuracy.
- Premium: Opt for Isinglass (fish glue) for the most delicate inlay work due to its incredible shear strength.
The Correction:
- The Ghosting Mistake: White rings from heat or water. Fix: Use a tiny amount of denatured alcohol on a cloth to "re-flow" the finish.
- The Glue Starvation: Clamping too tightly squeezes all the glue out. Fix: Use spring clamps that provide consistent, measured pressure without crushing the cells.
- The Grain Teardown: Sanding against the grain. Fix: Use a cabinet scraper to shave off the damaged fibers rather than sanding them further.
Studio Organization: Store your project components in labeled, acid-free bins. Keep the wood away from direct sunlight and HVAC vents to prevent thermal shock, which can cause fresh glue joints to fail before they have fully cured.
THE FINAL REVEAL
Look at that! The light now dances across the surface instead of getting trapped in the cracks. By respecting the structural integrity and the original molecular bonds of the piece, you have done more than just fix a chair; you have preserved a physical record of craftsmanship. The finish is deep, the joints are rock-solid, and the wood feels like silk under your hand. You have successfully navigated the complexities of Restoring Heirloom Furniture with the precision of a scientist and the soul of an artist. It is ready for another century of stories.
STUDIO QUESTIONS
How do I identify the original finish?
Dab a hidden spot with denatured alcohol. If it softens, it is shellac. If it does not, try lacquer thinner. Knowing the solubility is essential for a sympathetic repair that does not strip the original character.
Is hide glue better than modern yellow glue?
Yes, because hide glue is thermoplastic and reversible. Modern PVA glues create a permanent plastic bond that can damage wood fibers if you ever need to repair the piece again in the future.
What is the best way to fill deep cracks?
Use burn-in sticks made of shellac resins. These are melted into the crack with a heated knife. The resin creates a hard, stable fill that bonds chemically with the existing finish for maximum durability.
Can I use a power sander on antiques?
Avoid it. Power sanders are too aggressive and can easily sand through thin veneers or round off sharp, ergonomic edges. Hand-sanding with a backing block ensures you maintain the flat, crisp planes of the original design.