
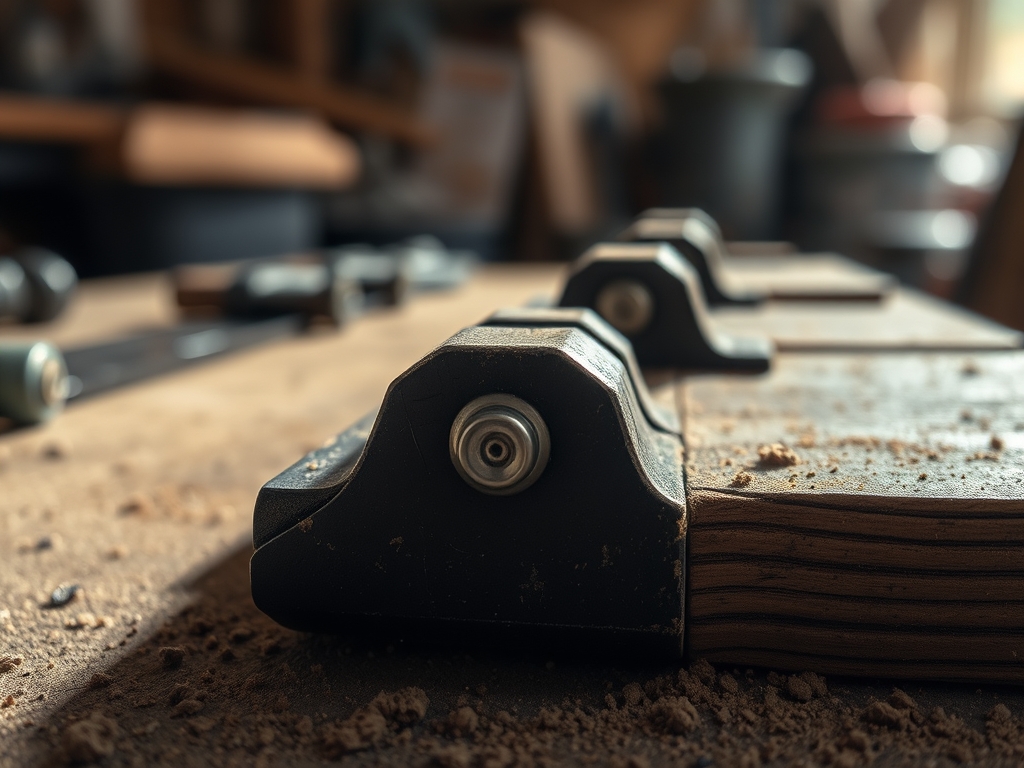
Imagine the sound of a perfectly tuned cello. That is exactly what it feels like when you seat a solid brass leaf into a hand-cut mortise. There is a specific, heavy resistance that transitions into a satisfying click as the metal meets the wood. When we talk about Advanced Furniture Hardware, we are not just discussing a functional pivot point; we are discussing the intersection of metallurgy and high-end joinery. Brass has a unique coefficient of friction that makes it the gold standard for luxury furniture. It is soft enough to be filed to a microscopic tolerance yet dense enough to hold the weight of a thick walnut door without sagging. You can feel the cold, smooth surface of the polished metal against the warm, fibrous texture of the grain. This contrast is the heartbeat of a high-end build. If the fit is off by even a fraction of a millimeter, the physics of the swing will fail. We are aiming for a zero-clearance aesthetic where the hinge looks like it grew out of the timber itself.
THE STUDIO KIT
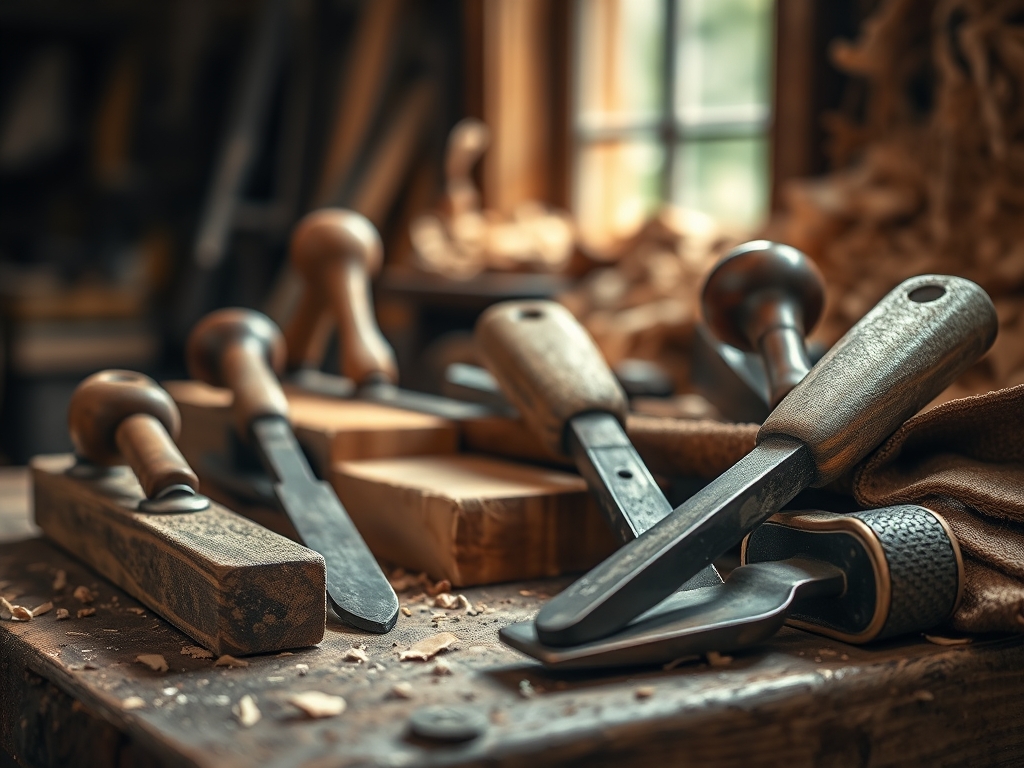
To achieve this level of precision, your toolkit needs to be as sharp as your wit. You will need a set of digital calipers to measure the leaf thickness to three decimal places. A standard ruler simply will not cut it when you are dealing with the thermal expansion of metal. You also need a marking gauge with a circular blade to slice across the wood fibers rather than tearing them. For the heavy lifting, a swan-neck chisel is essential for cleaning out the bottom of the mortise to ensure it is perfectly flat. If the floor of your mortise is uneven, the hinge will "bounce," causing the screws to strip over time due to uneven tension.
For the materials, we are using extruded brass hinges because they have a higher tensile strength than cast versions. Cast brass often contains tiny air pockets that can lead to structural failure under stress. If you are looking for material substitutions, you could opt for stainless steel for a modern look, but be warned: steel is significantly harder on your blades. If you are practicing, use a dense hardwood like cherry or maple. Avoid softwoods like pine for this project; the cellular structure is too porous and will crush under the pressure of the hinge leaf, ruining your tight tolerances.
THE TEMPO
The "Maker's Rhythm" is all about managing your cognitive load. You cannot rush a high-end install. The first phase is the Calibration Phase, which takes about thirty minutes. This is where you test your tools and verify your measurements. The second phase is the Execution Phase, which requires roughly forty-five minutes per hinge. This is the deep-work zone where you are focused on the tactile feedback of the chisel. Finally, the Refinement Phase takes about twenty minutes. This is where you burnish the edges and do the final assembly. Total time for a pair of doors is usually a full afternoon. If you try to do it faster, you risk a "runaway chisel" that can gouge your finished surface.
THE CORE METHOD
1. The Precision Layout
Start by using your calipers to find the exact center of your hinge knuckle. Transfer this measurement to the workpiece using a striking knife instead of a pencil. A pencil line has thickness; a knife line is a physical displacement of fiber.
Mastery Tip: This technique relies on geometric registration. By creating a physical groove, your chisel will naturally "drop" into the correct position, ensuring that your starting point is mathematically perfect.
2. Scribing the Perimeter
Once your marks are set, place the hinge leaf on the wood and use an awl to scribe the perimeter. Do not just draw around it; you are looking to create a shallow trench.
Mastery Tip: This involves fiber severance. By cutting the vertical fibers of the wood before you remove the bulk material, you prevent the grain from splintering or "spelching" past your layout lines when you start chiseling.
3. The Depth Relief
Set your marking gauge to the exact thickness of the hinge leaf. Run the gauge along the face of the wood to mark your depth. Use a small router plane to remove the majority of the waste.
Mastery Tip: This step manages structural integrity. By using a router plane, you ensure the bottom of the mortise is perfectly parallel to the surface, which prevents the hinge from "binding" when the door is closed.
4. Squaring the Corners
High-end brass hinges usually have square corners rather than rounded ones. Use a wide, razor-sharp chisel to chop vertically into the corners of your scribed lines.
Mastery Tip: This utilizes compression physics. By chopping straight down, you compress the end-grain fibers, creating a high-density wall that the brass leaf will press against, preventing any lateral movement over years of use.
5. Pre-Drilling and Tapping
Brass screws are notoriously soft and will snap if they meet too much resistance. Drill a pilot hole that is 80 percent of the screw's diameter. Use a steel "master screw" to cut the threads first.
Mastery Tip: This is about shear strength. Using a steel screw to tap the hole prevents the brass screw from experiencing excessive torque, which would otherwise exceed its yield point and cause the head to shear off.
THE TECHNICAL LEDGER
Maintenance & Longevity
Brass will naturally develop a patina over time due to oxidation. To maintain the high-end luster, apply a thin coat of microcrystalline wax. This creates a moisture barrier that prevents the copper in the brass from reacting with oxygen. For the wood, ensure the mortise is sealed with a light shellac to prevent the tannins in the wood from reacting with the metal, which can cause black staining.
Material Variations
Sustainable: Look for hinges made from recycled architectural brass.
Premium: Solid bronze hinges offer a higher weight capacity and a deeper tonal range as they age.
Industrial: Hardened steel hinges are best for heavy-duty utility but lack the aesthetic warmth of Advanced Furniture Hardware.
The Correction
- The Gap: If you cut the mortise too deep, do not use wood filler. Instead, glue in a thin veneer shim of the same wood species to bring the floor back up to level.
- The Lean: If the hinge is tilted, the screw holes are likely misaligned. Plug the holes with a wooden dowel and re-drill using a self-centering Vix bit.
- The Squeak: This is usually caused by metal-on-metal friction. A tiny drop of synthetic clock oil on the pin will resolve this without attracting dust.
Studio Organization
Store your high-end hinges in individual soft pouches or "tarnish-proof" cloth. If they are left rattling in a drawer, the polished faces will develop micro-scratches that are nearly impossible to buff out without losing the crispness of the edges.
THE FINAL REVEAL
There is nothing quite like the moment you hang the door and it swings with a silent, hydraulic-like smoothness. The brass catches the light, glowing against the wood grain like a piece of fine jewelry. When you run your finger over the hinge, you should feel a continuous surface; there should be no "lip" or "step" between the metal and the timber. This is the hallmark of a master maker. You have successfully balanced the tensile demands of the hardware with the organic flexibility of the wood. It is a high-energy win that elevates a simple box into a piece of heirloom furniture.
STUDIO QUESTIONS
How do I prevent my brass screws from snapping?
Always use a steel screw of the same size to "tap" or cut the threads into the wood first. This removes the mechanical stress from the softer brass screw, ensuring the head does not snap off during the final seating.
What is the best way to clean a tarnished hinge?
Use a specialized metal polishing cloth rather than liquid cleaners. Liquid cleaners can seep into the wood grain around the mortise, causing permanent staining or "bleeding" that ruins the finish of your furniture piece.
Why does my hinge feel "springy" when I close it?
This is known as "hinge bound." It usually means the mortise is slightly too deep on the leaf side or not deep enough near the knuckle. Adjust the depth so the leaf sits perfectly flush with the wood surface.
Can I use a power router for the entire mortise?
You can use a router to remove the bulk of the material, but the final 0.5mm should always be done by hand with a chisel. This ensures the edges are crisp and the fit is tight enough for Advanced Furniture Hardware.

