
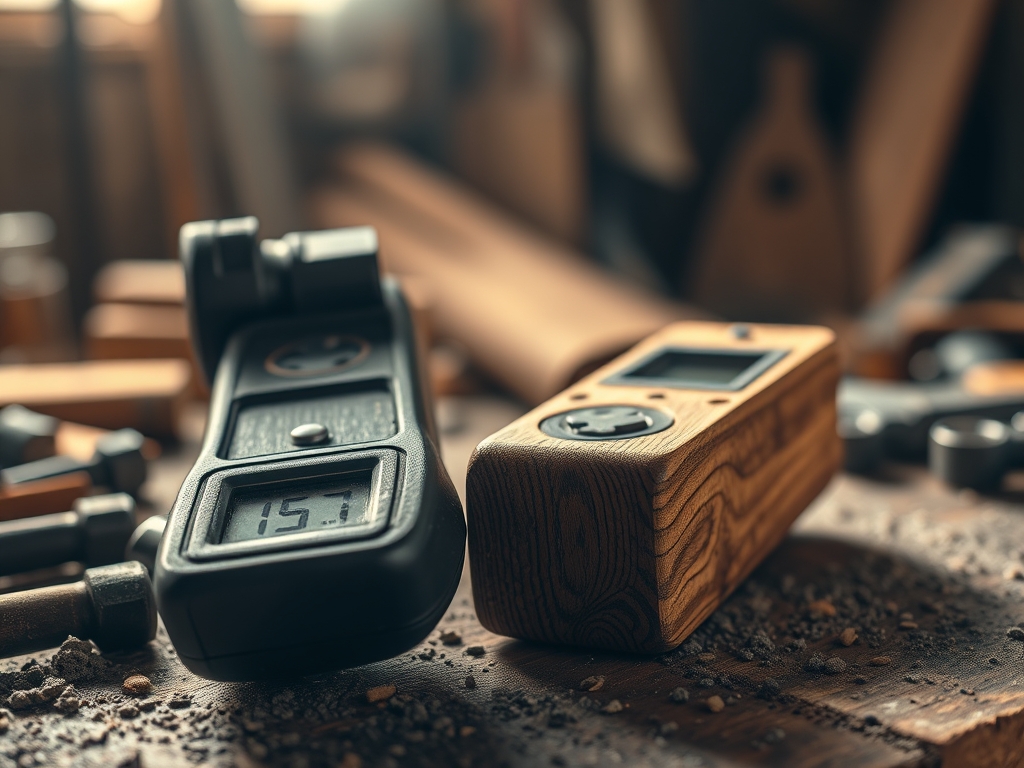
Close your eyes and imagine running your palm across a slab of raw, live-edge black walnut. It feels cool; almost deceptively stable. But beneath that velvet surface, a microscopic war is raging between hydrogen bonds and cellulose fibers. If you guess the saturation level, you are basically gambling with the structural integrity of your entire project. This is exactly why I never start a build without my Advanced Wood Moisture Meters. Within seconds, these devices translate the invisible internal pressure of a board into a digital readout. Without this data, your beautiful tabletop will eventually bow, cup, or literally tear itself apart as it seeks equilibrium with the room. We are not just hobbyists; we are managing the fluid dynamics of organic matter.
THE STUDIO KIT

To master the physics of drying, your workbench needs more than just a standard toolbox. You need precision instruments that can penetrate the porous layers of the wood without destroying the aesthetic. My primary tool is a pinless electromagnetic sensor, which uses high-frequency signals to scan the density of the wood up to 0.75 inches deep. I also keep a pair of digital calipers nearby to measure thickness changes down to the millimeter.
If you are working with reclaimed timber, you will want a "pin-style" meter. These use two steel electrodes to measure electrical resistance between fibers. Since water conducts electricity better than wood, the resistance level tells you the exact percentage of "free water" versus "bound water" inside the cells. For material substitutions, if you cannot find kiln-dried oak, look for thermally modified ash. It has a lower hygroscopic capacity, meaning it is less likely to swell when the humidity spikes. You should also have a sharp awl for marking your test spots and a rotary cutter if you are prepping veneers that need to be checked for uniform dryness before glue-up.
THE TEMPO
The "Maker's Rhythm" is not about rushing; it is about respecting the equilibrium moisture content (EMC). Wood is a breathing, moving entity. When you bring a new load of lumber into your studio, it needs a "rest phase" of at least 48 to 72 hours to acclimate to your local climate. This is the stabilization period.
The actual testing phase with your Advanced Wood Moisture Meters takes only minutes, but the recording phase is vital. I spend about 15 minutes mapping the moisture levels across the entire length of a board. Wood dries faster at the ends than in the center, creating a tensile stress gradient. If the ends are at 6 percent but the middle is at 12 percent, you cannot cut yet. You must wait. This patience prevents the "heartbreak of the warp" later in the assembly.
THE CORE METHOD
1. Calibration and Surface Prep
Before the sensor even touches the grain, you must calibrate the device for the specific species. Different woods have different specific gravities. A setting for pine will give a false reading on a dense mahogany slab. Use your calipers to confirm the thickness, as this dictates how deep the signal needs to penetrate.
Mastery Tip: This step addresses specific gravity. Denser woods have more cell wall material and less air space, which slows down the movement of moisture. If your meter is not calibrated to the species, the electrical impedance will be skewed, leading to a "false dry" reading.
2. Mapping the Moisture Gradient
I never take just one reading. Start at the end grain and move toward the center in six-inch increments. Use a pencil to lightly mark the percentage directly on the wood. You are looking for a variance of less than 2 percent across the entire board.
Mastery Tip: This manages capillary action. Water travels through the longitudinal tracheids (the wood's plumbing system) much faster than it moves laterally. By mapping the gradient, you ensure the internal "plumbing" is empty enough that the wood won't shrink unevenly after you apply a finish.
3. Deep Core Penetration
For thick slabs over two inches, use a pin-style meter with insulated pins. These allow you to drive the electrodes deep into the core without the surface moisture interfering with the data. This is the only way to know if the "heart" of the timber is truly stable.
Mastery Tip: This protects the structural integrity. If the core is wet while the shell is dry, the wood is under "case-hardening" stress. Cutting into a case-hardened board will cause it to snap or "spring" instantly as the internal tension is released.
4. The Equilibrium Check
Compare your board's reading to the ambient humidity of the room using a hygrometer. If the room is at 50 percent humidity, your wood should ideally sit between 8 and 9 percent moisture. If there is a massive gap, the wood is still "active" and will move the moment you plane it.
Mastery Tip: This relies on the principle of hygroscopic equilibrium. Wood is like a sponge; it will always try to match the moisture level of the air around it. Forcing a project together before it reaches this balance is the primary cause of cracked joints and failed glue lines.
THE TECHNICAL LEDGER
Maintenance & Longevity: Keep your meter electrodes clean. Oxidation on the pins can increase resistance and cause inaccurate readings. Store your Advanced Wood Moisture Meters in a padded, hardshell case to protect the delicate sensors from static discharge and physical impact.
Material Variations:
- Sustainable: Bamboo "ply" requires specialized meters because of its dense, grass-like fiber structure.
- Premium: Exotic burls are notoriously difficult to measure because the grain direction is chaotic. Always take multiple readings from different angles.
- Recycled: Pallet wood often contains salts or chemicals that can mimic moisture by increasing conductivity. Always sand a small "clean" patch before testing.
The Correction:
- The Ghost Reading: If your meter fluctuates wildly, check for hidden metal. A buried nail will send the needle into the red. Use a metal detector to clear the path.
- The Surface Film: High humidity can create a microscopic layer of water on the surface. Wipe the wood with a dry cloth and wait ten minutes before re-testing.
- The Temperature Shift: Cold wood reads as "drier" than it actually is. Always let your lumber reach room temperature before trusting the digital readout.
Studio Organization: Store your lumber "on stickers" (thin strips of wood between layers). This allows airflow to reach all sides of the board, preventing "sticker stain" and ensuring the moisture leaves the wood at a uniform rate.
THE FINAL REVEAL
There is a specific kind of magic that happens when you finish a piece knowing it is perfectly stable. When I look at a finished cabinet, I don't see just wood; I see a perfectly balanced equation of tensile strength and moisture content. Because I used my Advanced Wood Moisture Meters, those miter joints are going to stay tight for the next fifty years. The grain pops beautifully under the oil because the cells were open and ready to receive the finish, rather than being clogged with residual sap or water. It feels professional. It feels permanent. It feels like science.
STUDIO QUESTIONS
Why does my meter show different levels on the same board?
Wood is an organic material with varying fiber density. Moisture travels faster through the ends than the center. These variations indicate the wood is still transitioning toward equilibrium and requires more acclimation time before you begin cutting or milling.
Can I use a pinless meter on painted wood?
Yes, pinless Advanced Wood Moisture Meters use electromagnetic signals that pass through most finishes. However, thick metallic paints or lead-based primers can interfere with the signal. Always check the manufacturer settings for "coating compensation" to ensure the highest accuracy.
What is a "safe" moisture percentage for furniture?
For most indoor environments, a range of 6 percent to 8 percent is the "gold standard." This level ensures the wood is stable enough to resist the shrinking and swelling caused by seasonal heating and cooling cycles in a home.
Do I really need a species-specific setting?
Absolutely. Each wood species has a unique specific gravity and chemical makeup. Using a generic setting on a dense wood like Ipe versus a light wood like Cedar will result in significant data errors and potential project failure.

