
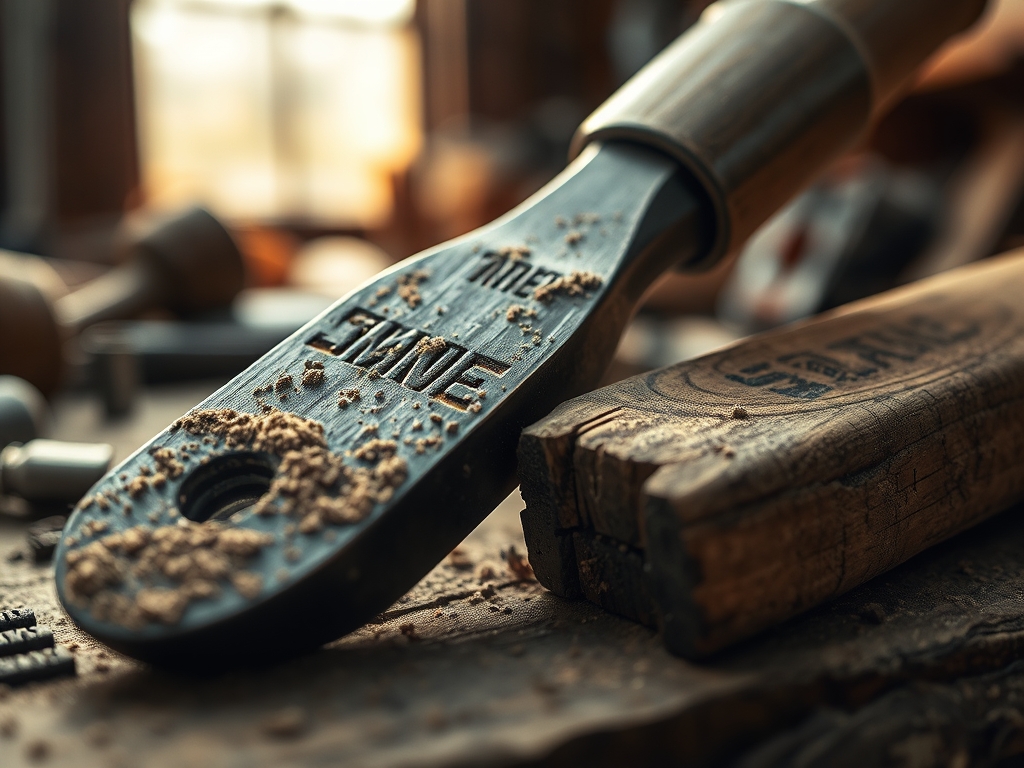
Imagine the scent of freshly planed walnut mingling with the ozone tang of a laser cutter. You can feel the vibration of the workbench through your palms as you prep your space. Achieving a professional finish requires more than just passion; it demands the right Advanced Shop Tools to bridge the gap between hobbyist and master crafter. When you run your thumb along a raw edge of wood or leather, you are feeling the cellular structure of the material. Wood is essentially a bundle of microscopic straws held together by lignin, and understanding that grain direction is the difference between a clean cut and a shattered mess. I am obsessed with the way a sharp blade interacts with different densities. Whether you are working with the high tensile strength of vegetable tanned leather or the brittle beauty of acrylic, the physics of the cut remains the same. You need tools that respect the integrity of your materials while pushing the boundaries of what you can create in a home studio.
THE STUDIO KIT
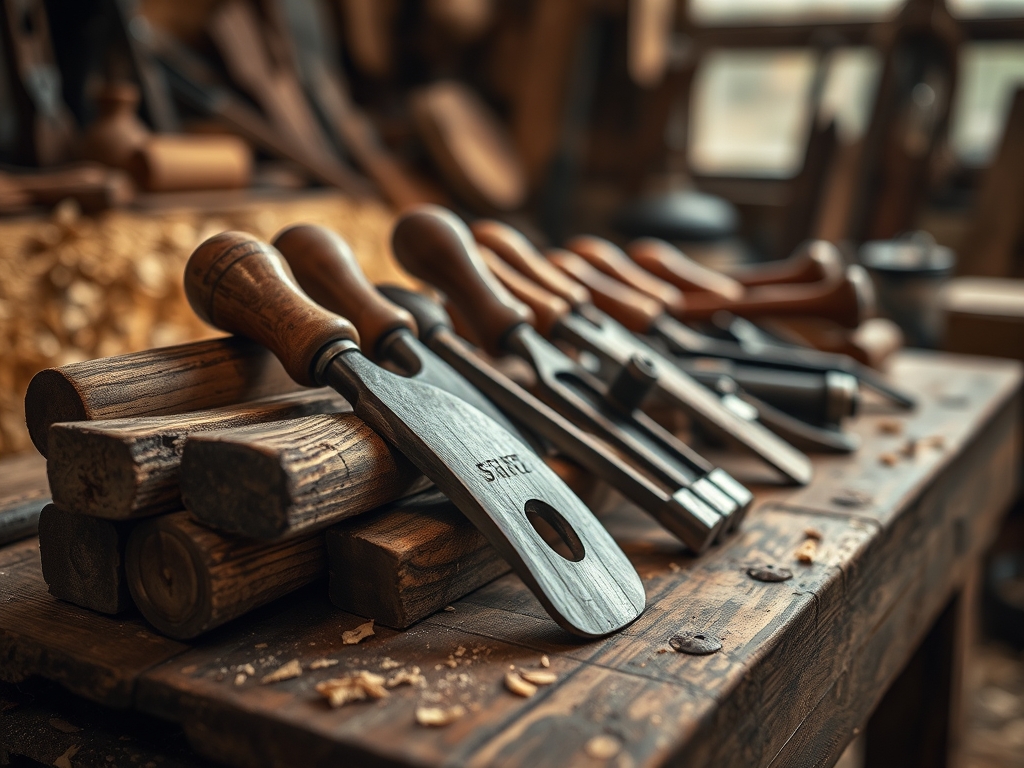
To build a high end studio, you have to be selective about what takes up your precious square footage. My kit revolves around precision and power. I rely on a high torque rotary tool for detail work; its centrifugal force allows for micro adjustments that a hand file simply cannot match. For measuring, I use digital calipers accurate to three decimal places because even a hair of deviation can ruin a mortise and tenon joint. I also keep a heavy duty oscillating tool for plunge cuts where a traditional saw would be too aggressive.
Material choice is just as technical as the tool selection. For structural components, I look for high density fiberboard (HDF) or grade A plywood with at least seven plys to ensure dimensional stability. If you cannot find premium hardwoods, a great Material Substitution is reclaimed bamboo. It has an incredibly high silica content which makes it harder than oak, though it will dull your blades faster due to its abrasive nature. For soft goods, if top grain leather is out of budget, look for high density felt or heavyweight canvas. These materials offer similar resistance to puncture and hold their shape well under tension.
THE TEMPO
The "Maker's Rhythm" is a psychological state where time dilates. You need to account for the physical realities of your materials to stay in that flow. The Preparation Phase usually takes about two hours; this involves calibrating your machines and marking your cut lines with a precision awl. The Execution Phase is the shortest but most intense, lasting roughly ninety minutes of active cutting and shaping. Finally, the Curing and Finishing Phase is the longest. Depending on whether you are using oil based stains or epoxy resins, you must allow at least twenty four to forty eight hours for molecular bonding to complete. Rushing this stage leads to "tackiness," where the surface tension of the finish has not yet stabilized, leaving your work prone to dust contamination and fingerprints.
THE CORE METHOD
1. Calibrating the Surface
Before you make a single mark, you must ensure your work surface is perfectly level. Use a spirit level to check the horizontal plane of your workbench. Even a one degree tilt can cause gravity to pull your adhesives or finishes to one side, resulting in an uneven coat.
Mastery Tip: This step relies on hydrostatic equilibrium. When you apply a liquid finish, gravity must act equally across the entire surface area to ensure the thickness remains consistent.
2. The Precision Score
Use a hardened steel awl to score your lines rather than a pencil. A pencil line has physical width, usually around 0.5mm, which introduces a margin of error. A scored line physically severs the top layer of fibers, providing a track for your saw or blade to follow.
Mastery Tip: Scoring reduces surface splintering. By pre cutting the fibers, you prevent the tool from "lifting" the grain, which maintains the structural integrity of the edge.
3. Progressive Sanding
Never skip a grit. Start with 80 grit to remove bulk material and move through 120, 220, and finally 400. Each subsequent grit removes the scratches left by the previous one. If you jump from 80 to 220, you will leave deep canyons in the material that will only become visible once you apply a finish.
Mastery Tip: This is about friction and heat dissipation. High speed sanding creates thermal energy that can scorch wood or melt plastics. Moving through the grits ensures you are removing material efficiently without localized heat buildup.
4. Controlled Adhesion
When joining two surfaces, apply a thin, even layer of adhesive. More is not better. You want enough to penetrate the porous surface of the material but not so much that it "starves" the joint by creating a thick, brittle layer between the two pieces.
Mastery Tip: This utilizes capillary action. The adhesive is drawn into the microscopic voids of the material, creating a mechanical bond that is often stronger than the material itself once it undergoes polymerization.
THE TECHNICAL LEDGER
Maintenance & Longevity: Your machines are investments. Every month, use a dry PTFE lubricant on all moving parts. Unlike oil, PTFE does not attract sawdust, which can create an abrasive paste that wears down gears. Check the alignment of your fences and blades using a machinist square to ensure everything remains perfectly perpendicular.
Material Variations: If you want to go green, Sustainable Cork is a fantastic high end material. It is naturally antimicrobial and has a unique cellular structure that acts as a natural shock absorber. For a premium feel, stabilized wood (wood infused with resin in a vacuum chamber) offers the beauty of grain with the durability of plastic.
The Correction:
- The Burn Mark: If a saw blade leaves a burn, do not sand it immediately. Use a scrap of the same material to "rub" the burn out first, then lightly sand with 320 grit.
- The Glue Squeeze-Out: If glue bubbles up, let it dry until it is rubbery. Use a sharp chisel to "pop" it off. Wiping it while wet pushes the glue deeper into the pores, creating a "ghost" spot that won't take stain.
- The Overshot Cut: If you cut too deep, create a "dutchman" patch. Cut a small wedge of the same material and glue it into the gap, matching the grain direction perfectly.
Studio Organization: Store your materials horizontally to prevent bowing or warping due to gravity. Keep your high end tools in a climate controlled environment. Humidity is the enemy of precision; it causes metal to expand and wood to swell, throwing off your calibrations.
THE FINAL REVEAL
Look at that! The finished piece has a weight and a presence that only comes from using Advanced Shop Tools with intention. The edges are crisp, the joints are seamless, and the finish has that deep, lustrous glow that screams professional quality. You have successfully navigated the physics of the build, balancing tension, friction, and chemistry to create something that will last a lifetime. It is not just a project; it is a testament to your technical growth and your refusal to settle for "good enough."
STUDIO QUESTIONS
What is the most versatile tool for a small studio?
A high quality rotary tool is essential. With the right attachments, it functions as a sander, polisher, drill, and carver. Its high RPM allows for precision work on diverse materials like metal, glass, and hardwood.
How do I prevent wood from warping after a project?
Ensure you seal all sides of the piece equally. If you only finish the top, moisture enters the bottom at a different rate, causing differential expansion. This imbalance leads to bowing and structural failure over time.
Why are digital calipers better than a standard ruler?
Calipers eliminate parallax error, which occurs when you view a ruler from an angle. They provide a direct, numerical readout of thickness and depth, ensuring that your joinery fits with airtight precision every single time.
When should I replace my saw blades?
Replace or sharpen blades when you notice increased resistance or "chatter" during a cut. Dull blades generate excessive heat, which can scorch the material and put unnecessary strain on the motor of your Advanced Shop Tools.
What is the best way to clean high end tools?
Use compressed air to remove dust from vents and a microfiber cloth with a small amount of isopropyl alcohol for surfaces. Avoid harsh chemicals that can degrade the ergonomic rubber grips or corrode the precision machined components.

