
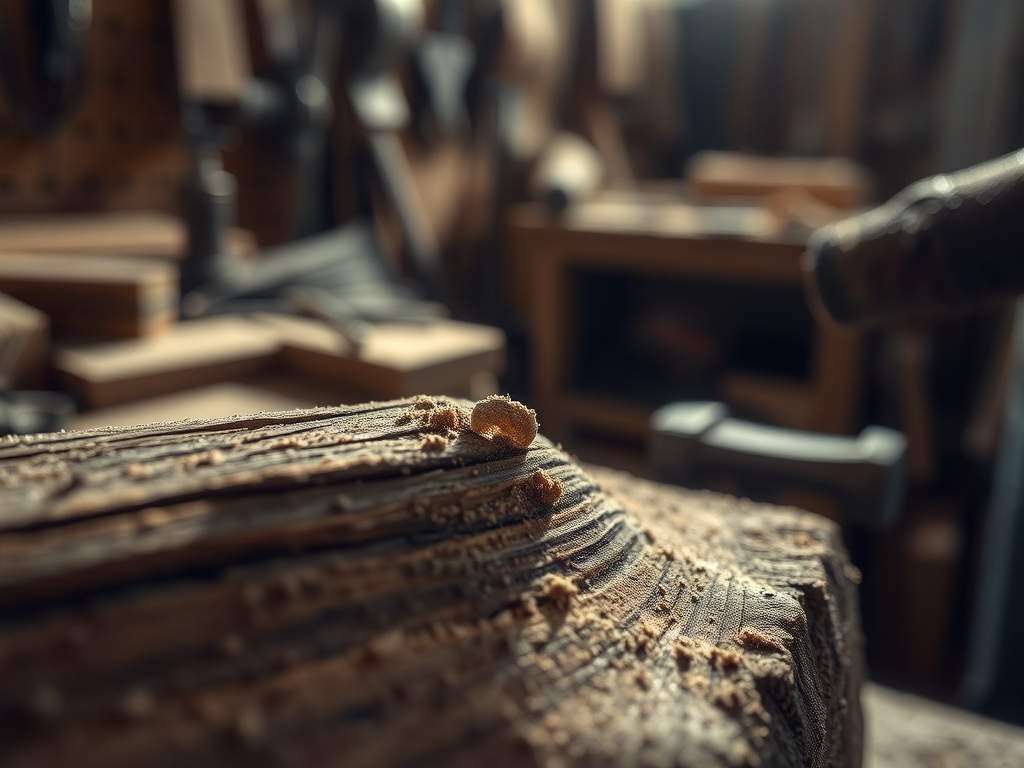
The scent of fresh sawdust is basically my version of expensive perfume. There is something intoxicating about the way a raw slab of black walnut yields to a sharp blade; it is a physical conversation between my hands and the history of a tree. Living the Professional Woodworking Life means I do not just see furniture; I see cellular structures and moisture content percentages. When I first started, I thought it was just about making things look pretty. I was so wrong. It is about the tensile strength of the wood fibers and how they react to the humidity in my studio. Every time I pick up a piece of timber, I am checking the grain direction to predict how it will move over the next fifty years. It is a high stakes game of physics where the prize is a legacy piece that will outlive me. My passion did not just become a hobby; it became the very air I breathe and the dust on my boots.
THE STUDIO KIT
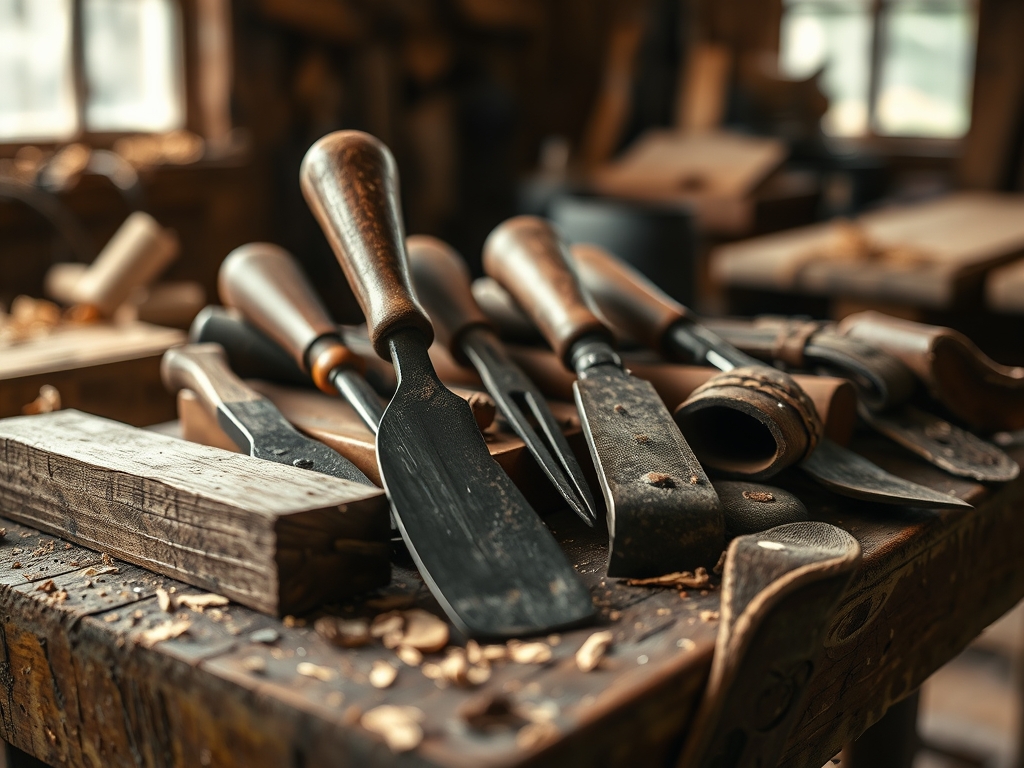
To survive in this world, your tool kit needs to be an extension of your own nervous system. I rely on digital calipers for measurements down to the thousandth of an inch because in high end joinery, a gap the width of a human hair is a failure. My workbench is a shrine to ergonomic design, featuring a heavy cast iron vise that anchors the entire operation. You will always find a marking awl in my pocket; a pencil line has thickness, but a scribed line is a precise physical valley for your saw to follow.
For materials, I prioritize FSC-certified hardwoods like white oak or cherry, which offer superior structural integrity compared to softwoods. If you are just starting and find premium hardwoods too pricey, look for Material Substitutions like high grade birch plywood. It offers incredible stability due to its cross-laminated plies, making it resistant to warping. I also keep a stash of burnishing cream and various gauges of sandpaper, from a coarse 80-grit for rapid stock removal to a 400-grit for that glass-like finish.
THE TEMPO
The "Maker's Rhythm" is not about speed; it is about the cadence of the material. You cannot rush a glue-up any more than you can rush the seasons. I break my workflow into three distinct phases. First is the Milling Phase, which takes about twenty percent of the total time. This is where I flatten and square the stock; it is loud, dusty, and requires intense focus on the planer's feed rate.
Next is the Joinery Phase, the heart of the project, consuming fifty percent of the schedule. This is the slow, quiet work of cutting mortises and tenons. Finally, the Finishing Phase takes the remaining thirty percent. This includes the iterative process of sanding, raising the grain with distilled water, and applying oils. If you try to compress these timelines, the wood will punish you. Wood is hygroscopic, meaning it constantly absorbs and releases moisture. You must give it time to acclimate to the studio environment after every major cut.
THE CORE METHOD
1. Scribing the Layout
Before a single blade touches the wood, I use a marking gauge to score the fibers. This creates a physical break in the surface tension of the wood, which prevents splintering during the actual cut. Observe the alignment in the step-by-step photos below to see how the needle of the gauge stays perfectly parallel to the reference edge.
Mastery Tip: By pre-cutting the wood fibers with an awl, you are managing the capillary action of the wood. This ensures that when you later apply stain or finish, it does not bleed across your joinery lines, keeping your transitions crisp and professional.
2. Executing the Joinery
I prefer using a Japanese pull saw for its thin kerf, which allows for extreme precision with minimal physical effort. The goal is a "piston fit" where the two pieces of wood slide together with just a whisper of resistance. If you have to hammer it, the joint is too tight and will eventually split the wood as it expands.
Mastery Tip: This is all about structural integrity. A perfectly fitted joint maximizes the surface area for the wood glue to create a hydrogen bond with the cellulose fibers, making the joint actually stronger than the surrounding wood itself.
3. The Progressive Sanding Sequence
I move through grits with a disciplined approach, never skipping a level. I start with 120, move to 180, and finish at 220 for most functional pieces. Between each grit, I wipe the surface with mineral spirits to reveal any "pigtails" or swirl marks left by the random orbital sander.
Mastery Tip: Sanding is essentially creating a uniform scratch pattern. By moving through the grits, you are reducing the depth of these scratches until they are smaller than the wavelength of visible light, which is what creates that tactile smoothness we love.
4. Applying the Hardwax Oil
I use a lint-free cloth to buff a high quality hardwax oil into the porous surface of the wood. Unlike polyurethane, which sits on top like a plastic film, oil penetrates the fibers and hardens within the wood structure itself. It feels like wood, not like a chemical coating.
Mastery Tip: The oil works through polymerization. As it reacts with oxygen, the liquid molecules link up to form a long-chain solid. This creates a water-resistant barrier that still allows the wood to "breathe" slightly, preventing the finish from cracking over time.
THE TECHNICAL LEDGER
Maintenance & Longevity: To keep your pieces pristine, avoid silicone-based polishes. They create a build-up that is nearly impossible to remove. Instead, use a simple damp microfiber cloth followed by a dry one. Once a year, apply a thin coat of high-grade beeswax to maintain the sheen and suppleness.
Material Variations:
- Sustainable: Reclaimed barn wood offers incredible character but requires a metal detector to find hidden nails that ruin blades.
- Premium: Exotic woods like Ebony or Cocobolo are dense and oily; they require wiping with acetone before gluing to ensure a proper bond.
The Correction:
- The Gap: If a joint has a small gap, mix fine sanding dust from the same board with wood glue to create a matching filler.
- The Tear-out: If the planer bites too deep, use a card scraper to manually level the area without the heat of a sander.
- The Blotchy Stain: If the wood absorbs finish unevenly, use a pre-stain conditioner to even out the density of the surface fibers.
Studio Organization: Store your lumber horizontally on a rack with "stickers" (small wood spacers) between each board. This allows for 360-degree airflow, preventing the wood from bowing or developing mold due to trapped moisture.
THE FINAL REVEAL
Looking at the finished piece, I feel a surge of pure electricity. The way the light catches the chatoyancy of the grain is nothing short of magic. It is a solid, heavy, beautiful testament to the hours of calculated physics and sweaty labor. This is not just a table or a box; it is a solved equation. When you run your hand over a surface you have spent forty hours perfecting, the tactile feedback is the ultimate reward. My world is now defined by these edges and angles, and I wouldn't have it any other way.
STUDIO QUESTIONS
What is the best wood for beginners?
Poplar is excellent because it is inexpensive, relatively stable, and has a clear grain structure. It is soft enough to work easily with hand tools but dense enough to hold a crisp edge for joinery practice.
How do I prevent my wood from warping?
Always seal both sides of a board equally. If you only finish the top, the bottom will absorb moisture at a different rate, causing the wood to "cup" or "bow" toward the unfinished side over time.
Why is my glue not holding?
You might be "starving" the joint by applying too little glue, or the wood is too oily. For oily exotics, always wipe the mating surfaces with acetone immediately before applying a high-quality PVA glue.
Do I really need expensive chisels?
Not necessarily. A mid-range chisel that is sharpened to a mirror polish will outperform an expensive one that is dull. Mastery lies in your ability to hone the steel to a razor edge using whetstones.

