
Imagine the smell of fresh cut walnut and the sharp, metallic tang of a newly honed chisel. My studio is currently a chaotic symphony of sawdust and graphite sketches because I am finally diving into my latest obsession. When I start a project, I do not just wing it; I rely on Professional Woodworking Plans to ensure my structural integrity is flawless before the first cut. There is something deeply visceral about running your hand over a raw slab of timber and feeling the grain direction beneath your fingertips. Wood is not just a static material; it is a living, breathing cellular structure that reacts to humidity and pressure. If you do not respect the tensile strength of your chosen species, your masterpiece will warp before the finish even dries. I live for that moment when the abstract idea in my brain meets the physical reality of the workbench. It is a high stakes game of physics where my calipers are the referee and my imagination is the star player. We are talking about turning raw potential into a legacy piece that will outlast us both.
THE STUDIO KIT

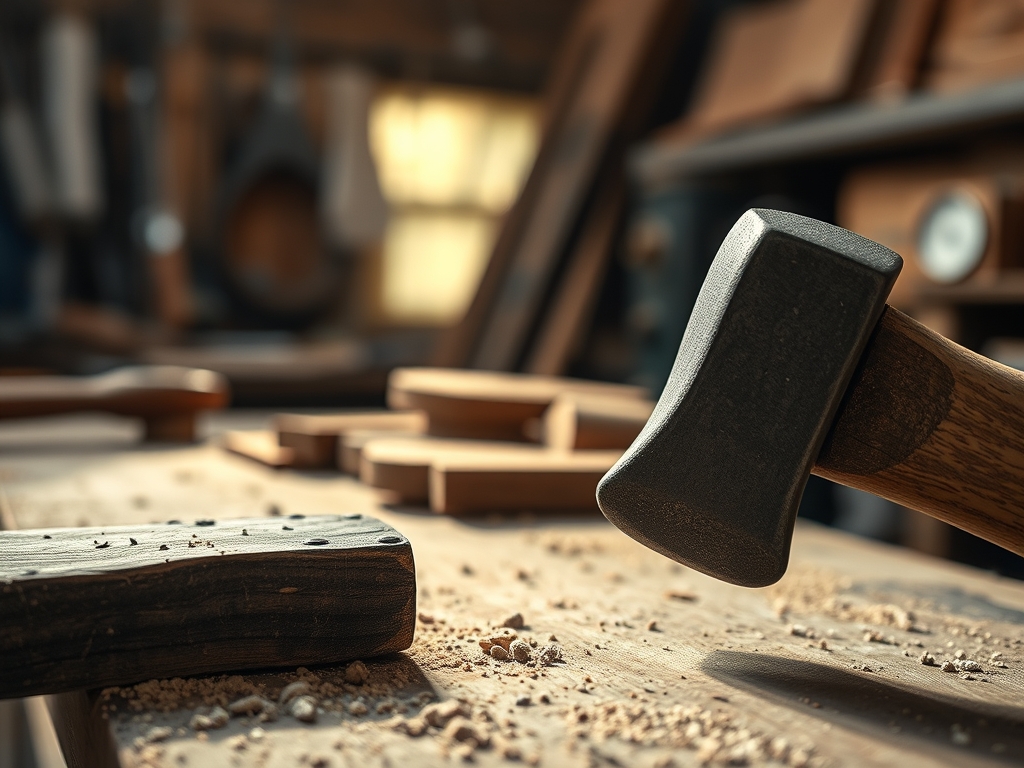
To execute these Professional Woodworking Plans with surgical precision, your toolkit needs to be more than just a box of hammers. We are curating a selection of high performance instruments designed for ergonomic efficiency. First, you need a set of digital calipers to measure thickness down to the thousandth of an inch. Wood expands and contracts, so precision at the start is your only defense against seasonal movement. Next, grab a marking awl. Unlike a pencil, an awl severs the wood fibers, creating a physical track for your saw to follow. You will also need a variety of abrasive grits, ranging from 80-grit for rapid stock removal to 400-grit for that glass-like burnish.
For materials, I am partial to kiln-dried hardwoods like white oak or cherry because of their predictable moisture content. If you are looking for Material Substitutions, you can swap premium hardwoods for high density birch plywood. It offers incredible dimensional stability due to its cross-laminated layers, making it perfect for jigs or shop furniture. Just remember that plywood edges are porous and require edge banding or a solid wood "breadboard" end to hide the plys. Whether you are using a Japanese pull saw for delicate joinery or an oscillating tool for tight corners, your gear must be sharp. A dull blade does not cut; it crushes the cellular walls of the wood, leading to fuzzy finishes and weak glue joints.
THE TEMPO
The Maker's Rhythm is all about managing your cognitive load and the physical properties of your materials. I break my builds into three distinct movements. Phase one is the Milling and Layout, which usually takes about four hours. This is where you square your stock and transfer your Professional Woodworking Plans to the wood. You cannot rush this; if your boards are not perfectly flat, your joinery will never seat properly. Phase two is the Joinery and Assembly, the heart of the project. Depending on the complexity, give yourself eight to twelve hours. This is the "deep work" period where the capillary action of your wood glue becomes your best friend. Finally, phase three is Finishing and Curing. While the physical act of applying oil or lacquer takes two hours, the chemical process of polymerization requires at least forty-eight hours of patience. Respect the chemistry, or you will end up with a tacky mess.
THE CORE METHOD
1. Stock Preparation and Squaring
Before you touch a saw, you must ensure your lumber is "S4S" (surfaced on four sides). Use a jointer to create one perfectly flat face and one perpendicular edge. Then, run it through the planer to establish a uniform thickness. Mastery Tip: Always check the grain direction before feeding wood into a machine. Feeding against the grain causes "tear-out," where the blades lift and shatter the wood fibers instead of shearing them cleanly.
2. Precision Layout and Scribing
Using your Professional Woodworking Plans, mark your joinery locations. I prefer using a marking gauge and a square rather than a tape measure for this step. Mastery Tip: The science here involves kerf management. Every saw blade has a thickness (the kerf). If you cut on the wrong side of your scribed line, you lose 1/8th of an inch, which ruins the friction fit of your joints.
3. Executing the Joinery
Whether you are cutting dovetails or mortise and tenon joints, the goal is maximum surface area for the glue to bond. Use a sharp chisel to pare away waste material in thin shavings. Mastery Tip: This is about mechanical interlocking. A well-executed joint should hold itself together through friction alone before any adhesive is applied. The fibers should compress slightly to create a seamless transition.
4. The Adhesive Bond
Apply a thin, even layer of PVA glue to both mating surfaces. You want just enough to see a tiny bit of "squeeze-out" when clamped. Mastery Tip: Wood glue works through capillary action, pulling the adhesive into the porous grain of the wood. Too much clamp pressure can starve the joint by squeezing all the glue out, while too little pressure prevents the molecular bond from forming.
5. Final Surface Refinement
Sand through the grits, making sure to remove the scratches from the previous grit before moving up. Once you reach your final grit, "pop the grain" by wiping the wood with a damp cloth, letting it dry, and sanding one last time. Mastery Tip: Water causes the crushed wood fibers to swell and stand up. By sanding these down, you ensure the wood stays smooth even after you apply a water-based finish.
THE TECHNICAL LEDGER
Maintenance is the difference between a project and an heirloom. For longevity, apply a fresh coat of wax or oil every year to replenish the wood's natural resins. When it comes to Material Variations, consider using reclaimed heart pine for a sustainable, high-character look, but be wary of hidden nails that can ruin your carbide-tipped blades.
The Correction:
- The Gap: If your joint has a visible gap, mix fine sawdust from the same board with wood glue to create a matching filler.
- The Warp: If a board cups after milling, it is likely due to internal tension. Let it acclimate to your shop for 24 hours before trying to flatten it again.
- The Blotchy Finish: If your stain looks uneven, use a "pre-stain conditioner" to control the absorption rate of the wood's earlywood and latewood pores.
For Studio Organization, store your lumber horizontally on a rack with "stickers" (small wood strips) between layers. This allows for even airflow around all sides of the board, preventing the uneven drying that causes twisting and bowing. Keep your Professional Woodworking Plans in a protective sleeve to avoid grease and sawdust buildup.
THE FINAL REVEAL
Look at that! The finished piece is a masterclass in structural integrity and aesthetic balance. The way the light catches the burnished edges and the grain flows seamlessly across the joints is pure magic. Using Professional Woodworking Plans turned a daunting pile of lumber into a sophisticated, functional work of art. You can feel the weight and the solidity; there is no wobble, no compromise, just the perfect marriage of physics and craft. Now, go ahead and run your hand over that surface. That smooth, cool touch is the result of your hard work and technical precision. You did not just build something; you mastered the material.
STUDIO QUESTIONS
How do I stop my wood from splitting?
Always pre-drill pilot holes before driving screws to relieve internal pressure. This prevents the wedge-like action of the screw from shearing the wood fibers along the grain line, especially near the ends of boards where the wood is most vulnerable.
What is the best glue for hardwoods?
For most interior projects, a high-quality PVA (polyvinyl acetate) glue is ideal. It creates a bond that is technically stronger than the wood itself by penetrating the porous cellular structure and creating a rigid, permanent plastic bridge between the pieces.
Why does my sandpaper clog so fast?
Clogging, or "pilling," happens when heat melts the resins in the wood or the finish, trapping dust on the paper. Use a lower speed on your sander and a cleaning stick (a rubber block) to remove buildup from the abrasive surface.
Can I use Professional Woodworking Plans for metal?
While the fundamental drafting logic applies, metal requires different tolerances and tools. Wood involves fibrous compression, whereas metalwork focuses on ductility and thermal expansion. You would need to adjust your measurements for welding beads or mechanical fasteners instead of glue.
How do I fix a wobbly table leg?
Check the level of your floor first. If the floor is flat, use a marking gauge to find the exact difference in length. Trim the long leg with a fine-tooth saw or add a discreet shim to the shorter one to restore balance.

