
The scent of freshly planed black walnut is basically the perfume of a genius; it is earthy, sharp, and carries that unmistakable hint of tannins hitting the air. When you step into my shop, you are not just looking at a pile of lumber. You are looking at the potential energy stored within the cellular structure of the wood. Joining the Professional Woodworking Community means more than just owning a saw; it is about understanding how to translate your creative vision into a physical form that defies the entropy of time. Feel that? That is the tactile resistance of the grain. Every single board has a story written in its growth rings, and as a maker, your job is to read that story before you ever make the first cut. We are talking about the intersection of physics and art. Whether you are teaching a teenager how to hold a chisel or showing a peer a new jig, the goal is the same: absolute precision. Grab your safety glasses and tie your hair back, because we are about to turn raw material into a legacy.
THE STUDIO KIT
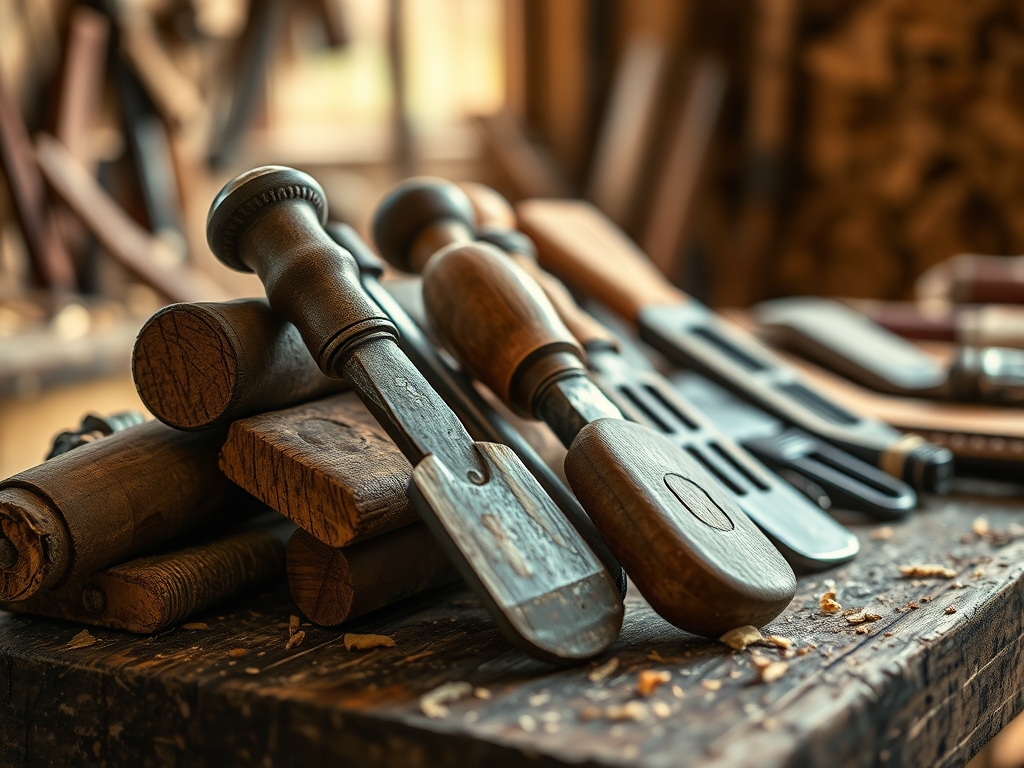
To master this craft, you need a kit that respects the tensile strength of your materials. At the heart of the bench, you need a high-quality marking gauge and a set of digital calipers for measuring thickness down to the thousandth of an inch. Wood is a porous medium that breathes, so precision is your only defense against seasonal movement. You will also need a Japanese pull saw for those ultra-thin kerfs; the high-carbon steel allows for a blade that is significantly thinner than traditional Western saws, reducing the energy lost to friction.
For the finer details, keep a burnishing tool and a bone folder nearby. While the bone folder is often associated with bookbinding, it is a secret weapon in the studio for compressing wood fibers without tearing the surface. If you are looking for Material Substitutions, consider using reclaimed heart pine if walnut is out of your budget. It offers a similar Janka hardness rating but brings a different resinous quality to the tool edge. You can also swap traditional hide glue for a modern polyurethane adhesive if you are working in a high-humidity environment where moisture resistance is the primary structural concern.
THE TEMPO
The "Maker's Rhythm" is a physiological state where your heart rate syncs with the oscillation of your tools. For a standard heirloom project, expect a total of forty hours of active bench time. The first phase, Material Preparation, takes about six hours. This involves milling the wood to remove internal stresses that could cause warping later. You cannot rush this; if you plane a board too quickly, the heat friction can actually case-harden the surface.
The second phase is Joinery, which is the intellectual heavy lifting. This requires twenty hours of deep focus. This is where you calculate the mechanical advantage of your dovetails or mortise-and-tenon joints. Finally, the Finishing phase takes fourteen hours, spread across several days. This allows for the oxidative polymerization of oils to occur naturally. If you try to apply a second coat before the first has fully cured at a molecular level, you will end up with a tacky, clouded mess that ruins the refractive index of the wood grain.
THE CORE METHOD
1. Mapping the Grain Direction
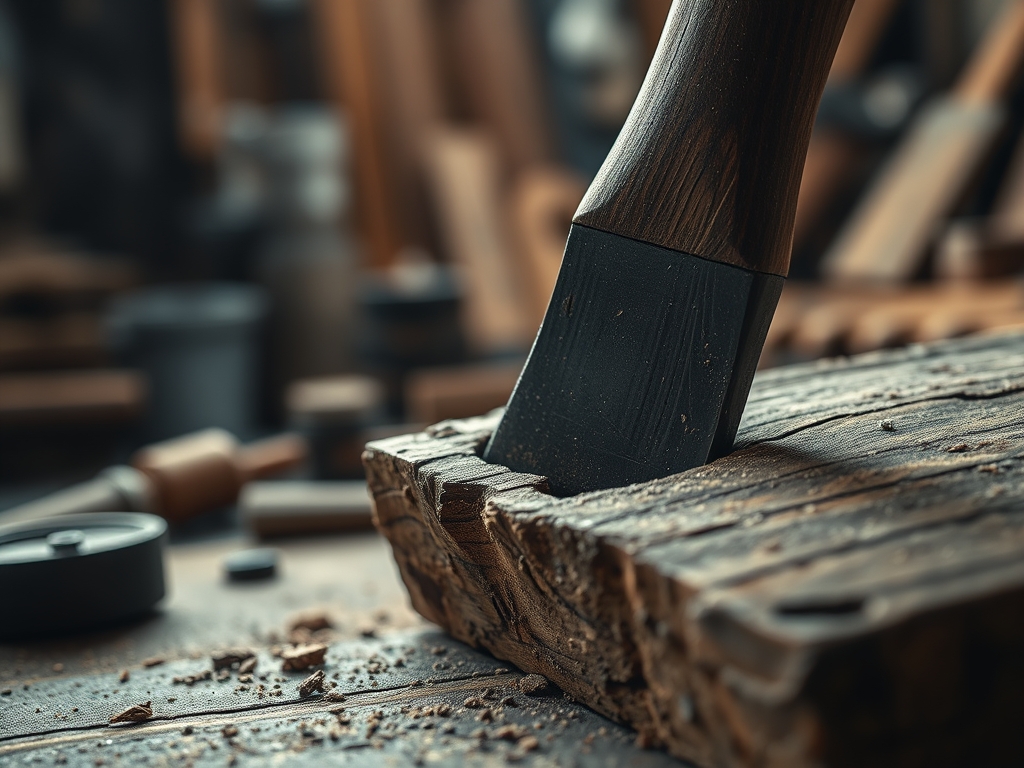
Before the saw ever touches the wood, you must identify the direction of the tracheids. Running your hand across the surface tells you which way the fibers lay. Cutting against the grain causes "tear-out," which is essentially the mechanical failure of the wood cells. Use a sharp marking awl to score your lines; this severs the surface fibers and provides a physical "track" for your saw to follow.
Mastery Tip: This technique utilizes the principle of shear stress. By pre-cutting the surface fibers with an awl, you prevent the saw teeth from lifting and splintering the wood, ensuring a crisp, surgical edge.
2. Executing the Primary Cuts
Using your rotary cutter or pull saw, follow your scored lines with a steady, rhythmic motion. Do not force the tool; let the weight of the saw do the work. The kerf (the width of the cut) must be accounted for in your initial measurements, or your final piece will be short by the thickness of the blade.
Mastery Tip: This is all about thermal dynamics. Excessive speed creates heat, which can dull the temper of your steel blade and scorch the wood. Maintaining a consistent, moderate pace preserves the sharp edge and the integrity of the material.
3. Refining the Joinery
Once the rough cuts are made, use a chisel to pare away micro-layers of wood. This is where you achieve a "piston fit." A perfect joint should have enough friction to hold itself together without glue, but not so much that it stresses the wood's elastic limit.
Mastery Tip: This relies on capillary action. When you eventually apply glue, a perfectly fitted joint allows the adhesive to be drawn into the wood fibers evenly, creating a chemical bond that is often stronger than the wood itself.
4. The Final Burnish and Finish
After sanding through the grits (from 80 up to 400), use your burnishing tool to compress the surface. This creates a natural luster by flattening the microscopic "fuzz" of the wood. Apply a thin layer of tung oil or beeswax, rubbing it in with the grain to ensure deep penetration into the vascular bundles of the timber.
Mastery Tip: This step alters the surface tension of the wood. By filling the pores with oil, you create a hydrophobic barrier that prevents liquid water from entering the cells and causing the wood to swell or rot.
THE TECHNICAL LEDGER
Maintenance & Longevity: To keep your finished piece in museum quality, avoid direct sunlight which triggers photodegradation of the lignin. Wipe the surface with a microfiber cloth once a month to prevent dust from trapping moisture against the finish.
Material Variations: For a sustainable twist, use Bamboo Ply, which has an incredible strength-to-weight ratio. If you want a premium feel, Ebony or Rosewood accents provide a high density that polishes to a mirror-like sheen, though they require specialized carbide-tipped tools due to their high mineral content.
The Correction:
- The Gap: If your joint has a visible gap, do not just fill it with wood putty. Instead, glue in a thin veneer shim of the same species to maintain grain continuity.
- The Burn: If a power tool leaves a burn mark, use a cabinet scraper rather than sandpaper. Sanding will only push the scorched dust deeper into the pores.
- The Crack: For a check in the end-grain, stabilize it with cyanoacrylate (CA) glue and a "butterfly" key to mechanically lock the split.
Studio Organization: Store your lumber horizontally on a rack with "stickers" (small spacers) between each board. This allows for even airflow and prevents the wood from developing a "cup" or "bow" due to uneven moisture evaporation.
THE FINAL REVEAL
Look at that! The way the light catches the chatoyancy of the grain is absolutely stunning. You have successfully navigated the complexities of material physics to create something that feels alive in your hands. This piece is not just an object; it is a testament to your patience and your mastery of the Professional Woodworking Community standards. The joints are tight, the surface is smooth as glass, and the structural integrity is rock solid. You should be incredibly proud of this. You have taken raw, chaotic nature and refined it into a structured, beautiful legacy that will likely outlive us both. Now, go grab a cold drink; you earned it!
STUDIO QUESTIONS
How do I prevent wood from splitting during the winter?
Maintain a consistent relative humidity in your studio between 40 and 50 percent. This prevents the wood from losing too much internal moisture, which causes the cellular walls to collapse and create structural cracks or "checking" in the end-grain.
What is the best way to sharpen a chisel?
Use a series of diamond stones followed by a leather strop loaded with polishing compound. Achieving a "mirror edge" requires honing the secondary bevel to a precise 30-degree angle, ensuring the steel can slice through wood fibers without crushing them.
Can I mix different types of wood in one project?
Yes, but you must account for their differing coefficients of expansion. Pairing a stable wood like Teak with a volatile one like Beech requires "floating" joints that allow the materials to move independently without tearing the piece apart.
Why is my finish looking blotchy?
Blotchiness occurs when the wood has uneven pore density, causing it to absorb finish at different rates. Apply a "pre-stain" conditioner or a thin coat of shellac to seal the thirsty fibers before applying your final pigment or oil.

