

Close your eyes and run your fingertips across a raw slab of walnut. You feel that slight, fuzzy resistance? That is the sound of a thousand tiny cellulose fibers standing at attention, waiting to ruin your finish. Mastering the Wood Surface is not about the expensive oil you pour on at the end; it is about the brutal, beautiful physics of the preparation phase. Most makers rush to the liquid gold because it provides that instant dopamine hit of color and depth. However, if you have not addressed the cellular topography of the grain, that oil will simply highlight every scratch, swirl, and uneven pore. We are looking for a surface that feels like cold silk, not a piece of plastic. This requires a deep understanding of how wood behaves under tension and how its porous nature reacts to mechanical abrasion. We are not just sanding; we are performing microscopic surgery on the lignin bonds that hold these fibers together. If the prep is flawed, the oil is just a expensive witness to your mistakes.
THE STUDIO KIT
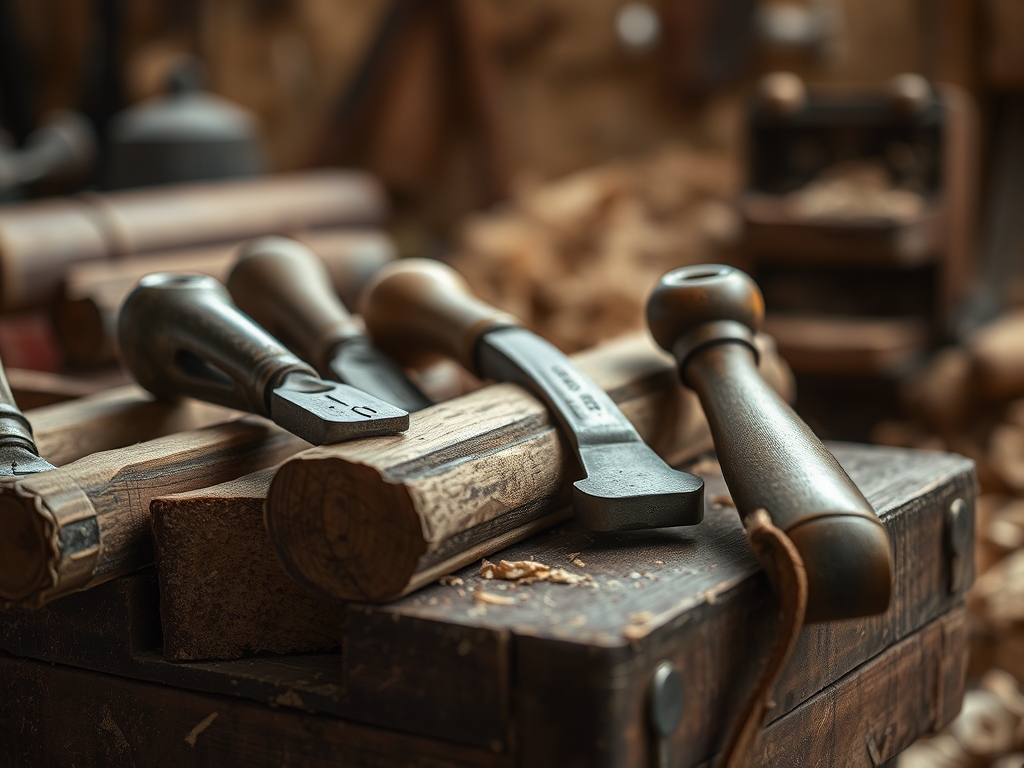
To achieve a professional grade finish, your arsenal must go beyond a simple pack of sandpaper. You need a random orbital sander with a high-quality dust extraction system to prevent "pigtails" or swirl marks caused by trapped debris. For the finer details, keep a cabinet scraper (a burnished steel plate) nearby to shear off fibers that sandpaper might just push over. You will also need digital calipers to monitor thickness consistency across the board, ensuring you do not create dips or "valleys" during aggressive sanding.
Material Substitutions: If you lack a cabinet scraper, a freshly sharpened chisel used at a high angle can burnish the wood surface in a pinch. Instead of expensive tack cloths, a microfiber cloth lightly dampened with denatured alcohol works wonders for lifting dust without raising the grain prematurely.
THE TEMPO
The "Maker's Rhythm" is a test of patience where the tempo starts slow and heavy, then accelerates into a delicate dance. Expect to spend 70 percent of your total project time on the dry preparation. The initial leveling phase, using coarse grits to remove machine marks, is the most labor-intensive and loud. Once you move into the refining phase, the sound of the studio changes from a roar to a rhythmic, tactile hum. The final "water popping" and burnishing stages are quiet and contemplative. You cannot rush the molecular settling of the wood fibers; rushing leads to uneven absorption once the oil finally hits the surface.
THE CORE METHOD
1. The Initial Leveling
We start by breaking the back of the mill marks. Using 80-grit abrasive, you must move the sander in a deliberate, overlapping pattern. Technical Fact: Wood is a viscoelastic material, meaning it deforms under pressure and heat. If you stay in one spot too long, the friction creates heat that can glaze the resins within the wood, sealing the pores prematurely.
Mastery Tip: Use a pencil to draw a light grid across the entire surface before you start. When the pencil marks are gone, you have achieved a uniform plane. This prevents over-sanding in areas where your hand naturally applies more pressure.
2. Sequential Grit Progression
You cannot skip steps in the grit sequence. Moving from 80 to 120 and then to 180 is vital because each subsequent grit is designed to remove the scratches left by the previous one. Technical Fact: The tensile strength of wood fibers varies between the earlywood and latewood rings. Skipping a grit results in "ghost scratches" that only become visible once the oil increases the light refraction of the surface.
Mastery Tip: Clean the surface with compressed air or a vacuum between every single grit change. A single 80-grit particle trapped under a 180-grit pad acts like a diamond stylus, carving deep trenches into your work.
3. Raising the Grain (Water Popping)
This is where the physics gets fun. After sanding to 180, lightly mist the wood with distilled water. Technical Fact: Through capillary action, the crushed wood fibers absorb the moisture and swell, standing upright as they dry. This "fuzz" is what usually makes a finish feel rough after the first coat of oil.
Mastery Tip: Once the wood is completely dry, "knock down" these raised fibers with your highest grit sandpaper or a cabinet scraper. This ensures the wood remains dimensionally stable and smooth even when it encounters the moisture in the oil.
4. The Final Burnish
Before the oil touches the wood, use a clean, dry cloth or a high-grit abrasive (320+) to burnish the surface. This mechanical action flattens the cellular walls, creating a surface that reflects light rather than absorbing it. Technical Fact: A burnished surface reduces the porosity of the wood just enough to prevent the oil from "sinking" too deeply and looking muddy.
Mastery Tip: Check your work with a raking light held at a low angle. This will reveal any remaining imperfections that the human eye misses from a top-down perspective.
THE TECHNICAL LEDGER
Maintenance & Longevity: A perfectly prepped surface requires less oil over time because the wood is not "thirsty" in an uneven way. Re-oiling every six months will maintain the hydrophobic barrier you have created.
Material Variations:
- Sustainable: Bamboo requires higher speeds and sharper tools due to its high silica content.
- Premium: Exotic hardwoods like Ipe are naturally oily and may require an acetone wipe before the final prep to ensure the finish bonds.
- Recycled: Reclaimed oak often has "nail sickness" or mineral staining; use an oscillating tool to clean out deep crevices without marring the surrounding grain.
The Correction:
- The Swirl Mark: If you see "pigtails," drop back down two grit levels and sand the area thoroughly before progressing back up.
- The Blotchy Patch: This is caused by uneven sanding. Ensure your pressure is consistent and your sander pad is not worn out.
- The Burn Mark: Caused by a dull blade or high friction. Use a cabinet scraper to remove the charred lignin without creating a dip in the wood.
Studio Organization: Store your prepped wood in a climate-controlled environment with consistent humidity. Use "stickers" (small scrap wood spacers) between stacked boards to allow for airflow and prevent warping or "sticker stain" caused by trapped moisture.
THE FINAL REVEAL
When you finally apply that first drop of oil, it should feel like magic. Because you mastered the surface, the oil will glide across the wood, saturating the fibers evenly and revealing a depth of grain that looks three dimensional. The piece will have a tactile warmth that invites touch. You have transformed a raw, chaotic organic structure into a refined piece of art through the sheer application of physics and patience. It is smooth, it is glowing, and it is technically perfect.
STUDIO QUESTIONS
Why does my wood feel fuzzy after oiling?
This happens when the grain was not "popped" with water during prep. The moisture in the oil causes compressed fibers to swell and stand up, creating a sandpaper like texture on your finished piece.
Can I skip grits if my wood looks smooth?
No. Each grit removes the microscopic fractures left by the previous one. Skipping grits leaves deep "valleys" that the oil will highlight, making the surface look scratched and unprofessional under bright light.
What is the best way to remove dust?
Use a vacuum with a brush attachment followed by a microfiber cloth dampened with denatured alcohol. This lifts dust from the pores without leaving a sticky residue or excessively raising the wood grain.
How do I know when to stop sanding?
Stop when the pencil grid is completely gone and the light reflects uniformly across the surface. For most furniture, sanding beyond 220 grit is unnecessary and can actually prevent the oil from penetrating the wood.

