Close your eyes and listen for it. That soft, pneumatic "thwip" followed by a metallic "snick" that signals a door has found its home. It is not just a sound; it is a physical sensation that vibrates through your fingertips. When we dive into the world of Fine Cabinetry Joinery, we are playing a game of thousands of an inch. We are talking about the visceral thrill of watching a door glide into a frame with a consistent 1.5 millimeter gap on all sides. It is the intersection of high end physics and raw, tactile artistry. You can feel the tensile strength of the wood resisting the saw blade, and you can smell the sweet, toasted scent of friction as the steel meets the grain. We are not just building storage. We are engineering a moment of domestic perfection. To get that perfect click, we have to respect the porous nature of our timber and the unforgiving geometry of a square corner. It is time to get your hands dirty and your mind sharp.
THE STUDIO KIT
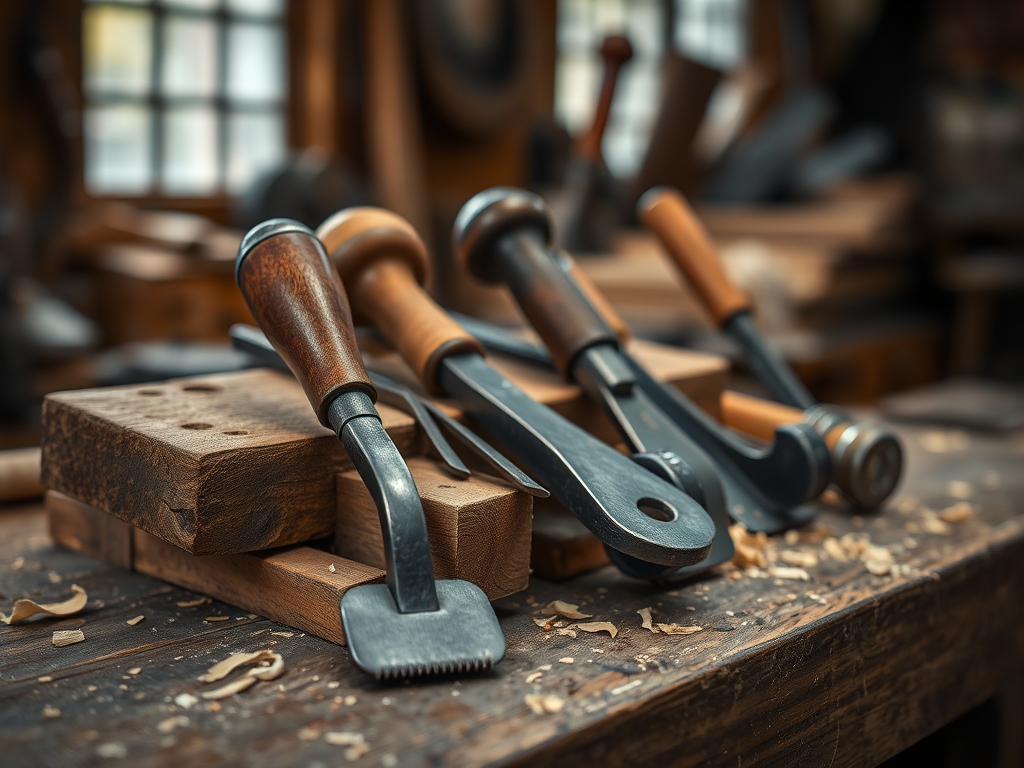
To master Fine Cabinetry Joinery, your workbench needs to look like a cross between a surgery suite and a high end woodshop. First, you need a set of digital calipers to measure thickness to the second decimal point. Wood moves, and understanding the hygroscopic expansion of your material is vital. You will need a marking awl for precision lines that a pencil simply cannot provide; a physical scribe line prevents the wood fibers from splintering during the initial cut. For the joinery itself, a Japanese pull saw with a high tooth count is essential for clean, thin kerfs.
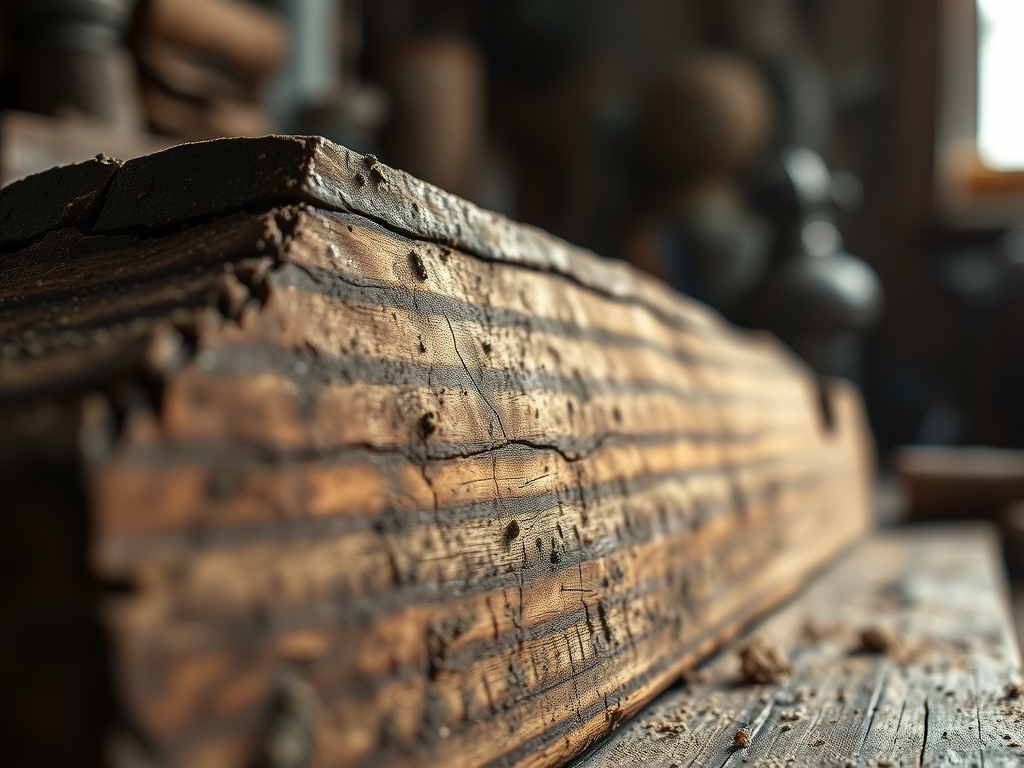
Your material choice is the foundation. We are looking for straight grain hardwoods like Black Walnut or Hard Maple because their fiber density allows for crisp, sharp edges that do not crumble under pressure. If you are looking for Material Substitutions, you can swap premium hardwoods for high density birch plywood, but be warned that the veneer layers require a much slower feed rate to avoid "blowout." You will also need a burnishing tool to ease the sharp edges of your hinges and a set of solid brass butt hinges which offer superior structural integrity compared to plated steel.
THE TEMPO
The "Maker's Rhythm" is all about respecting the chemical and physical changes happening in your studio. This is not a weekend sprint; it is a choreographed dance with time.
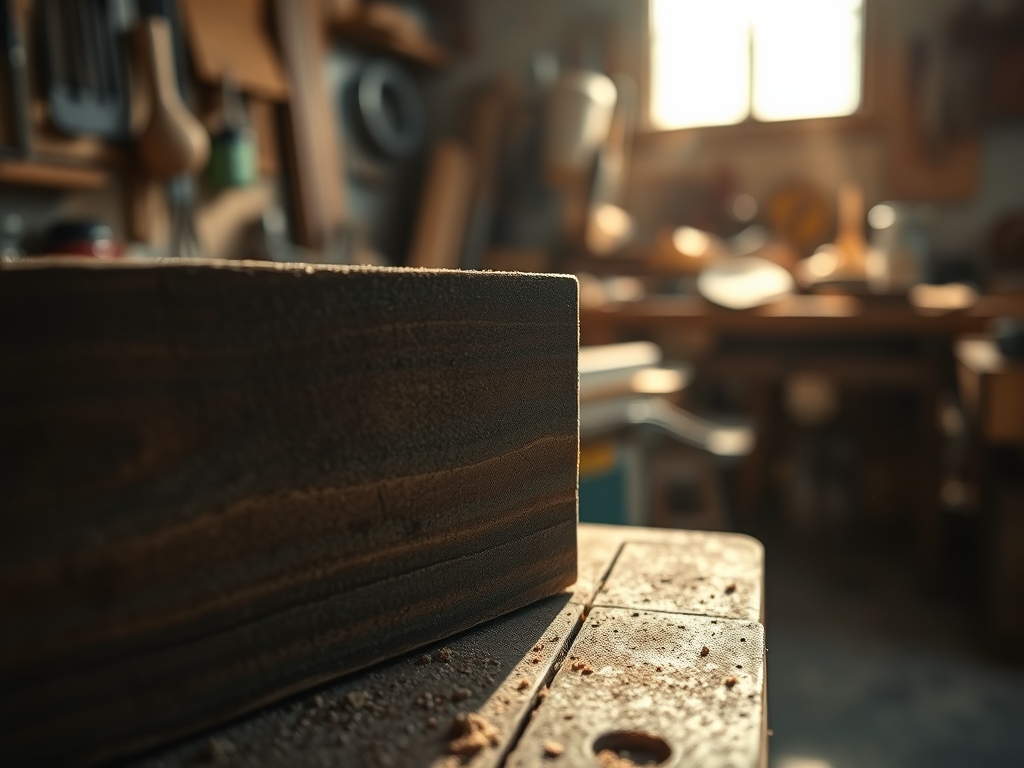
Phase One: The Acclimation (48 Hours). You cannot just cut wood the moment it leaves the lumber yard. It needs to breathe in your studio to reach equilibrium moisture content. If you skip this, your perfect click will turn into a seasonal stick.
Phase Two: The Dimensioning (4 Hours). This is the high energy phase where we mill the lumber. It requires intense focus to ensure every board is perfectly flat and square.
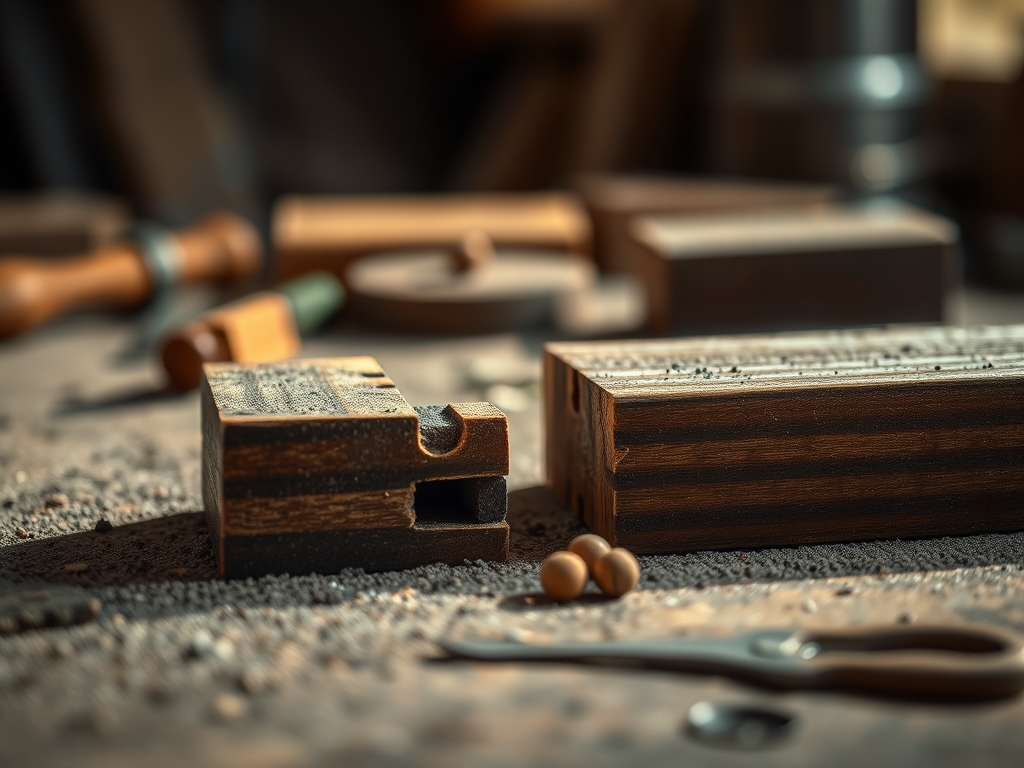
Phase Three: The Joinery (6 Hours). This is the slow, meditative part of the process. We are cutting tenons and mortises with a jeweler's saw or a fine chisel.
Phase Four: The Cure (24 Hours). Once the glue is applied, the capillary action of the wood fibers sucks the adhesive deep into the grain. You must leave it alone. Touching it now ruins the bond.
THE CORE METHOD
1. Scribing the Skeleton
Before a single cut is made, use your marking awl to scribe the exact dimensions of your door onto the frame. This creates a physical "trench" for your saw blade to follow.
Mastery Tip: This technique utilizes the structural integrity of the wood grain. By pre-cutting the surface fibers, you prevent the "grain run-out" that occurs when a high speed blade hits a change in density, ensuring a glass-smooth edge.
2. Executing the Tenons
Using your pull saw, cut the male ends of your joints. These should be slightly oversized, about the thickness of a human hair.
Mastery Tip: We rely on friction fit physics here. A tenon that is too loose relies entirely on glue, which has lower tensile strength than the wood itself. A perfect fit creates a mechanical bond that will last for centuries.
3. Mortising for the Hinges
Use a razor sharp chisel to create the recesses for your brass hardware. The depth must be exactly half the thickness of the hinge barrel.
Mastery Tip: This is about load distribution. If the mortise is too deep, the door will "bind" against the frame; if it is too shallow, the screws will bear all the shear stress instead of the wood shoulder supporting the weight.
4. The Final Fit and Plane
Hang the door and check the "reveal" (the gap). Use a block plane to shave off translucent ribbons of wood until the gap is uniform.
Mastery Tip: Observe the light refraction in the gap. A uniform shadow line indicates that the door is perfectly co-planar with the frame, reducing the air resistance as the door closes and creating that iconic "click."
THE TECHNICAL LEDGER
Maintenance & Longevity: To keep your joinery pristine, apply a microcrystalline wax twice a year. This creates a hydrophobic barrier that prevents the wood from swelling during humid months. Check your hinge screws for galvonic corrosion if you live in a coastal environment.
Material Variations:
- Premium: Quarter-sawn White Oak offers the highest dimensional stability.
- Sustainable: Bamboo ply is incredibly dense but requires carbide-tipped tools because its high silica content will dull standard steel.
- Recycled: Reclaimed heart pine has beautiful character but watch out for internal stresses that can cause the wood to warp unexpectedly when cut.
The Correction:
- The Gap is Too Wide: Glue a thin "shim" of matching veneer onto the hinge stile and re-plane. This restores the volumetric balance.
- The Door Springs Open: This is "hinge bound." Deepen the mortise on the frame side by 0.5mm to relieve the mechanical tension.
- Splintered Grain: Fill with a mixture of fine sanding dust and cyanoacrylate adhesive. This creates a reinforced plastic-wood composite that can be sanded flush.
Studio Organization: Store your unfinished components vertically in a climatized rack. Laying them flat on a concrete floor invites moisture wicking, which leads to "cupping" and ruins your alignment.
THE FINAL REVEAL
There it is. Look at that finish. When you push that door, there is no wobble, no groan, and no resistance. It feels like it is being pulled shut by an invisible magnet. That is the power of Fine Cabinetry Joinery done right. You have taken raw, organic material and disciplined it into a piece of functional geometry. The light catches the burnished edges of the brass, and the grain of the wood flows seamlessly from the frame to the panel. It is sophisticated, it is sturdy, and it is undeniably "you." You didn't just build a door; you mastered the physics of the home.
STUDIO QUESTIONS
Why does my door click in winter but stick in summer?
Wood is hygroscopic, meaning it absorbs atmospheric moisture. In summer, high humidity causes the wood fibers to swell and expand. In winter, dry air causes the wood to shrink, increasing the gap and changing the "click" mechanics.
Can I use a rotary cutter for wood joinery?
No. A rotary cutter is designed for flexible materials like fabric or thin veneers. For structural joinery, you need the rigid blade of a Japanese pull saw or a table saw to maintain a perfectly straight axial cut.
What is the best glue for maximum tensile strength?
A PVA (Polyvinyl Acetate) glue is standard for cabinetry. It creates a bond stronger than the wood itself by penetrating the porous cell structure and creating a cross-linked polymer chain once it cures.
How do I stop my brass screws from snapping?
Brass is soft. Always drill a pilot hole using a steel bit of the same gauge, then "thread" the hole with a steel screw first. This prevents the brass from snapping under torsional stress when you drive it in.
Why use a marking awl instead of a pencil?
A pencil line has physical width (usually 0.5mm), which creates an "error margin." An awl severs the wood fibers at a specific point, providing a physical "stop" for your chisel and ensuring micrometer precision in your joints.