Imagine you are standing at your workbench; the air smells of cedar and beeswax; and you are holding a graphite pencil sharpened to a needle point. You make your mark with absolute confidence. But here is the heartbreaking physics of the situation: that pencil line has a physical width. Even the finest lead deposits a fuzzy trail of carbon that can be up to 0.5 millimeters wide. When you are aiming for a seamless join or a perfect fold; that half millimeter is a canyon. This is why Using a Marking Knife is the only way to achieve true precision. A knife does not just draw a line; it severs the wood fibers or paper surface; creating a physical registration point that your saw or chisel can actually feel. It is the difference between guessing where the edge is and locking into it with mechanical certainty.
THE STUDIO KIT
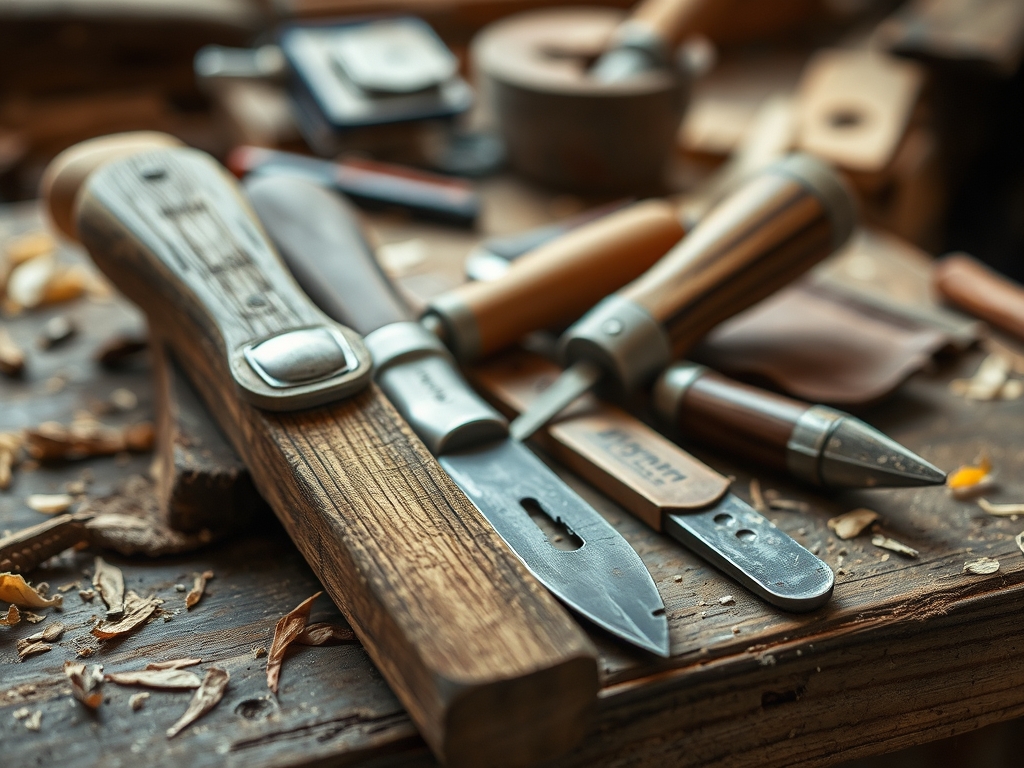
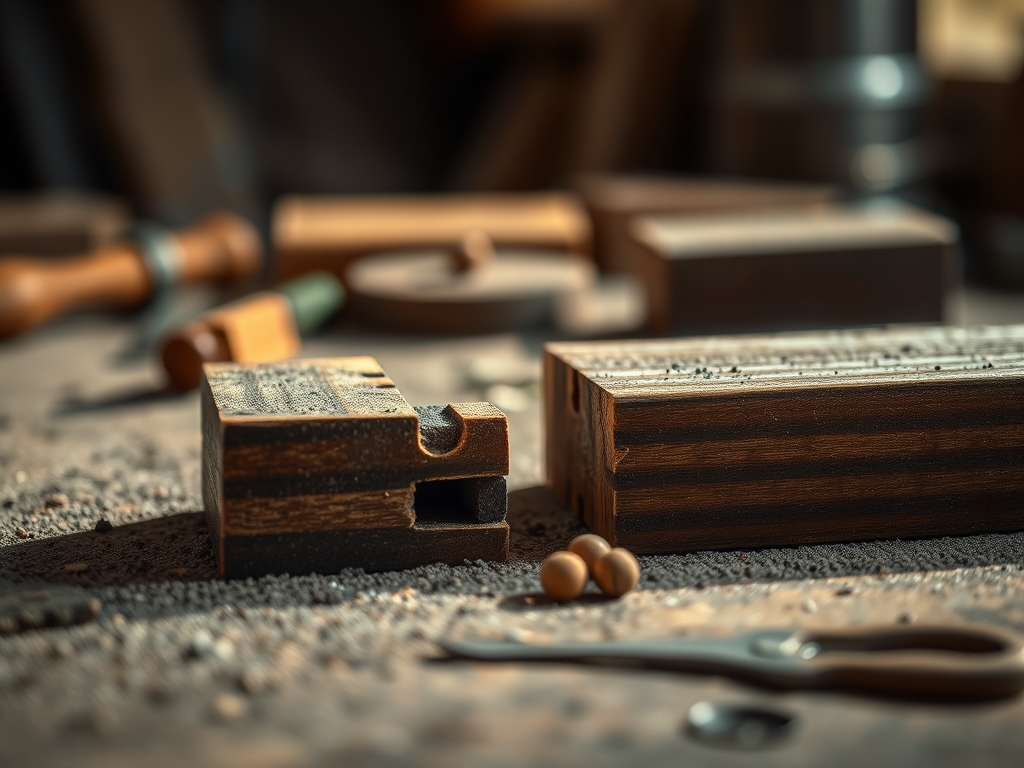
To master this level of accuracy; you need tools that respect the tensile strength of your medium. Your primary instrument is a single bevel marking knife. Unlike a standard utility blade; a single bevel knife is flat on one side; allowing it to ride perfectly flush against your square or ruler. You will also need a high grade combination square with a machined steel blade to act as your guide. For the material; we are looking at hardwoods with a tight grain direction like cherry or maple; or heavy gauge cardstock if you are in the paper arts.
If you do not have a dedicated marking knife; your Material Substitutions include a scalpel or a jeweler's saw blade used as a scratch awl. However; avoid using a standard box cutter; as the double bevel will pull the cut away from your guide; ruining your ergonomic flow. You should also keep a bone folder nearby if you are working with fibrous sheets to burnish the edges after the initial score. Professional makers often use calipers to verify that their knife wall is exactly where the math says it should be.
THE TEMPO
The "Maker's Rhythm" is not about speed; it is about the tactile feedback between the blade and the fibers. You should allocate roughly ten minutes for layout and calibration. This is where you check your square for 90 degree accuracy. The actual marking phase takes about five minutes per joint. You are not rushing; you are feeling for the "click" when the knife tip drops into a previous mark.
The rhythm follows a specific beat: measure; nick; align; and strike. The strike is the final committed pull of the blade. If you move too fast; the blade might follow the porous earlywood of the grain rather than your intended path. By slowing down; you allow the blade to slice through the lignin of the wood cells cleanly. This deliberate pace ensures that your final assembly requires zero "fudging" or sanding to fit.
THE CORE METHOD
1. Establishing the Reference Point
Start by making a tiny "V" shaped nick at your measured distance using the tip of the knife. This creates a physical pocket for the blade to rest in. Mastery Tip: This utilizes the principle of mechanical registration. By creating a physical depression; you remove the parallax error that occurs when looking at a flat pencil line from different angles.
2. Seating the Blade
Place the tip of your marking knife into the "V" nick you just created. Slide your combination square or steel ruler up until it touches the flat face of the blade. This ensures the blade is the exact starting point of the measurement. Mastery Tip: The capillary action of any moisture in the wood will actually help guide the blade if the surface is properly prepared; but the primary science here is the elimination of "creep" where the tool moves during the transition from measuring to cutting.
3. The Scribing Stroke
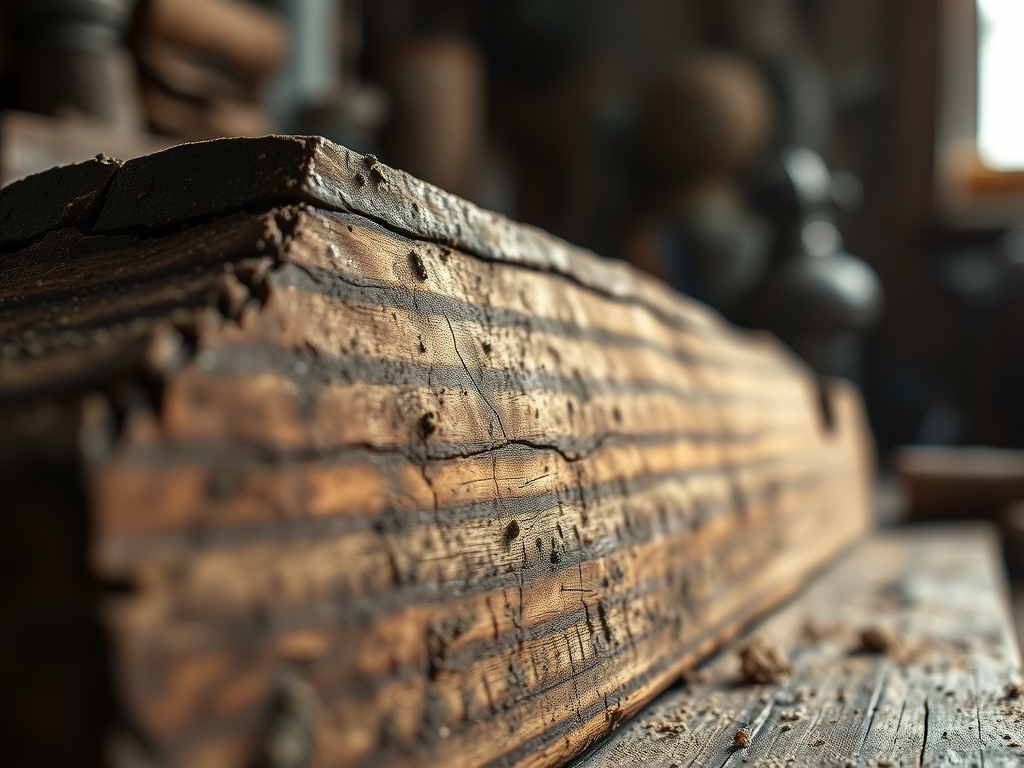
Apply light pressure and pull the knife toward you. Do not try to cut deep on the first pass. The goal is to sever the surface fibers to prevent tear-out later. Mastery Tip: This initial score manages the structural integrity of the material. By pre-cutting the fibers; you ensure that when a larger tool like an oscillating tool or saw enters the wood; the surface tension is already broken; resulting in a crisp; splinter-free edge.
4. Deepening the Knife Wall
Repeat the stroke two or three times; increasing pressure slightly with each pass. You are building a "knife wall" that is deep enough to catch the edge of a chisel. Mastery Tip: This creates a geometric shoulder. In physics terms; you are creating a guide path with high friction on the walls and low resistance at the base; which naturally funnels your secondary tools into the correct position.
THE TECHNICAL LEDGER
Maintenance & Longevity
A dull marking knife is a dangerous one. You must maintain the edge using a high grit whetstone; typically 1000 to 6000 grit. Because the blade is high carbon steel; it is susceptible to oxidation. Apply a thin coat of camellia oil after each session to preserve the molecular stability of the steel.
Material Variations
- Sustainable: Bamboo ply requires a very shallow initial score because the ply layers can delaminate if you apply too much vertical pressure.
- Recycled: Reclaimed oak often has varying fiber density; requiring you to adjust your pressure as you hit knots or denser growth rings.
- Premium: Exotic hardwoods like ebony are extremely brittle; use a very sharp; thin blade to avoid chipping the "glassy" surface.
The Correction
- The Wander: If the blade follows the grain away from the square; stop immediately. Fill the errant line with a mixture of wood glue and fine sawdust; let it dry; and re-score with a firmer grip on the square.
- The Overshoot: If you score past your corner; do not panic. Use a burnish tool to compress the fibers back down. The "bruise" will often disappear once a finish is applied.
- The Double Line: If you accidentally create two parallel lines; identify the correct one and mark it with a small "X" in pencil. Use a rotary cutter or chisel to carefully widen the correct line into a definitive shoulder.
Studio Organization
Store your marking knives in a wooden rack with the blades facing down or covered by leather sheaths. Never toss them into a drawer where the edges can clatter against other metal tools. This prevents micro-chipping of the bevel; which would cause "chatter" marks in your future layouts.
THE FINAL REVEAL
When you finally pull your pieces together; the result is nothing short of magic. There are no gaps; no wobbles; and no need for wood filler to hide your mistakes. The light catches the crisp; severed edges of the joint; showing off the true beauty of the material. By Using a Marking Knife; you have moved beyond the "close enough" mentality of the hobbyist and into the realm of the master crafter. It feels solid; it looks professional; and most importantly; it honors the physics of the medium you are working with. You have turned a simple measurement into a structural reality.
STUDIO QUESTIONS
Why is a single bevel better than a double bevel?
A single bevel allows the cutting edge to sit perfectly flush against your reference guide. This eliminates the offset gap created by a double bevel; ensuring your cut is exactly where you measured.
Can I use a marking knife on leather?
Yes; though it is often called a "head knife" or "skiving knife" in that context. It provides a clean; vertical cut through the tensile fibers of the hide without the dragging or stretching common with duller blades.
How deep should the knife line be?
The line only needs to be deep enough to "track" your next tool. For most hardwoods; a depth of 0.5mm to 1mm is sufficient to create a physical shoulder for a saw or chisel to register against.
What if my wood grain is very wavy?
Wavy grain tends to pull the knife off course. To counter this; use multiple extremely light passes rather than one heavy one. This allows the blade to slice the fibers incrementally without being diverted by the density variations.