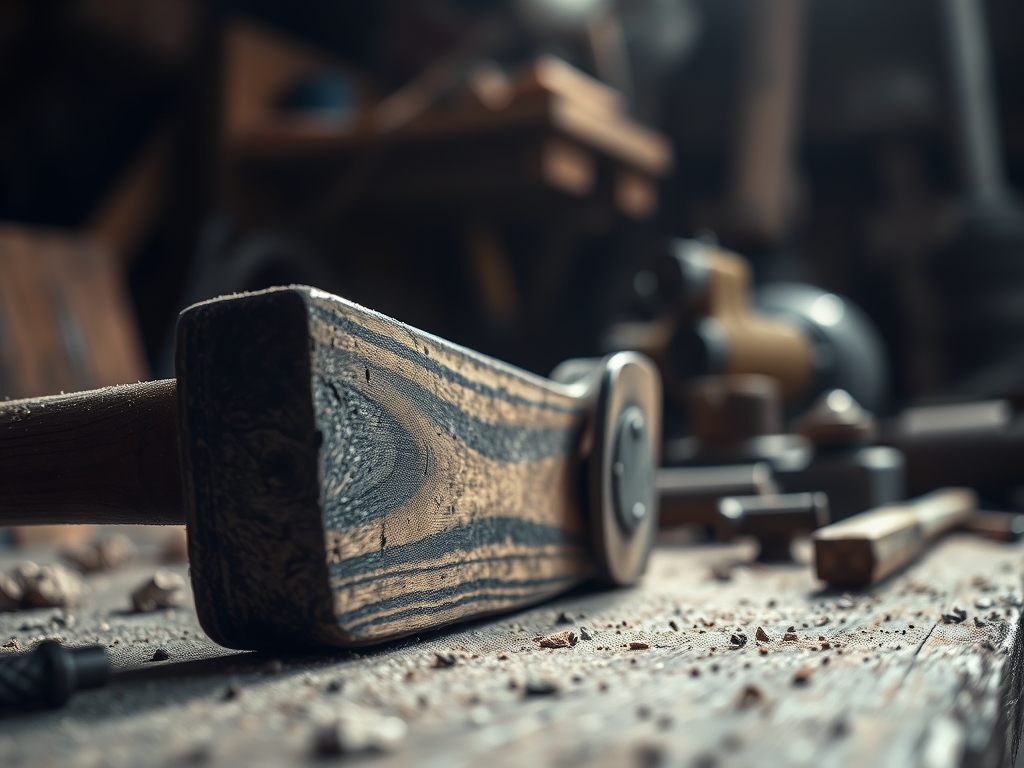
Imagine the scent of freshly planed cherry wood hitting your senses like a shot of espresso. It is sharp; it is sweet; it is the smell of a project that is about to demand every ounce of your focus. We are moving beyond the basics today because I am finally obsessed with Advanced Dovetail Variations. This is not just about joining two boards at a right angle. This is about the houndstooth joint; a pattern so intricate it looks like woven fabric frozen in timber. When you run your thumb across the end grain, you feel the microscopic ridges of the cellular structure. It is tactile and grounding. We are chasing that perfect friction fit where the wood fibers compress just enough to lock without splitting. It is a dance between the tensile strength of the wood and the surgical precision of your hand tools.
THE STUDIO KIT
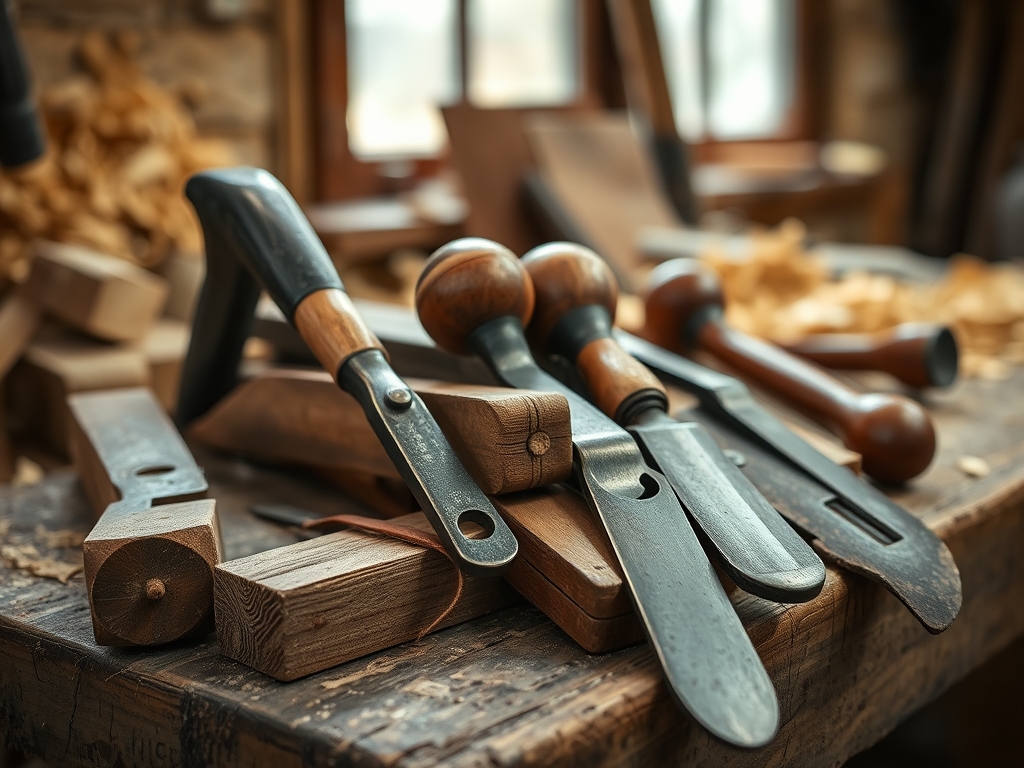
To master these Advanced Dovetail Variations, your kit needs to be as sharp as your wit. We start with a high-carbon steel dovetail saw featuring a high TPI (teeth per inch) count for clean, non-binding cuts. You will need a set of bench chisels with a 25-degree primary bevel for paring. For the layout, a marking gauge with a hardened steel pin is non-negotiable; it severs the wood fibers rather than crushing them like a pencil would. I also keep digital calipers on hand to measure the exact thickness of my stock to the thousandth of a millimeter.
For the materials, I am using a combination of black walnut and hard maple. The contrast is stunning, but the physics are the real draw. Walnut is porous and forgiving, while maple is dense with a high Janka hardness rating. This pairing ensures that the "teeth" of our houndstooth pattern remain crisp and do not crumble during the assembly phase.
Material Substitutions: If you cannot source walnut, cherry is a fantastic alternative due to its tight grain and stable dimensional properties. If maple is too stubborn for your current chisel set, try white oak. Just be wary of the large medullary rays in oak; they can deflect a fine saw blade if you are not careful. Always check the moisture content with a meter; you want a stable 6 to 8 percent to prevent seasonal movement from ruining your joinery.
THE TEMPO
The "Maker's Rhythm" is a real thing, and for a houndstooth joint, it is a slow-burn jazz track. You cannot rush the layout phase. Expect to spend at least two hours just on the initial marking and scribing. This is the cognitive load phase where you map out the interlocking geometry. The cutting and waste removal will take another three to four hours.
Once the joints are cut, the "fitting" stage begins. This is a meditative cycle of paring away a few microns of wood, testing the fit, and paring again. It is the most rewarding part of the process because you are listening to the wood. A "thunk" sound during a dry fit means you have achieved the perfect mechanical lock. Total project time for a single corner? Budget a full Saturday. Your brain will be tired, but your soul will be soaring.
THE CORE METHOD
1. The Precision Scribe
We begin by using a marking gauge to set the depth of our tails based on the thickness of the mating board. This creates a physical "wall" for your chisel to rest in later. Use a square and a marking knife to layout the houndstooth pattern. This involves two sets of tails: a long set and a short set that creates the "tooth" effect.
Mastery Tip: The science here is all about fiber severance. A knife line actually cuts the longitudinal tracheids of the wood. This prevents the wood from "splintering" when the saw teeth pass through, ensuring your joint has those razor-sharp edges seen in professional Advanced Dovetail Variations.
2. The Angled Kerf
Using your dovetail saw, cut on the waste side of your knife lines. You must maintain a consistent rake angle to ensure the tails are uniform. Hold the saw with a light grip; let the weight of the tool do the work. If you grip too hard, you will introduce lateral tension and wander off your line.
Mastery Tip: This step relies on kerf management. The width of the saw blade (the kerf) must be accounted for. If you cut on the line instead of the waste side, your joint will be loose. The friction required for a "piston fit" depends on the microscopic interference between the two wood surfaces.
3. Clearing the Baselines
Now we bring in the chisels. Use a jeweler's saw to remove the bulk of the waste, then use your chisels to pare back to the scribe line. Work from both sides toward the center to avoid "blowout" on the show side of the wood. This is where you define the floor of the joint.
Mastery Tip: This is an exercise in compressive strength. When you pare the wood, you are using the chisel as a wedge to overcome the lignin holding the fibers together. By working from both sides, you ensure the internal structural integrity of the board remains intact.
4. The Final Mating
After checking your pins against your tails, it is time for the assembly. Apply a thin layer of PVA glue. You do not want a "glue-starved" joint, but too much moisture can cause the wood to swell prematurely, making the fit impossible. Use a dead-blow mallet to gently seat the joint.
Mastery Tip: This stage utilizes capillary action. The glue is drawn into the porous end grain of the wood. As the water in the glue evaporates, the polymers link with the wood cellulose, creating a bond that is technically stronger than the wood itself.
THE TECHNICAL LEDGER
Maintenance & Longevity: To keep your houndstooth joints from failing, you must burnish the edges. Use a smooth piece of steel or a bone folder to compress the fibers at the corners. This prevents moisture from entering the end grain and causing rot over decades of use.
Material Variations:
- Sustainable: Reclaimed Douglas Fir offers a beautiful "rustic" look, though the high resin content can gum up your saw.
- Premium: African Blackwood is incredibly dense and allows for detail that looks like it was carved from stone.
The Correction:
- The Gap: If you have a visible gap, do not panic. Mix fine sawdust from your project with a drop of glue to create a matched filler.
- The Split: If the wood splits during assembly, it was too tight. Use a syringe to inject glue into the crack and clamp it immediately.
- The Twist: If the joint is out of square, use a block plane to slightly taper the internal faces of the pins.
Studio Organization: Store your unfinished joints in a climate-controlled area. Sudden drops in humidity can cause the wood to "cup," which will throw off your alignment. Use a silica gel pack in your tool chest to prevent your high-carbon saws from developing surface oxidation.
THE FINAL REVEAL
Look at that! The contrast between the dark walnut and the cream-colored maple is absolutely electric. When the light hits those Advanced Dovetail Variations, the houndstooth pattern creates an optical illusion of depth. It feels solid; it feels expensive; and most importantly, it feels like something you earned. You have successfully navigated the physics of wood movement and the geometry of complex joinery. This is not just a box; it is a testament to your patience and your growing mastery of the craft.
STUDIO QUESTIONS
What is the best wood for a first houndstooth joint?
Cherry is the gold standard for beginners. It has a consistent cell density and a tight grain that holds detail beautifully without being as punishingly hard as maple or as brittle as some exotic species.
How do I prevent my saw from drifting?
Ensure your body mechanics are aligned. Your elbow should move like a piston in line with the cut. Any lateral pressure will cause the blade to follow the grain rather than your intended path.
Can I use power tools for this?
While an oscillating tool can remove waste, the final "fitting" must be done by hand. Power tools lack the tactile feedback required to achieve the microscopic tolerances necessary for high-end Advanced Dovetail Variations.
Why did my joint split during glue-up?
This usually happens due to hydrostatic pressure. If you put too much glue in a very tight hole, the liquid has nowhere to go and acts as a hydraulic wedge, splitting the wood fibers apart.
How do I sharpen my chisels for this?
Use diamond stones up to 8000 grit. A truly sharp chisel should be able to shave the hair off your arm. This level of sharpness is required to slice through wood fibers without crushing them.