Close your eyes and listen to the high pitched hum of a three horsepower motor waking up. Feel the vibration through the soles of your boots as the drive belt catches. We are about to turn a massive, intimidating slab of four inch thick walnut into a stack of translucent, paper thin sheets. Mastering the Band Saw is not just about moving wood against a blade; it is about managing the internal stresses of a living organism. When you resaw, you are literally unzipping the history of a tree. The scent of toasted tannins fills the room as the blade friction warms the sap. You can feel the density change under your palms as the grain transitions from the tight, slow growth of winter to the porous, rapid expansion of summer. We are chasing a thickness of exactly one sixteenth of an inch. It requires a steady hand, a sharp eye, and a deep understanding of how cellular structures react when their structural integrity is suddenly halved. Let us get into the grit of this setup.
THE STUDIO KIT

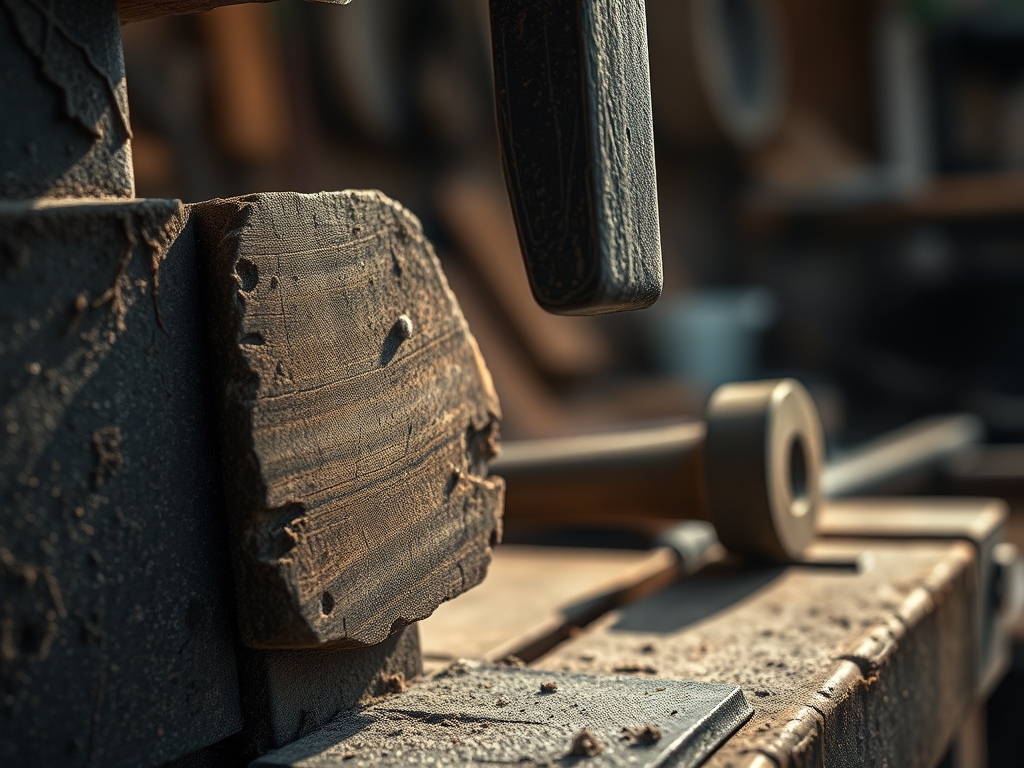
To achieve professional grade veneer, your hardware must be dialed in with surgical precision. My primary weapon is a 14 inch cast iron band saw equipped with a carbide tipped resaw blade. Unlike standard carbon steel, carbide stays sharp through miles of abrasive hardwoods. You will also need a high tension spring to prevent the blade from fluttering under the load of a wide cut. For measurements, put away the tape measure and grab your digital calipers; we are measuring in thousandths of an inch now.
The material choice is critical. I am using kiln dried black walnut because its tensile strength is high enough to resist curling after it is sliced. If you cannot find walnut, a great Material Substitution is cherry or mahogany. Avoid species with high oil content like teak for your first try, as the oils can lubricate the blade and cause it to drift. You will also need a tall fence extension to support the vertical height of the board and a featherboard to apply consistent lateral pressure against the fence. This ensures the board does not tip, which would result in a tapered, useless wedge of wood.
THE TEMPO
Resawing is a game of patience and a test of your "Maker's Rhythm." You cannot rush a three inch blade through four inches of dense fiber. The Calibration Phase takes about thirty minutes; this is where you square the table to the blade and set your fence lead. The Execution Phase is actually the shortest, lasting about two minutes per slice, but it requires total sensory immersion. You must listen to the motor. If the pitch drops, you are feeding too fast. Finally, the Acclimation Phase lasts twenty four hours. Once a board is sliced, the internal moisture equilibrium shifts. You must sticker and weigh down your veneers immediately to prevent them from potato chipping. Total active time is roughly two hours, but the project breathes for a full day before it is ready for glue up.
THE CORE METHOD
1. Squaring the Stock
Before the blade ever touches the wood, the board must be perfectly flat. Use a jointer to create two faces at a perfect ninety degree angle. If your stock is twisted, the blade will follow that curve, resulting in a wavy cut that no amount of sanding can fix. Mastery Tip: The science here involves planar geometry. If the reference surface is not flat, the blade experiences uneven lateral pressure, causing "blade lead" where the teeth wander toward the path of least resistance.
2. Setting the Drift Angle
Every band saw blade has a mind of its own. It rarely cuts perfectly parallel to the fence. To find your drift angle, scribe a straight line on a scrap board and cut it freehand. Once you find the angle that keeps the cut straight, lock your fence to match that specific orientation. Mastery Tip: This compensates for the asymmetric set of the teeth. Even high end blades have microscopic variations in how the teeth are bent, which dictates the natural tracking path of the steel.
3. The High Tension Feed
Position your hands so you are pushing the board forward while the featherboard keeps it tight against the fence. Use a slow, consistent feed rate. If you stop moving, the blade will create a "burn mark" as the friction carbonizes the wood fibers. Mastery Tip: Maintaining a steady feed rate manages thermal dissipation. If the blade stays in one spot too long, heat builds up, expanding the metal and causing the blade to lose its tension and wander.
4. Post Cut Compression
As soon as the slice is free, it will want to bow toward the freshly cut side. This is because the cells on the interior of the board have more moisture than the outer face. Place the veneer between two flat sheets of MDF and apply heavy weights. Mastery Tip: This controls hygroscopic expansion. By restricting the wood's movement while the moisture levels equalize, you force the cellulose fibers to set in a flat orientation.
THE TECHNICAL LEDGER
Maintenance is the heartbeat of the studio. After every ten slices, use a brass brush to clean the pitch and resin buildup from the blade teeth. This prevents friction and keeps the "kerf" clean. For longevity, always de-tension your blade at the end of the day. Leaving a blade under high tension can stretch the steel and flatten the rubber tires on your saw wheels, leading to permanent vibration issues.
Material Variations offer different challenges. Sustainable Bamboo is incredibly abrasive and will dull a standard blade in minutes; use only carbide. Recycled Barnwood often contains hidden ferrous nails; always run a metal detector over your stock to save your blade from a catastrophic failure. For Premium Curly Maple, you must slow your feed rate by half to prevent the figured grain from "tearing out" at the exit point.
The Correction: Common Mistakes
- The Barrel Cut: The veneer is thin at the ends but thick in the middle. The Fix: Increase your blade tension. The blade is bowing backward in the center of the cut.
- Washboarding: The surface has rhythmic ripples. The Fix: Check your drive belt or wheel balance. This is a mechanical vibration being telegraphed into the wood.
- Burnt Edges: Dark black marks on the wood. The Fix: Increase feed speed or replace a dull blade. The wood is literally cooking because the teeth are rubbing instead of cutting.
Studio Organization is vital for veneer. Store your finished sheets in a "Veneer Press" or a climate controlled rack. Use acid free paper between sheets of high tannin woods like oak to prevent staining. Label each slice in the order it was cut; this allows you to "bookmatch" the grain later, creating stunning symmetrical patterns in your final furniture pieces.
THE FINAL REVEAL
There is nothing quite like the moment you peel that first slice of veneer away from the mother board. It is flexible, almost like leather, but retains the shimmering "chatoyancy" of the wood grain. When you hold it up to the light, the walnut glows with a deep, chocolate warmth. You have taken a rigid, heavy beam and transformed it into a versatile, elegant material. This setup allows you to stretch a single beautiful board across an entire suite of furniture, ensuring perfect color matching and a level of sophistication that store bought plywood can never touch. You are no longer just a woodworker; you are a master of thin margins.
STUDIO QUESTIONS
Why is my band saw blade wandering to the left?
This is usually caused by uneven tooth set or insufficient tension. If the teeth on one side are duller or bent further than the other, the blade will naturally pull toward the sharper, more aggressive side during the cut.
What is the best TPI for resawing thick boards?
For thick stock, use a 3 or 4 TPI (Teeth Per Inch) blade. The large gullets between the teeth are essential for carrying away the massive amount of sawdust generated by a deep vertical cut without clogging.
Can I resaw air-dried lumber immediately?
No, air-dried lumber often has a moisture gradient between the core and the surface. Resawing it releases internal tension too quickly, causing the thin veneers to warp or crack instantly. Ensure the wood is stabilized to 8% moisture.
How do I prevent the veneer from cracking during storage?
Keep the veneers under uniform pressure in a flat stack. Use "stickers" (thin wood strips) only if you need airflow; otherwise, solid stacking with a heavy weight on top is best to maintain flatness during the acclimation period.