
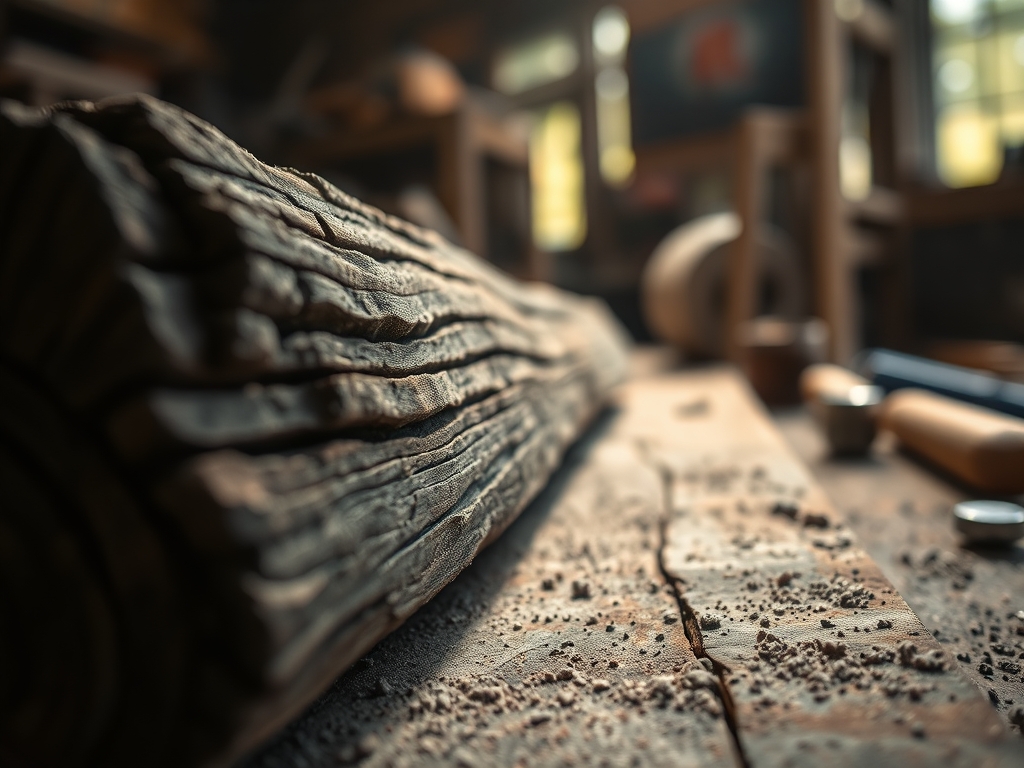
Close your eyes and imagine the scent of fresh cut cedar hitting your lungs like a bolt of electricity. There is a specific, heavy vibration that hums through a workshop floor when a massive log meets a circular blade. To get that perfect finish, you must master Professional Timber Sourcing before you even touch a chisel. This is about more than just buying boards; it is about understanding the cellular architecture of the tree itself. When you run your hand over a raw slab, you are feeling the lignin and cellulose bonds that held a giant upright for a century. We are hunting for that sweet spot where moisture content meets structural integrity. If you want your furniture to last longer than a season, you need to know exactly where your wood comes from and how it was dried. We are going deep into the grain today, looking for those hidden local gems that offer the best "heartwood to sapwood" ratio for your specific build.
THE STUDIO KIT
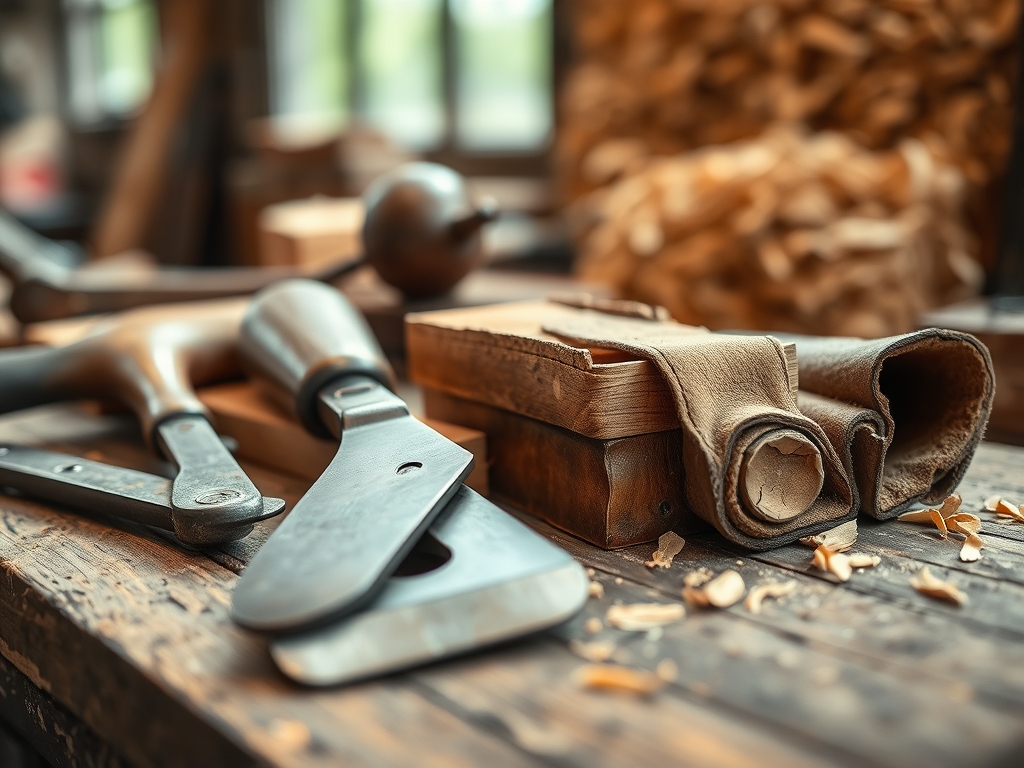
To evaluate a sawmill like a pro, you need more than just a truck. You need a **digital moisture meter** with pin sensors to ensure the internal core of the wood has reached an equilibrium with your local environment. Carry a set of **digital calipers** to check for “thickness taper” across the length of a board; inconsistent milling leads to hours of wasted plane work later. You will also need a **marking awl** to test the hardness of the surface and a **magnifying loupe** to inspect the end grain for microscopic checks or cracks.
Material Substitutions: If you cannot find premium kiln-dried walnut, look for "air-dried" cherry or white oak. Air-dried timber often retains more vibrant color because the sugars in the wood have not been "cooked" by high heat. If a local mill is out of hardwoods, consider reclaimed Douglas Fir from old structures; it offers incredible tensile strength and a dense grain pattern that modern "fast-growth" lumber simply cannot match. Always check the gauge of the growth rings; tighter rings mean a more stable board that is less likely to warp under tension.
THE TEMPO
The "Maker's Rhythm" is a slow burn that rewards the patient. Sourcing is not a thirty-minute errand; it is a three-phase operation. Phase one is the Discovery Phase (4-6 hours), where you scout three different mills to compare their drying methods and log piles. Phase two is the Selection Slog (2-3 hours), involving the physical flipping of boards to find the "bookmatch" pairs. Finally, phase three is the Acclimatization Period (2-4 weeks). You cannot rush physics. Wood is a porous material that breathes. Even if the mill says it is dry, you must let it sit in your studio to reach a state of hygroscopic equilibrium. If you skip this, your joints will fail as the wood shrinks or expands in its new home.
THE CORE METHOD
1. The Perimeter Scout
Start by walking the perimeter of the lumber yard to observe how they stack their "green" wood. Look for stickering, which is the practice of placing small strips of wood between layers to allow airflow. If the stickers are not aligned vertically, the weight of the stack will create a permanent "bow" in the bottom boards.
Mastery Tip: This is about structural integrity. When wood is stacked poorly, the uneven distribution of weight causes the fibers to take a "set" while drying, leading to internal stresses that will cause the board to "spring" or twist the moment you cut it on a table saw.
2. The End Grain Inspection
Pick up a board and look at the very end. You are looking for pith-centered boards, which you want to avoid. The pith is the very center of the tree and is incredibly unstable. Look for "quarter-sawn" grain where the rings are perpendicular to the face of the board.
Mastery Tip: This involves capillary action and shrinkage. Wood shrinks twice as much along the growth rings (tangentially) as it does across them (radially). Quarter-sawn timber is the gold standard because its movement is predictable and minimal, preventing your tabletops from cupping over time.
3. The Moisture Mapping
Take your moisture meter and take readings at both ends and the middle of the board. A professional mill should have wood between 6% and 8% for indoor furniture. If the ends are 7% but the middle is 12%, the board was rushed through the kiln and will likely "case harden."
Mastery Tip: Case hardening occurs when the outer shell of the wood dries and shrinks while the core is still wet. This creates massive internal tension. When you rip a case-hardened board, the two halves will often pinch the blade or "banana" outward instantly.
4. The Tactile Surface Test
Run a gloved hand over the face of the timber to feel for "fuzzing" or "tear-out" from the mill's planer. While you will eventually sand or burnish the surface, heavy tear-out indicates that the wood has "interlocked grain," which will be a nightmare to work with hand tools.
Mastery Tip: Interlocked grain occurs when the fibers grow in a spiral pattern that reverses every few years. This increases the shear strength of the wood but makes it nearly impossible to plane smoothly without a high-angle frog or a specialized oscillating tool for sanding.
THE TECHNICAL LEDGER
Maintenance & Longevity: Once you bring your timber home, seal the end grain with wax or a specialized "end-sealer" immediately. This prevents moisture from escaping through the ends faster than the faces, which is the primary cause of "checking" or splitting. Store your boards flat on a level surface with stickers every 16 inches to maintain airflow.
Material Variations:
- Sustainable: Look for "Urban Salvage" mills that process trees removed by arborists.
- Recycled: Sinker Cypress, pulled from river bottoms, offers incredible rot resistance due to its high oil content.
- Premium: European Pearwood or English Walnut offers a buttery texture that is perfect for fine detail work with a jeweler's saw.
The Correction:
- The Bow: If a board is slightly bowed, use a jointer to flatten one face, but never take more than 1/8 inch at a time to avoid releasing too much internal tension at once.
- The Snipe: If the mill's planer left a deep gouge at the end of the board, use a block plane to taper the transition before running it through your own thicknesser.
- The Sap Stain: If you find grey fungal staining, you can sometimes "bleach" it with oxalic acid, but it is often better to embrace the "spalting" as a decorative feature.
Studio Organization: Never store your wood directly on a concrete floor. Concrete acts like a giant sponge, pulling moisture into the bottom board and causing it to "cup" toward the dampness. Use a cantilever rack or a series of heavy-duty "2×4" sleepers to keep the pile elevated.
THE FINAL REVEAL
There is an incredible rush when you finally take that raw, dusty slab from a local mill and run your first plane stroke across it. The transition from a rough, grey exterior to the shimmering, tactile warmth of the grain underneath is pure magic. By focusing on Professional Timber Sourcing, you aren't just building a project; you are engineering a legacy piece. You can feel the weight, the density, and the history in every fiber. When the light hits that finished surface, and you see the "chatoyance" or 3D depth of the grain, you will know that every hour spent at the sawmill was worth it. Your hands will thank you, your tools will stay sharper, and your work will stand the test of time.
STUDIO QUESTIONS
What is the ideal moisture content for furniture?
For indoor furniture, aim for 6% to 9% moisture content. This range ensures the wood is stable enough to resist warping or cracking when exposed to climate-controlled home environments and seasonal humidity shifts.
How do I identify a "pith" in a board?
The pith is the very center point of the tree's growth rings. It looks like a small, dark, often soft circle. Avoid boards containing the pith, as they are highly prone to splitting and extreme radial cracking.
What does "S4S" mean at a sawmill?
S4S stands for "Surfaced on Four Sides." This means the mill has already planed and squared all edges for you. It is more expensive but saves significant time if you lack a heavy-duty jointer and planer in your studio.
Why is air-dried wood sometimes better than kiln-dried?
Air-drying is a slower process that preserves the natural oils and colors of the wood. Kiln-drying can sometimes "wash out" the vibrant hues of species like Walnut, though kilns are better at killing wood-boring insects.
Can I use construction lumber for fine furniture?
Construction lumber is usually "green" or high-moisture softwoods like Pine. While cheap, it shrinks significantly and is prone to heavy pitch bleeding. It is best reserved for structural frames rather than visible, fine-joined surfaces.

