
Close your eyes and listen to that high-pitched whine that sounds like a jet engine preparing for takeoff in your garage. That is the sound of pure potential. When you are gripping the handles of a plunge base, you are not just cutting wood; you are dancing with physics. Mastering the Router is about more than just making a straight line. It is about understanding the tensile strength of your timber and the way a carbide-tipped bit interacts with the cellulose fibers of the wood. The first time you feel that bit bite into the grain, you will notice a specific resistance. That is the material fighting back against the rotational force. It feels electric. It feels precise. We are going to transform a raw, porous slab into a piece of functional art by manipulating speed, depth, and direction. Grab your safety glasses and your favorite flannel because we are about to turn sawdust into magic.
THE STUDIO KIT

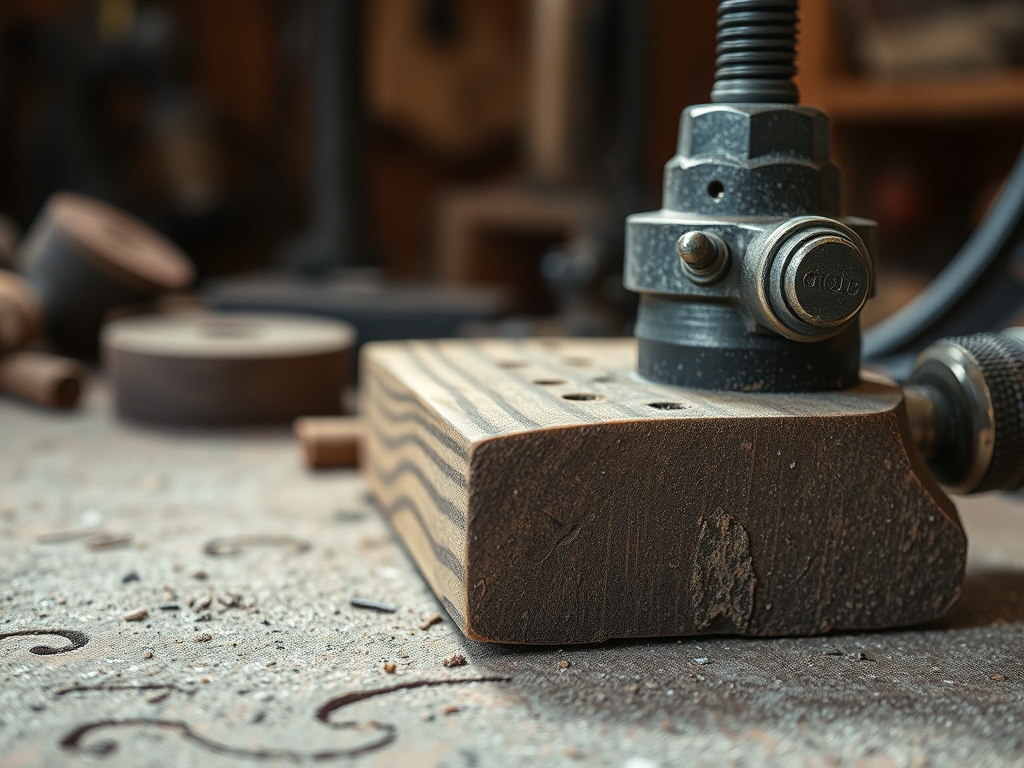
To dominate this project, you need a kit that respects the mechanical tolerances of the machine. Your primary weapon is a 2.25 horsepower fixed-base or plunge router. You will also need a set of 1/4 inch and 1/2 inch collets to secure your bits. Speaking of bits, we are looking at straight-cut, round-over, and chamfer bits made of high-grade tungsten carbide. For layout, skip the chunky carpenter pencils. Use a marking awl for hair-thin precision and a set of digital calipers to measure your depth of cut to the thousandth of an inch.
Material Substitutions: If you cannot source kiln-dried walnut, look for cherry or maple. These hardwoods have a high fiber density which prevents the wood from splintering under high RPMs. If you are practicing, high-density fiberboard (MDF) is a great substitute because it lacks a grain direction, though it is much more abrasive on your cutters. Always keep a bone folder or a scrap of leather nearby to burnish the edges after your final pass.
THE TEMPO
The Maker's Rhythm is not about rushing; it is about the cadence of the cut. Total project time for a standard decorative tray or sign is roughly four hours, but we break it down into distinct phases to manage heat buildup.
- The Blueprint (45 Minutes): This is where you use your jeweler's saw or a scroll saw to prep any templates. Precision here saves hours of sanding later.
- The Rough-In (60 Minutes): This is the heavy lifting. We take multiple shallow passes to remove the bulk of the material without stressing the motor.
- The Detail Pass (90 Minutes): This is the slow, methodical movement where we focus on surface finish and edge profiles.
- The Refinement (45 Minutes): Final sanding and applying a finish that penetrates the porous structure of the wood.
THE CORE METHOD
1. Mapping the Grain Direction
Before the motor even turns on, you must read the wood. Look at the end grain to see which way the fibers run. You want to move the router against the rotation of the bit to maintain control. This is called climb cutting if you do it backwards, and it can be dangerous if you are not prepared for the tool to "walk" away from you.
Mastery Tip: Wood is a bundle of straws. If you cut "up" the grain, you risk "tear-out," where the bit lifts and snaps the fibers. Always aim to cut "downhill" relative to the grain to maintain structural integrity.
2. Setting the Depth of Cut
Never try to remove more than 1/8 of an inch of material in a single pass. Setting your depth involves using the turret stop on your plunge base. Use your calipers to verify that your final pass will leave exactly the thickness you desire.
Mastery Tip: Excess friction causes heat, which leads to thermal degradation of the wood fibers (burning). Multiple shallow passes allow the air pulled in by the router's fan to cool the bit, extending its lifespan.
3. Executing the Edge Profile
When using a bearing-guided bit for a round-over or chamfer, ensure the bearing is clean and spins freely. Start your movement on a scrap piece to build momentum before hitting your workpiece. Keep your weight centered over the base to prevent tipping.
Mastery Tip: The physics of a rotating bit creates centrifugal force that wants to push the tool away from the wood. Consistent lateral pressure ensures the bearing stays flush against the template, resulting in a perfectly uniform radius.
4. The Final Burnish
Once the machining is done, use a rotary cutter or a sharp chisel to clean up any "fuzz" in the corners. Then, take a piece of hardwood scrap and rub it vigorously against the routed edge. This compresses the fibers and creates a natural sheen.
Mastery Tip: This process, known as burnishing, uses friction to close the wood's pores. It increases the surface's resistance to moisture by increasing the capillary tension at the cellular level.
THE TECHNICAL LEDGER
Maintenance & Longevity: After every session, use a brass brush to remove pitch and resin from the bit flutes. A dirty bit creates more friction and dulls faster. Store your bits in a foam-lined case to prevent the carbide from chipping.
Material Variations:
- Sustainable: Bamboo is incredibly hard but prone to splintering; use a higher RPM.
- Recycled: Pallet wood often contains silica or nails; use a metal detector first.
- Premium: Exotic woods like Wenge have high oil content which can gum up your bits.
The Correction:
- The Burn Mark: If you stop moving, the wood burns. Fix this by taking one final, ultra-light "whisper" pass of about 1/64 inch.
- The Tear-Out: If a corner snaps off, glue the piece back immediately using a cyanoacrylate adhesive and an activator for an instant bond.
- The Gouge: If you slip, you can mix fine sawdust from the same board with wood glue to create a matching filler.
Studio Organization: Store your templates vertically to prevent warping. Keep your router in a climate-controlled area to prevent the ergonomic rubber grips from degrading and to stop the metal base from developing surface rust.
THE FINAL REVEAL
Look at that edge! The way the light catches the chamfer is pure satisfaction. You have taken a chaotic piece of nature and applied mechanical precision to create something with perfect symmetry. The surface feels smooth, almost like stone, because you respected the physics of the tool. Your friends will ask where you bought it, and you can casually mention that you just spent some quality time mastering the rotational torque of your favorite power tool. It is sharp, it is professional, and it is uniquely yours.
STUDIO QUESTIONS
What is the best speed for a large router bit?
Large bits should run at lower RPMs, typically between 10,000 and 12,000. This manages the peripheral speed of the bit's outer edge, preventing dangerous vibrations and wood burning during the cut.
How do I stop my router bits from rusting?
Apply a thin coat of dry lubricant or specialized tool wax to the shanks and cutters. Avoid water-based cleaners. Store them in a low-humidity environment to prevent oxidative corrosion on the precision-ground surfaces.
Can I use a router on acrylic or plastic?
Yes, but you must use a variable speed router set to a low RPM. High speeds generate excessive heat that melts the plastic, clogging the bit and ruining the optical clarity of the edge.
What is the difference between a fixed and plunge base?
A fixed base stays at a constant depth, ideal for edge work. A plunge base allows you to lower the bit into the wood vertically, which is essential for internal mortises and decorative inlays.
Why does my router bit keep slipping out?
This usually happens due to a worn collet or debris inside the assembly. Clean the collet with compressed air and ensure the bit is inserted fully then backed out 1/8 inch before tightening to ensure clamping force.

