
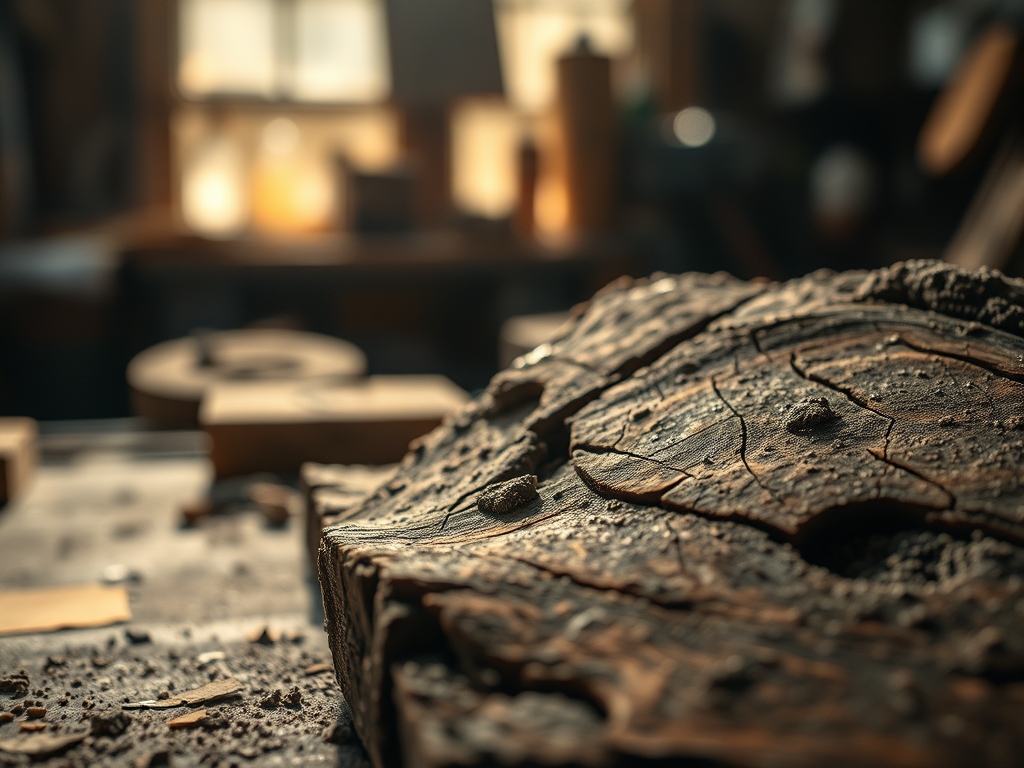
Run your fingers across that raw slab of curly maple and you will feel the microscopic ridges of the summerwood. It is a tactile map of the tree's life; a history written in cellulose and lignin. The problem we face as makers is that traditional pigment stains act like a heavy blanket of mud. They sit on the surface and obscure those gorgeous ripples. To achieve true depth, we must master Advanced Wood Dyeing. This technique does not just coat the surface; it penetrates the cellular structure of the wood. We are talking about high-definition color that vibrates from within the grain rather than sitting on top of it. Imagine a deep sapphire or a rich mahogany that looks like a pool of colored glass. You can see every fiber and every growth ring perfectly preserved. This is where physics meets art. We are manipulating the refractive index of the wood surface to ensure that light bounces off the internal structures before hitting your eye. It is the difference between looking at a painting and looking through a gemstone.
THE STUDIO KIT
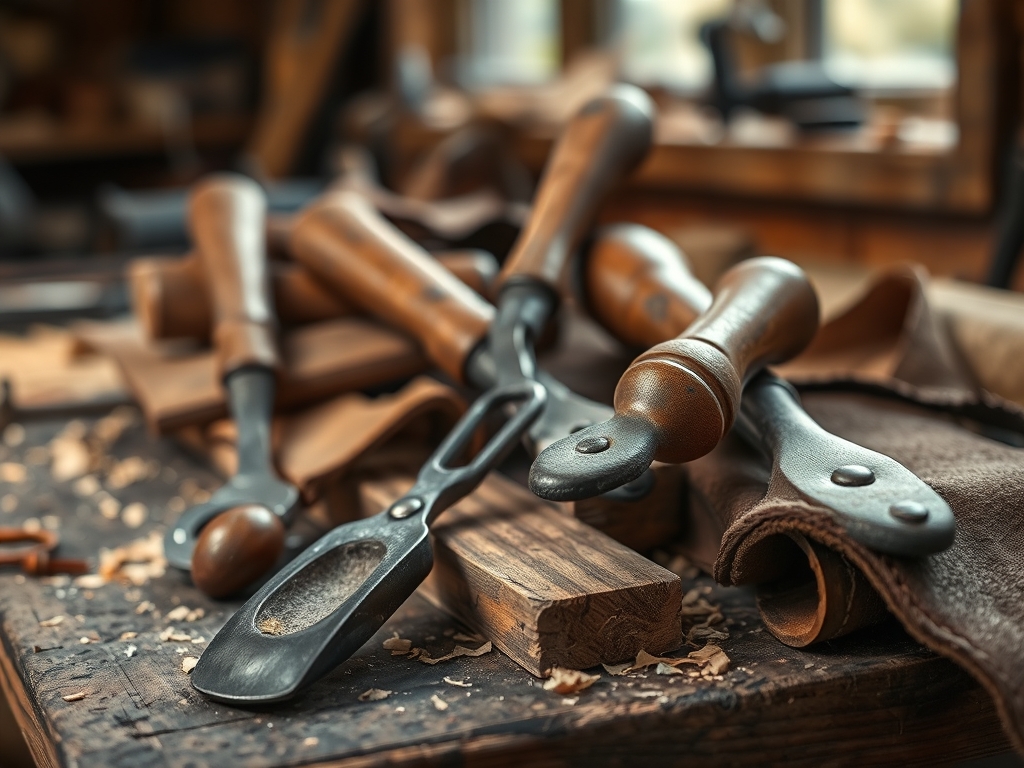
To execute this properly, your workbench needs more than just a rag and a bucket. You need a curated selection of tools designed for precision application. First, grab your digital calipers to measure the thickness of your veneer or board; this helps you estimate how much liquid the wood can absorb without warping. You will need high-grade water-soluble metal-complex dyes. Unlike oil-based stains, these have a molecular size small enough to navigate the wood's tracheids. For application, skip the hardware store brushes. Use a high-density synthetic sponge or a gravity-feed HVLP sprayer for an even atomization of the particles.
You also need a burnishing tool or a smooth bone folder to compress fibers after the final sanding. For material substitutions, if you cannot find professional wood dyes, high-quality leather dyes often share the same alcohol-based chemistry and offer incredible lightfastness. If you are working on a budget, concentrated clothing dyes can work, but they lack the UV resistance of professional-grade metal-complex options. Always keep a rotary tool with a felt buffing wheel nearby for detail work in tight corners where the dye might pool.
THE TEMPO
The Maker's Rhythm is not about rushing; it is about respecting the drying cycles of the timber. You should allocate approximately forty-eight hours for a full-depth finish. The preparation phase takes about three hours of intensive sanding and grain raising. The actual dyeing process is fast; perhaps thirty minutes per coat; but the chemical bonding requires patience. You must wait at least four hours between coats to allow the solvent to evaporate fully. If you rush the re-entry, you risk "lifting" the previous layer of color, resulting in a blotchy mess. The final curing of the topcoat takes another twenty-four hours to ensure the color is locked behind a durable resin barrier.
THE CORE METHOD
1. Grain Raising and Surface Prep
Before a drop of color touches the wood, you must sand the surface to 320 grit using an oscillating tool for a perfectly flat plane. Once sanded, wipe the wood with a damp lint-free cloth. This is called raising the grain. As the water enters the wood, the crushed fibers stand up. Once dry, sand them off with a light pass of 400 grit.
Mastery Tip: This step utilizes capillary action. By pre-wetting the wood, you ensure that the subsequent dye application is absorbed uniformly rather than being blocked by collapsed surface cells.
2. The Primary Dark Wash
Apply a very dilute black or dark brown dye to the entire surface. It will look terrifyingly dark at first, but do not panic. Let it dry completely. Once dry, sand the surface back until the color only remains in the deep, porous "valleys" of the grain.
Mastery Tip: This creates visual contrast. The darker dye gets trapped in the earlywood vessels while the denser latewood is sanded clean, highlighting the structural integrity of the growth rings.
3. The Vibrant Color Layer
Now, apply your primary color. Because you have already "mapped" the grain with the dark wash, this new color will interact with the dark undertones to create a three-dimensional effect. Use a high-gauge needle or a fine brush to touch up any areas where the density of the wood resisted the first pass.
Mastery Tip: This involves refractive layering. By placing a transparent color over a dark base, you are forcing light to travel deeper into the wood before reflecting back, which increases perceived color saturation.
4. Burnishing and Sealing
Once the dye is bone dry, use a bone folder or a high-speed buffing wheel to burnish the surface. This flattens the wood cells and creates a natural luster. Finally, apply a thin coat of de-waxed shellac to lock the dye in place before your final clear coat.
Mastery Tip: Burnishing increases the surface density of the wood. This mechanical compression makes the surface less porous, preventing the final topcoat from "soaking in" and dulling the vibrant dye.
THE TECHNICAL LEDGER
Maintenance & Longevity: To keep these deep colors from fading, always use a topcoat with UV inhibitors. Dyes are sensitive to sunlight; without protection, a vibrant blue can turn to a dull grey in months. Every two years, apply a fresh coat of high-quality wax to maintain the moisture barrier.
Material Variations:
- Premium: Figured Maple or Quilted Mahogany offer the best "chatoyancy" (the cat-eye effect).
- Sustainable: Bamboo or reclaimed Pine can be dyed, but they require a pre-stain conditioner to prevent splotching due to varying pore density.
- Recycled: Old pallet wood is extremely dry and will drink dye like a sponge; expect to use 30% more product.
The Correction:
- The Blotchy Patch: If the dye takes unevenly, wipe the area with denatured alcohol to re-distribute the pigment.
- The "Muddy" Look: This happens if you skip the sanding-back phase. Use a fine-grit sandpaper to strip the surface and start the layering process over.
- Bleed-Through: If the dye bleeds into an adjacent inlay, use a jeweler's saw to create a physical "break" in the fibers or seal the inlay with wax before dyeing.
Studio Organization: Store your mixed dyes in airtight amber glass bottles. Light and oxygen are the enemies of chemical stability. Label each bottle with the specific dilution ratio and date of mixing to ensure consistency across future projects.
THE FINAL REVEAL
When you pull that piece out of the finishing room and the light hits it, the transformation is staggering. The grain does not just sit there; it dances. By using the physics of light and the biology of the wood against each other, you have created something that looks like it was grown in color. The depth is infinite; you can see the "shimmer" as you move around the piece. It feels professional, expensive, and technically superior to anything you could find in a big-box store. You have successfully turned a simple piece of timber into a high-performance work of art.
STUDIO QUESTIONS
How do I prevent the wood from warping during dyeing?
Always dye both sides of the board. This balances the surface tension and moisture absorption, preventing the wood fibers from pulling the board into a cup or bow as they dry.
Can I use these dyes over a previous finish?
No. Advanced Wood Dyeing requires an open porous structure. Any existing lacquer or oil will block the dye from penetrating the cells, resulting in a smeared, sticky mess on the surface.
What is the best way to test a color?
Always use an off-cut from the exact same board. Because tannin levels vary between trees, the same dye can look wildly different even on two pieces of the same species.
Why does my dye look dull after it dries?
This is the "dry-back" effect. Dyes lose their luster once the solvent evaporates. The vibrancy will return instantly once you apply a clear topcoat, which restores the refractive index.
How do I clean my HVLP sprayer after dyeing?
Flush the system immediately with the solvent used for the dye. If using water-based dyes, use distilled water and a drop of ammonia to break down the metal-complex bonds inside the nozzle.

