
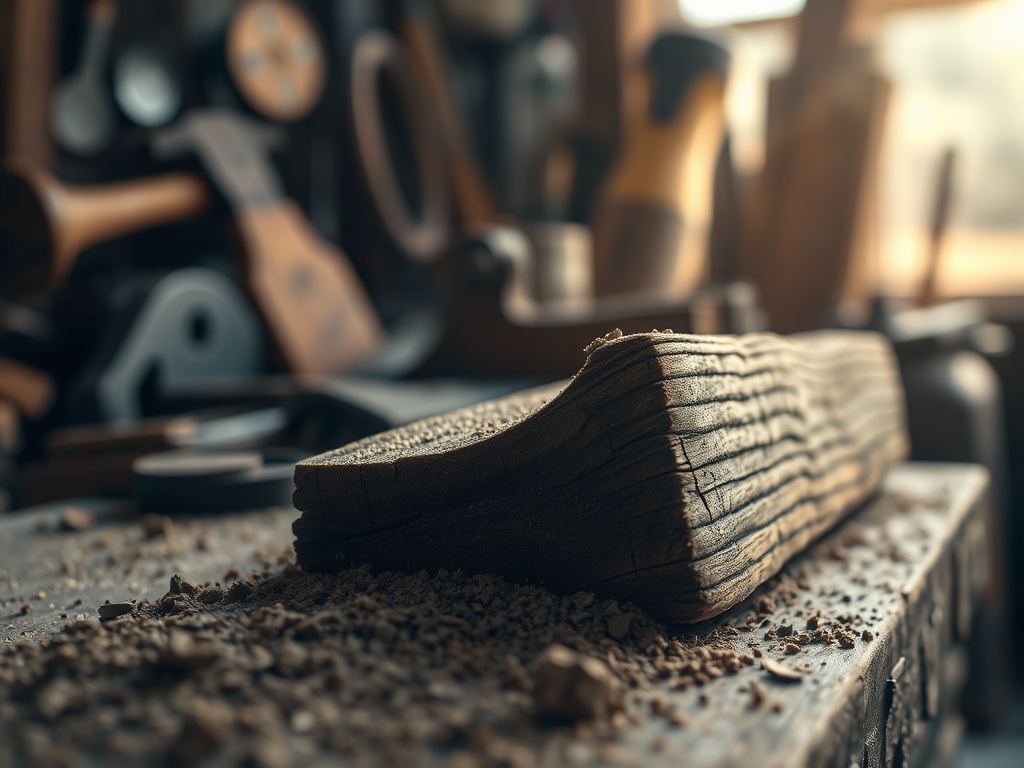
Run your fingers across the surface of a raw walnut board and you will feel the history of the forest under your skin. There is a specific, electric thrill in choosing the perfect specimen for a legacy project. Understanding the difference between FAS and Select is the secret handshake of Professional Wood Grading that separates the weekend hobbyists from the master artisans. It is all about yield and purity.
When we talk about wood grades, we are really talking about the percentage of clear, defect free wood you can harvest from a single board. FAS, which stands for First and Seconds, is the gold standard of the lumber world. It is the high performance athlete of hardwoods. To qualify as FAS, a board must be at least six inches wide and eight feet long, yielding 83.3 percent clear wood on its poorest face. Select grade is its slightly more rebellious cousin. It offers the same high quality surface on one side, but it allows for more character and knots on the back. It is the perfect choice when only one side of your project will be visible to the world.
THE STUDIO KIT
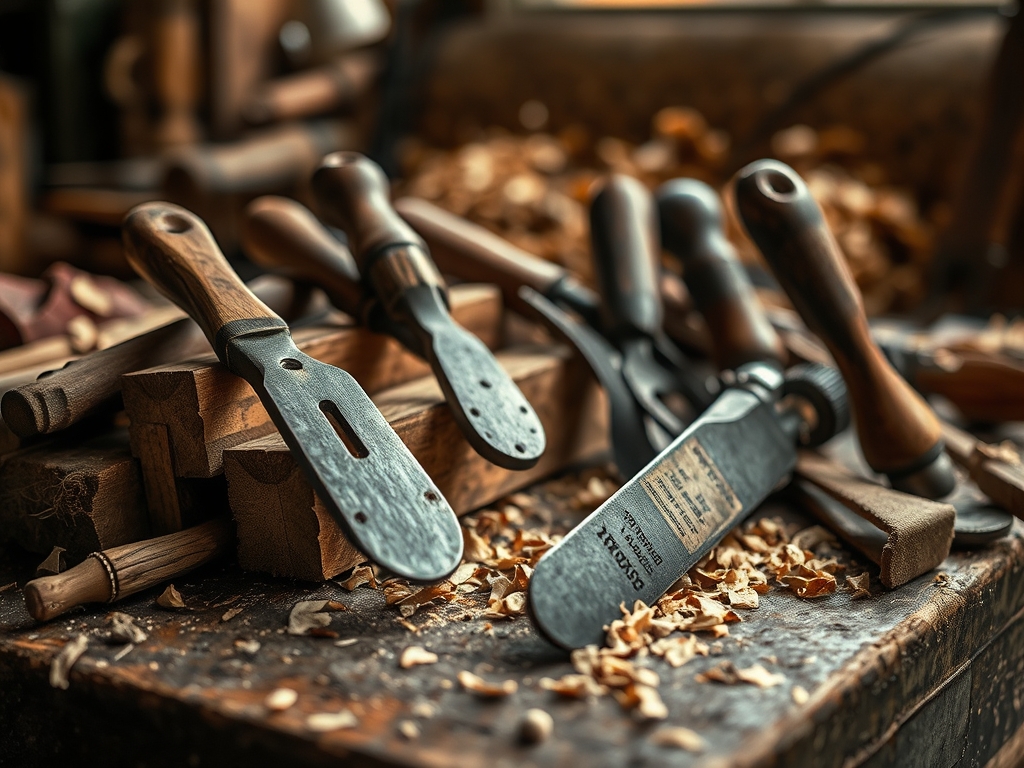
To master the art of grading and preparation, your studio needs more than just a pile of lumber. You need a precision toolkit to measure the **tensile strength** and **fiber density** of your stock. Start with a pair of digital **calipers** to ensure your board thickness is consistent to the thousandth of an inch. You will also need a hardened steel **marking awl** for scribing your cut lines across the grain without tearing the delicate fibers. A high quality **moisture meter** is non negotiable; you need to ensure your wood has reached an equilibrium moisture content of six to eight percent before you even think about applying a blade.
For the tactile work of smoothing and refining, keep a set of cabinet scrapers and a burnisher nearby. Unlike sandpaper, which creates dust that clogs the porous structure of the wood, a scraper shears off microscopic ribbons of fiber to reveal the true chatoyancy of the grain. If you are working on a budget, look into Material Substitutions. While FAS walnut is the dream, you can often achieve a similar aesthetic using Select grade cherry or even high quality vertical grain Douglas fir if you are careful with your layout and grain matching.
THE TEMPO
The "Maker's Rhythm" is a cadence of patience and explosive action. You cannot rush the seasoning of high grade lumber. The first phase is the Acclimation Period, which takes roughly seven to ten days in your climate controlled studio. This allows the internal stresses of the wood to stabilize. The Rough Milling phase follows, usually taking four to six hours for a medium sized project. This is where you use the jointer and planer to reveal the hidden geometry of the board.
The Refinement Phase is the longest stretch, often spanning twenty to thirty hours of focused labor. This is where you perform the joinery, sanding, and assembly. Finally, the Curing Phase for your finish can take anywhere from forty eight hours to three weeks depending on whether you use a drying oil or a reactive conversion varnish. Respecting this tempo ensures that your joinery remains tight for decades rather than months.
THE CORE METHOD
1. The Visual Inspection and Mapping
Begin by placing your board under high intensity raking light to highlight any surface imperfections. Use a white grease pencil to mark out the "clear cuttings" as defined by the National Hardwood Lumber Association rules. Look for wane, which is the presence of bark or lack of wood on the edge of the board.
Mastery Tip: Always map your cuts parallel to the longitudinal grain direction. This maximizes the structural integrity of your components by ensuring the longest cellulose fibers remain unbroken, preventing future warping or snapping under load.
2. Squaring the Foundation
Use your jointer to create one perfectly flat face and one perfectly square edge. This process relies on the physics of coplanar surfaces. If your reference faces are not exactly ninety degrees, every subsequent measurement in your project will be compounded by that error.
Mastery Tip: When jointing, apply pressure only to the "outfeed" table once the board has passed the cutter head. This utilizes the lever principle to ensure the machine removes the high spots without following the existing curves of a warped board.
3. Precision Thicknessing
Feed your squared stock through the thickness planer to reach your final gauge. Take light passes of no more than one thirty second of an inch. This prevents "snipe," which is the unintended gouging at the ends of a board caused by the internal pressure of the machine rollers.
Mastery Tip: Pay close attention to grain orientation to avoid "tear out." Feeding the wood so the knives cut with the grain prevents the blades from lifting and shattering the wood fibers, a phenomenon caused by the brittle fracture of the lignin.
4. Final Surface Refinement
Transition from machine tools to hand tools for the final finish. Use a block plane or a cabinet scraper to remove the microscopic "planer marks" left by the machine. This step is purely about the tactile experience and the way light interacts with the wood cells.
Mastery Tip: Use a damp cloth to "pop the grain" before your final sanding. This utilizes capillary action to swell any crushed wood fibers, allowing you to sand them off for a glass smooth finish that will not feel fuzzy after the first coat of oil.
THE TECHNICAL LEDGER
Maintaining the longevity of your FAS or Select projects requires an understanding of hygroscopy. Wood is a living material that breathes. To prevent degradation, finished pieces should be kept in environments with a relative humidity between 35 and 55 percent. For Material Variations, remember that premium quartersawn stock offers the highest dimensional stability, while flat sawn stock provides the most dramatic cathedral grain patterns.
The Correction:
- The Mistake: Tear out during planing. The Fix: Lightly dampen the wood surface with a sponge to soften the fibers before the final pass.
- The Mistake: Gaps in joinery. The Fix: Create a "burnishing" paste using sawdust from the project and a drop of wood glue to invisibly bridge the gap.
- The Mistake: Blotchy finish on Select grade. The Fix: Apply a "wash coat" of de-waxed shellac to seal the porous earlywood before applying your main stain or oil.
Studio Organization: Store your lumber horizontally on a rack with "stickers" (small wooden spacers) between every layer. This allows for uniform airflow on all sides of the board, preventing the differential drying that causes bowing and twisting.
THE FINAL REVEAL
There is nothing quite like the moment you apply the first coat of finish to a piece of FAS lumber. The grain suddenly leaps out in three dimensions; the deep ambers and chocolate browns of the walnut or the fiery reds of the cherry become vibrant and alive. Because you chose the right grade and respected the physics of the material, the piece feels solid, heavy, and intentional. It is a physical manifestation of your skill and your eye for detail.
STUDIO QUESTIONS
What is the main difference between FAS and Select?
FAS requires a minimum board size of 6"x8' and 83% clear wood. Select allows smaller boards and only requires one high quality face, making it more economical for projects where the back is hidden.
Why does grain direction matter for strength?
Wood is an anisotropic material, meaning it is stronger along the grain than across it. Aligning the longitudinal fibers with the direction of stress ensures the highest tensile strength and prevents structural failure.
How do I stop wood from warping?
Ensure the wood is properly seasoned to 6-8% moisture content. Use "stickers" for airflow during storage and seal all surfaces of your finished project equally to prevent differential moisture absorption from the atmosphere.
Can I use Select grade for furniture?
Absolutely. Select grade is ideal for cabinets, tabletops, and shelving where one side is concealed. It provides the same aesthetic beauty as FAS on the show side while offering a more sustainable and cost effective yield.

