
Close your eyes and listen for that specific sound; it is a crisp, rhythmic hiss that reminds me of dry snow crunching under a boot. That is the sound of a perfectly honed blade meeting the face of a board. When you are Mastering the Smoothing Plane, you are not just shaving wood; you are engaging in a high stakes dance with cellular biology. We are at the finish line now. The heavy lifting of the jack plane and the leveling of the jointer are over. Now, it is all about the tactile feedback of the grain. You can feel the tensile strength of the wood fibers resisting the edge just before they give way into a gossamer thin ribbon. This is the most intimate part of the build because your fingertips become as sensitive as a pair of calipers. We are chasing a surface so reflective that it does not even need sandpaper. In fact, we are avoiding the grit entirely to keep those wood pores open and crisp for the final oil finish.
THE STUDIO KIT

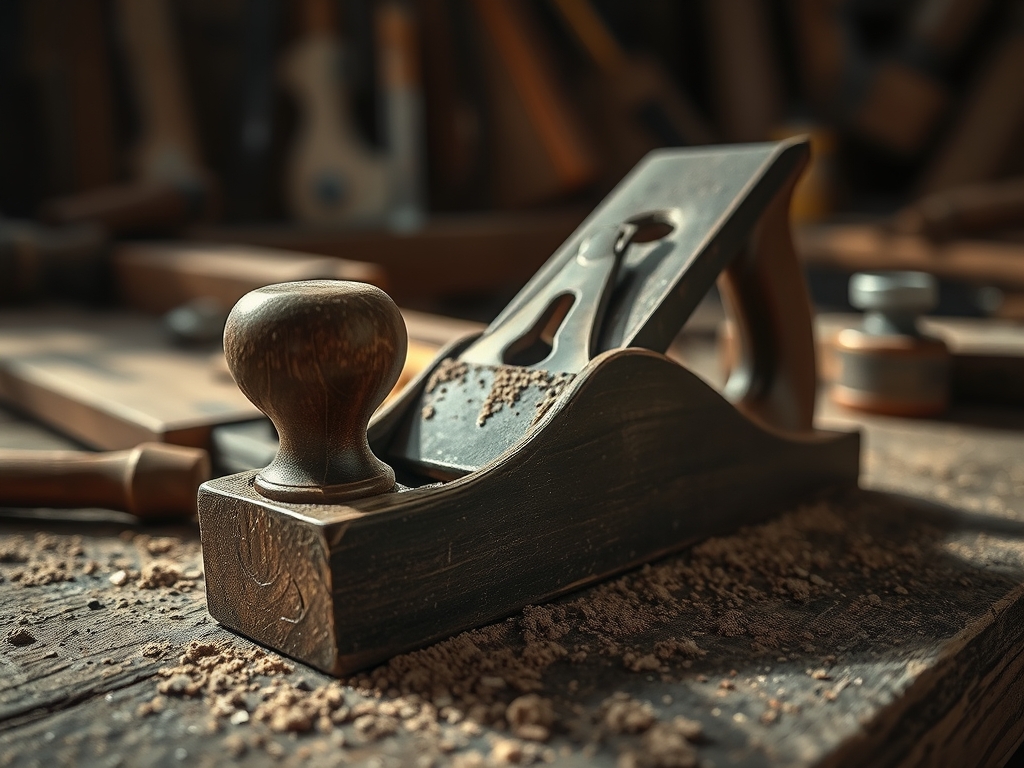
To achieve a mirror finish, your kit must be tuned to a surgical standard. We start with a No. 4 or No. 4 1/2 Smoothing Plane, preferably with a ductile iron body to dampen vibrations. The heart of the tool is the blade, or iron, which must be sharpened to at least 8,000 grit on a water stone until the bevel is a literal mirror. You will also need a precision square to check for flatness and a marking gauge to define your final thickness boundaries. For the wood itself, we are looking at a dense hardwood like Black Walnut or Cherry, which features a tight vascular structure that holds an edge beautifully.
Material Substitutions: If you are working with a softer species like White Pine, you must increase the sharpness of your blade even further to prevent "crushing" the fibers. If a high end smoothing plane is out of reach, a well tuned vintage block plane can work for smaller surfaces, provided you adjust the frog to close the mouth opening. You might also employ a card scraper for areas with particularly erratic grain, using its burnished hook to shear through fibers that a plane might tear.
THE TEMPO
The "Maker's Rhythm" is less about the clock and more about the metabolic rate of your focus. Phase one is the Calibration Phase, taking roughly 20 minutes to set the blade depth to a microscopic level. You are looking for a shaving that is roughly .001 inches thick. Phase two is the Execution Phase, which can take anywhere from 30 minutes to two hours depending on the surface area. Here, the tempo is slow and steady. You must maintain a consistent downward pressure at the start of the stroke and a firm rear pressure at the exit. Phase three is the Inspection Phase, a quick 10 minute sweep under "raking light" to catch any planer marks or "tracks" left by the corners of the blade.
THE CORE METHOD
1. Setting the Mouth and Frog
We begin by adjusting the frog, which is the bed the blade rests on. By moving it forward, you close the "mouth" of the plane. This provides more support to the wood fibers immediately in front of the cutting edge, which prevents the wood from splitting ahead of the blade.
Mastery Tip: This setup utilizes the physics of compression. By narrowing the mouth, you are essentially "pinning" the wood fibers down so they cannot lift and tear, ensuring the structural integrity of the surface remains intact even on figured grain.
2. Honing the Micro-Bevel
A standard bevel is fine, but a micro-bevel at the very tip of your iron increases the effective cutting angle. Use a honing guide to ensure your angle is consistent to within half a degree. We want a slight "camber" or curve to the blade edge so the corners do not dig into the wood.
Mastery Tip: The science here involves surface tension reduction. A slightly curved blade ensures that the edges of the cut "feather" out into the surface, preventing the creation of sharp ridges that would require sanding later.
3. Reading the Grain Direction
Before the first stroke, run your hand over the board. If it feels smooth, you are going "with the grain." If it feels like petting a cat the wrong way, stop. You must plane in the direction that the fibers are "running out" of the board to avoid massive tear-out.
Mastery Tip: Wood is a composite material of cellulose and lignin. When you plane against the grain, you are essentially trying to peel the fibers upward from their roots, which causes deep fractures in the porous structure of the wood.
4. The Fluid Body Stroke
Do not just use your arms. Lock your elbows and move your entire upper body, shifting your weight from your back foot to your front foot. This ensures a constant velocity and prevents the blade from stuttering, which creates "chatter" marks.
Mastery Tip: Consistent kinetic energy is vital. If the blade slows down mid stroke, the friction increases momentarily, causing the steel to deflect slightly and creating microscopic waves in the wood surface.
THE TECHNICAL LEDGER
Maintenance & Longevity: To keep your plane in top shape, always retract the blade when not in use or rest the tool on its side. Apply a thin coat of camellia oil to the sole to prevent oxidation. Check the flatness of the sole once a year using a machinist's straightedge.
Material Variations:
- Sustainable: Reclaimed White Oak is gorgeous but incredibly hard on blades; expect to sharpen every 15 minutes.
- Premium: Quarter-sawn Sycamore offers stunning "fleck" patterns but requires a very high cutting angle (50 degrees or more) to prevent tear-out.
The Correction:
- Tear-out: If chunks of wood are lifting, close the plane mouth further or sharpen the blade.
- Chatter: If the tool vibrates, tighten the lever cap screw to increase the downward force on the iron.
- Tracks: If you see lines on the board, your blade corners are too sharp. Use a whetstone to "back off" the corners of the iron.
Studio Organization: Store your finished, planed boards in a "sticker stack" with small spacers between them. This allows for even airflow and prevents the wood from cupping due to uneven moisture absorption before the finish is applied.
THE FINAL REVEAL
Look at that! The wood is no longer just a dull brown plank; it has become a shimmering, three dimensional landscape. When you look at it from an angle, the light bounces off the burnished cells, revealing the "chatoyancy" or depth of the grain that was hidden under the rough surface. There is no dust, no grit, and no muddying of the colors. It is perfectly flat, silky to the touch, and ready for the first drop of oil. You have successfully navigated the physics of the forest and come out with a masterpiece.
STUDIO QUESTIONS
Why is my smoothing plane leaving deep scratches?
This usually happens because the corners of your blade are too sharp. Use a whetstone to slightly round over the outer edges of the iron. This "camber" ensures only the center of the blade engages with the wood.
Do I still need to sand after using a smoothing plane?
If your blade is sharp and your technique is solid, you should not need to sand. Sanding actually breaks the wood fibers and dulls the natural luster. A planed surface is technically smoother at a molecular level.
How do I know if my plane blade is sharp enough?
A truly sharp iron should be able to shave the hair off your arm without any resistance. If it pulls or catches, you have not reached the necessary refinement on your high grit polishing stones yet.
What is the best way to prevent rust on my tools?
Apply a light layer of jojoba or camellia oil after every session. These oils are non-drying and create a hydrophobic barrier that prevents moisture in the air from reacting with the iron and steel components.

