
Imagine the scent of damp earth and crushed pine needles hitting you as you stand over a massive, downed oak. It is heavy, silent, and brimming with untapped potential. This is where the magic of Professional Wood Salvage begins; it is the art of seeing a dining table hidden inside a storm-felled obstacle. When you touch the bark, you are feeling a protective layer of cork cambium that has shielded the tree for decades. Beneath that rough exterior lies a complex network of cellulose and lignin fibers held together by natural resins. As we prepare to slice through this organic skyscraper, you can almost feel the internal tension stored within the grain. We are not just cutting wood; we are relieving the stresses of a lifetime of growth. The weight is substantial, the moisture content is high, and the stakes are even higher. We are about to transform raw, chaotic nature into disciplined, linear geometry. Grab your gear, because we are diving deep into the physics of the forest to rescue this timber.
THE STUDIO KIT
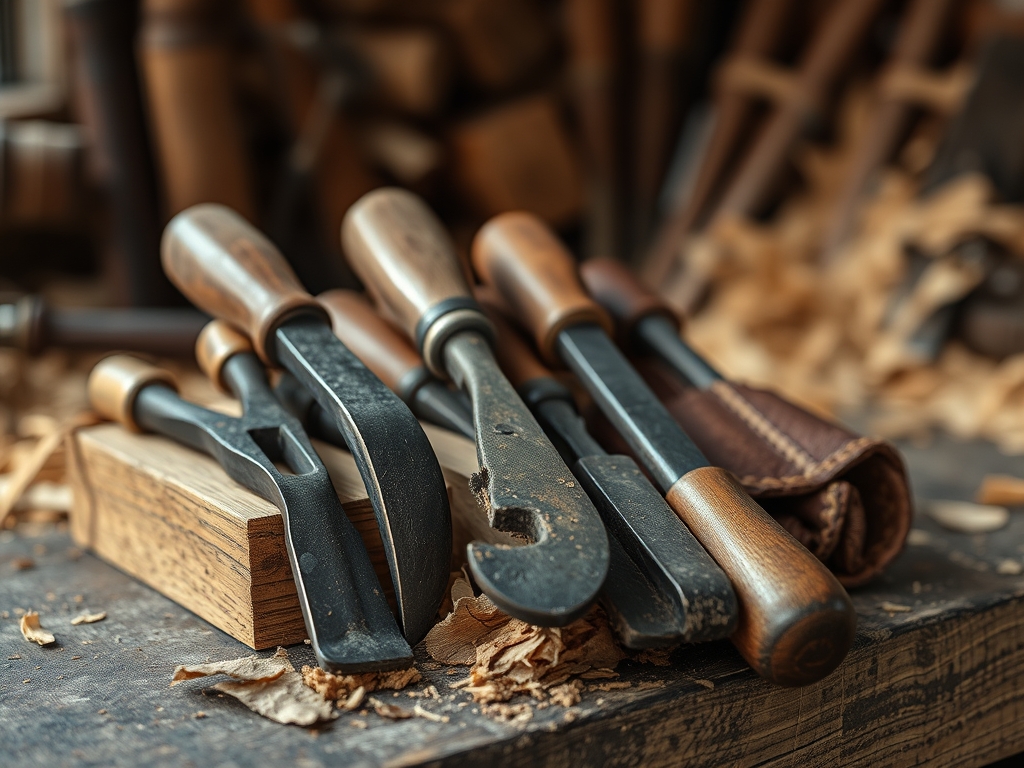
To master the breakdown of a massive log, your kit must be as robust as the material itself. We start with a high-displacement chainsaw, specifically one with a high-torque engine to handle the constant friction of long-grain ripping. You will need a milling attachment, often called an Alaskan mill, which uses a guide rail system to ensure your cuts remain perfectly planar. Because we are measuring to the millimeter, keep a pair of digital calipers and a high-visibility marking awl in your pocket. For the blade, a specialized ripping chain is non-negotiable; its teeth are ground at a shallow ten-degree angle to shave the wood fibers rather than tearing them.
Material Substitutions: If you lack a dedicated milling frame, a heavy-duty oscillating tool can assist in cleaning up small notches, though it won't replace the primary saw. For sealing the ends of your fresh boards, you can substitute expensive commercial wax with melted paraffin or even old latex paint to prevent rapid moisture loss. The goal is to control the evaporation rate to avoid checking and splitting.
THE TEMPO
The Maker's Rhythm for salvage is a marathon, not a sprint. The initial breakdown of a ten-foot log into rough slabs usually takes four to six hours of intense, high-vibration labor. This is the "Heavy Phase" where physical stamina and machine maintenance are paramount. Once the slabs are cut, you enter the "Stabilization Phase," which is a slow burn lasting anywhere from one to three years depending on the thickness of the wood. The general rule of thumb is one year of drying time per inch of thickness. You cannot rush the thermodynamics of water evaporation; if you try to kiln-dry too fast, the internal stresses will cause the wood to warp or "honeycomb" from the inside out. Respect the tempo of the timber.
THE CORE METHOD
1. Leveling the First Plane
Before the first spark of the saw, you must establish a perfectly flat reference surface. Since a log is naturally cylindrical and tapered, we secure a rigid metal ladder or a custom-built wooden rail system to the top of the trunk. This acts as a surrogate flat earth for our mill to glide across. We use long lag bolts to anchor the rails, ensuring they do not shift under the vibration of the power head.
Mastery Tip: This step accounts for structural integrity. If your first cut is even slightly twisted, every subsequent board will inherit that "propeller" shape. By using a spirit level across the rails at multiple points, you negate the natural taper of the tree and ensure the pith remains centered.
2. The Primary Rip Cut
With the rails set, we engage the saw at full throttle. The ripping chain enters the wood, and we maintain a steady, walking pace. It is a game of constant pressure; too much and you stall the engine, too little and the chain wanders. We are slicing through the xylem, the vascular tissue that once transported water. As the saw moves, we insert small plastic wedges into the kerf behind the bar to prevent the weight of the slab from pinching the chain.
Mastery Tip: Watch the sawdust. If you see fine flour instead of long, curly "noodles," your teeth are dull. This is about friction management. A sharp ripping chain reduces heat buildup, which prevents the wood resins from glazing over and creating a waterproof barrier that would trap moisture inside the board later.
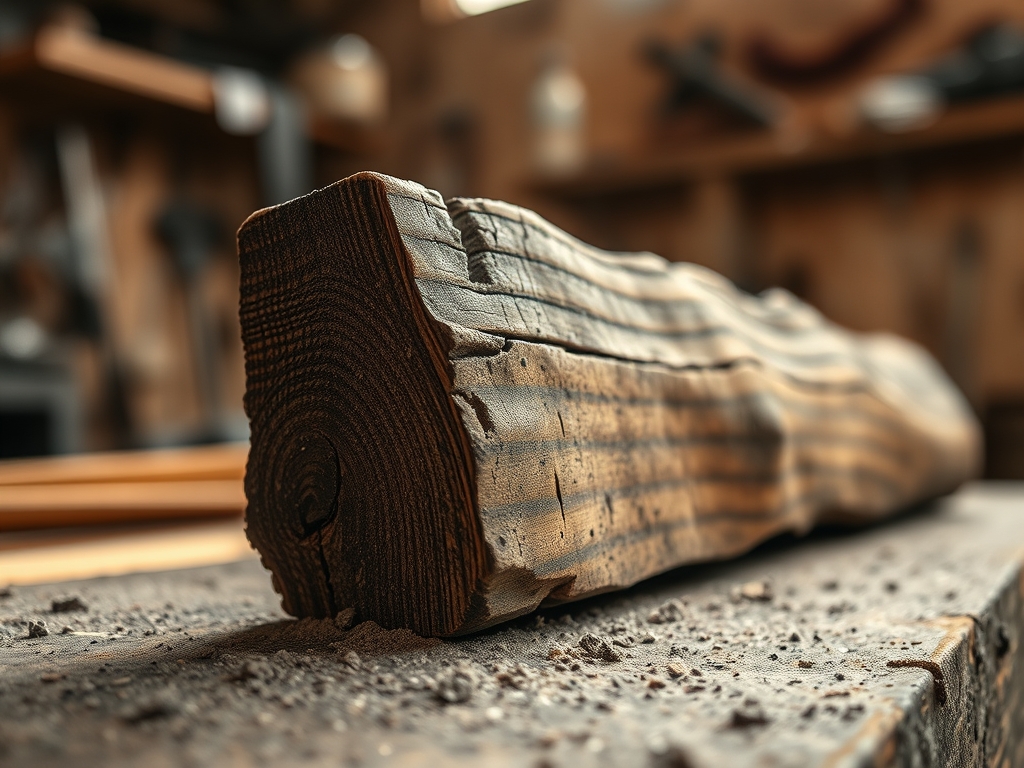
3. Slabbing the Heartwood
Once the first "flitch" or live-edge cap is removed, we drop the mill by two or three inches. This is where we reach the heartwood, the densest and most durable part of the tree. We continue the process, slicing the log into a stack of uniform boards. Each pass reveals a new layer of the tree's history, from drought years with tight rings to rainy seasons with wide, porous growth.
Mastery Tip: We must account for tensile strength by avoiding the very center of the log, known as the pith. The pith is dimensionally unstable and almost always cracks. By "boxing the heart" or cutting around it, you produce boards that are far less likely to split during the seasoning process.
4. End Sealing and Stickering
As soon as the boards are cut, the clock starts ticking on moisture loss. We immediately coat the end grain with a thick layer of wax or sealant. Then, we "sticker" the wood by stacking the boards with small, dry strips of wood (stickers) placed every eighteen inches between the layers. This allows for uniform airflow across all surfaces of the timber.
Mastery Tip: This involves capillary action. Wood loses moisture ten to fifteen times faster through the end grain than through the faces. By sealing the ends, you force the moisture to exit through the flat surfaces, which creates a much more even drying gradient and prevents the ends from shrinking faster than the middle.
THE TECHNICAL LEDGER
Maintenance & Longevity: Your milling equipment requires a strict regimen. After every two slabs, use a round file to touch up the cutters on your chain. Check the tension frequently; a hot chain expands and can jump the bar. Clean the cooling fins on your saw to prevent thermal shutdown during long cuts.
Material Variations:
- Sustainable: Salvaging "urban timber" from tree services prevents logs from hitting landfills.
- Premium: Look for "crotch wood" where a large limb meets the trunk; the grain here is wildly figured and highly valuable.
- Recycled: Old bridge timbers can be re-milled, but beware of hidden iron bolts that will destroy your saw teeth.
The Correction:
- The Snag: If the saw gets stuck, do not pry it. Use a secondary wedge to lift the slab weight off the bar.
- The Wave: If your board comes out wavy, your chain tension is too loose or your rails were not rigid enough. Plane the board flat later, but expect a thinner yield.
- The Check: If you see cracks forming on the ends, your sealant was too thin. Re-apply a heavier coat immediately to stop the split from traveling.
Studio Organization: Store your drying stack in a shaded area with a "hat" (a piece of plywood or metal) to protect it from direct rain and sun. Never store fresh slabs in a basement with zero airflow, or you will invite fungal growth and rot.
THE FINAL REVEAL
There is nothing quite like the moment you plane back the rough, oxidized surface of a dried salvage board to reveal the shimmering grain beneath. The transformation from a muddy, fallen log into a stack of high-grade furniture lumber is a triumph of physics and grit. You have successfully captured a piece of local history, preserved its structural integrity, and prepared it for a second life that could last centuries. The tactile reward of running your hand over a board you milled yourself is the ultimate maker's high. You didn't just buy wood; you earned it.
STUDIO QUESTIONS
What is the best moisture content for furniture?
For indoor furniture, aim for a moisture content between 6% and 8%. This ensures the wood has reached equilibrium with the climate of a climate-controlled home, preventing future shrinking, swelling, or joint failure in your finished pieces.
Can I mill a log that has been dead for years?
Yes, provided the wood is not "punky" or rotten. Dead-standing timber often has lower moisture content, making it lighter to move and faster to dry. However, check for boring insects or fungal staining which can affect the wood's structural integrity.
Why use a ripping chain instead of a standard chain?
Standard chains are designed for cross-cutting across fibers at a 30-degree angle. Ripping chains use a 10-degree angle to slice along the grain, which creates smoother surfaces, reduces engine strain, and prevents the saw from wandering during long cuts.
How do I prevent the wood from warping?
Proper stickering is essential. Place dry wood spacers every 12 to 18 inches in perfectly vertical columns. Weight the top of the stack with heavy concrete blocks to provide constant pressure, which forces the boards to remain flat as they dry.

