
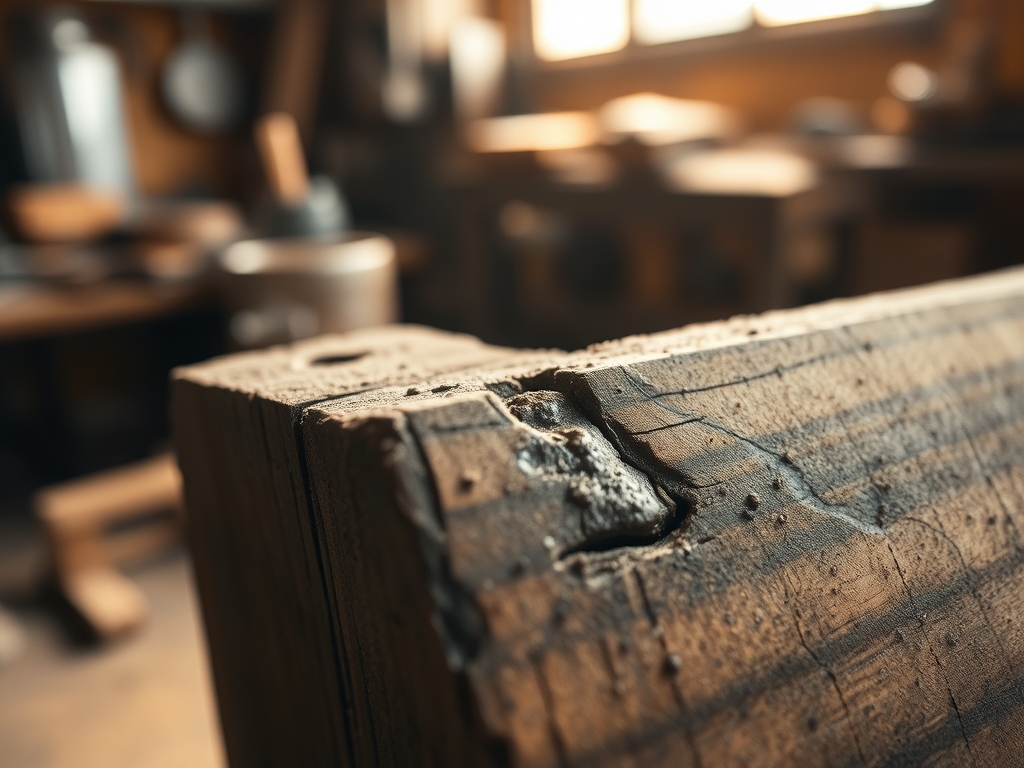
The sharp, sickening crack of a splintering tenon is a sound that haunts every maker's dreams. It is a visceral, tactile betrayal of the wood's structural integrity. When your favorite mid-century modern seat gives way, you are not just looking at a pile of firewood; you are looking at a masterclass in Professional Furniture Repair. The wood grain tells a story of tension and compression. Those fibers, once tightly bound by lignin, have reached their ultimate tensile strength and failed. Repairing a chair leg is a delicate dance between physics and aesthetics. You have to respect the way the wood grew. Is it white oak with its long, open pores? Or is it maple, dense and stubborn? Fixing this requires more than just a squeeze of glue. It requires an understanding of how force travels from the seat rail down through the joint. We are going to reclaim that stability by manipulating the very cells of the timber, ensuring that the next time you sit down, the chair responds with silent, rigid confidence rather than a shaky protest.
THE STUDIO KIT
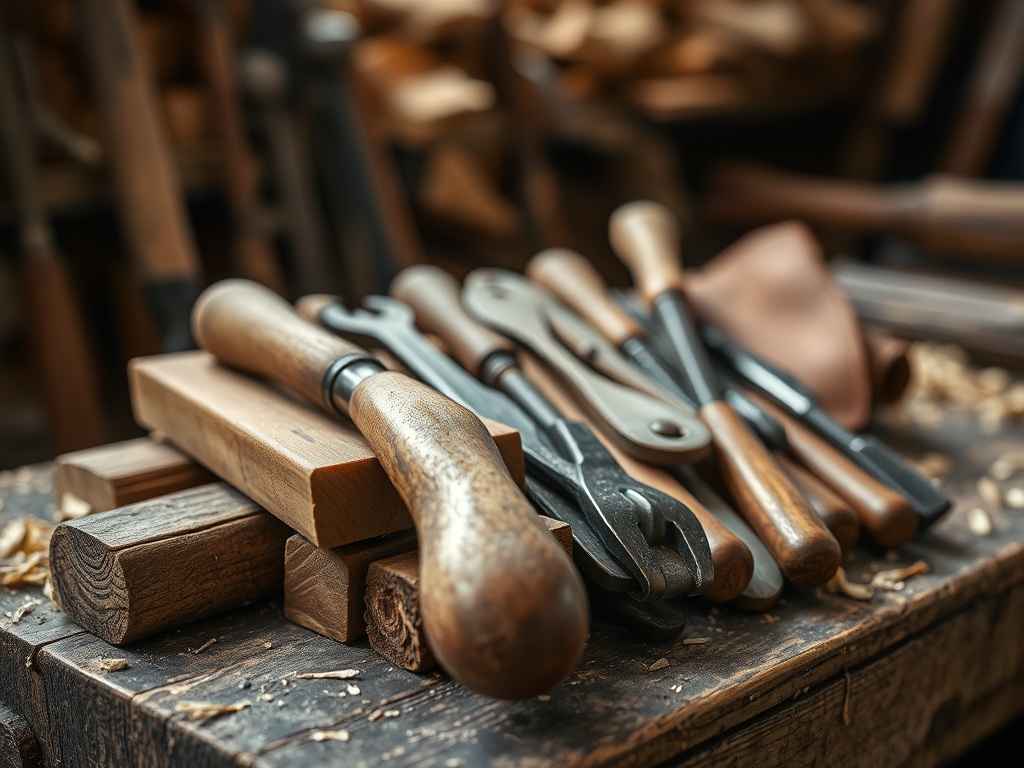
To execute this repair with surgical precision, your workbench needs a specific set of high-performance gear. We start with digital calipers to measure the diameter of the tenon to within a thousandth of an inch. You will need an oscillating tool with a fine-tooth blade to clear out old, crystallized hide glue without enlarging the mortise. For the adhesive, skip the craft store stuff. We need a high-solids polyurethane glue or a specialized wood epoxy that can bridge small gaps where the wood has compressed.
Your toolkit must also include a Japanese pull saw for flush-cutting dowels, a set of parallel jaw clamps to apply even pressure, and a burnisher to smooth out the grain after sanding. If you lack these, "Material Substitutions" are possible. A sharp chisel can replace the oscillating tool if you have a steady hand. Instead of specialized clamps, a heavy-duty ratchet strap can provide the necessary circumferential pressure for round legs. Just remember that the goal is to maintain the perpendicular alignment of the leg to the frame, regardless of the tools used.
THE TEMPO
The "Maker's Rhythm" is not about rushing; it is about respecting the chemical cure times of your materials. Total active labor usually spans about three hours, but the project lives on your bench for at least twenty-four.
The first phase is the Deconstruction and Cleaning (45 minutes). This is where you find the "ghost" of the original joint. Next is the Dry Fit and Alignment (30 minutes), which is the most critical mental phase. The Adhesive Application and Clamping (30 minutes) is the high-stakes sprint. Finally, the Finishing and Burnishing (60 minutes) happens only after the glue has fully polymerized. If you try to sand too early, the heat from the friction will soften the adhesive, leading to a "glue line" that will forever haunt your professional reputation. Patience is a technical requirement.
THE CORE METHOD
1. Excavate the Joint
Use your oscillating tool or a narrow chisel to remove every trace of the old, failed adhesive. If the old glue is brittle, it acts as a barrier, preventing new bonds from forming at a molecular level. You need to reach the "bright wood" to ensure the new adhesive can penetrate the porous cellular structure of the timber.
Mastery Tip: This relies on surface energy. Adhesives bond best when the surface is clean and slightly abraded, increasing the surface area for the glue to "hook" into the wood fibers.
2. Reinforce with a Hidden Dowel
If the leg snapped mid-span, a simple butt joint will fail immediately under shear stress. Drill a pilot hole into both ends of the break using a bit that matches your dowel's gauge. Insert a fluted hardwood dowel. The flutes allow excess glue to escape, preventing a hydraulic lock that could split the wood further.
Mastery Tip: This utilizes mechanical interlocking. By inserting a secondary member with a different grain direction, you distribute the load across a larger internal surface area, significantly increasing the joint's shear resistance.
3. The Precision Glue Up
Apply your adhesive sparingly but thoroughly. Use a small brush to coat both the mortise and the tenon. When you slide the pieces together, you should see a tiny, uniform bead of "squeeze-out." This confirms that you have achieved total coverage without over-saturating the wood, which could cause hygroscopic expansion.
Mastery Tip: This process is governed by capillary action. A thin glue line is actually stronger than a thick one because it allows the polymer chains to link the wood fibers directly without the adhesive becoming a brittle structural weak point.
4. Controlled Compression
Apply your parallel jaw clamps. Check the angle of the leg from two directions using a try square. The pressure must be firm enough to close the gap but not so tight that you starve the joint of glue. Leave the piece in the clamps for at least twelve hours in a climate-controlled environment.
Mastery Tip: Consistent pressure ensures structural integrity by forcing the adhesive into the microscopic tracheids of the wood, creating a "root system" of glue that anchors the two pieces as one.
THE TECHNICAL LEDGER
Maintenance & Longevity: To keep your repair from failing, monitor the humidity in your studio. Wood is "alive" and will shrink or swell. Apply a high-quality tung oil or wax to seal the pores and slow down moisture exchange.
Material Variations:
- Sustainable: Use bamboo dowels for their incredible tensile strength.
- Premium: Match the wood species exactly (e.g., Black Walnut) to ensure the coefficient of thermal expansion is identical across the joint.
The Correction:
- The Gap: If the joint is loose, do not just add more glue. Shim it with a thin veneer of the same wood species.
- The Misalignment: If the leg is crooked after clamping, you must disassemble it immediately using a heat gun to soften the glue before it sets.
- The Crack: If the wood splits during clamping, you likely skipped the pilot hole. Stop, back off the pressure, and wick a thin cyanoacrylate (CA) glue into the crack to stabilize it.
Studio Organization: Store your repaired furniture on a level surface. Never lean a freshly glued chair against a wall, as the constant lateral pressure will cause the joint to "creep" and set at an incorrect angle.
THE FINAL REVEAL
There is nothing quite like the moment you release the clamps and see a seamless, rock-solid connection. The chair leg that was once a liability is now a testament to your technical prowess. When you run your hand over the repair, the burnished surface should feel like a single, continuous piece of history. The grain lines align, the finish glows, and the structural "thunk" when you set it on the floor tells you everything you need to know. You have successfully navigated the physics of failure to create a triumph of restoration. It is sturdy, it is beautiful, and it is ready for another fifty years of service.
STUDIO QUESTIONS
How do I know which glue to use?
Select your adhesive based on the wood's porosity and the joint's tightness. Use PVA glue for tight-fitting joints and epoxy for loose or damaged gaps where structural "filling" is required to maintain the joint's integrity.
Can I repair a leg that has shattered?
Yes, but it requires a splinting technique. You must plane down the shattered area to create flat reference surfaces, then glue on "sister" pieces of matching hardwood before turning or carving the leg back to its original ergonomic shape.
Why did my repair fail after one week?
Failure usually stems from "glue starvation" or poor surface preparation. If the old, crystallized glue was not fully removed, the new bond only sits on the surface rather than penetrating the wood fibers for a deep, mechanical hold.
Is sanding necessary before gluing?
Lightly abrading the surface with 80-grit sandpaper is beneficial. This increases the surface area and opens the wood's pores, allowing for better capillary action and a stronger chemical bond between the adhesive and the timber's cellular structure.
How do I match the old finish?
Use a stain marker or shellac sticks to mimic the original patina. Always test your pigments on a hidden area first to ensure the refractive index of the new finish matches the aged look of the surrounding wood.

