
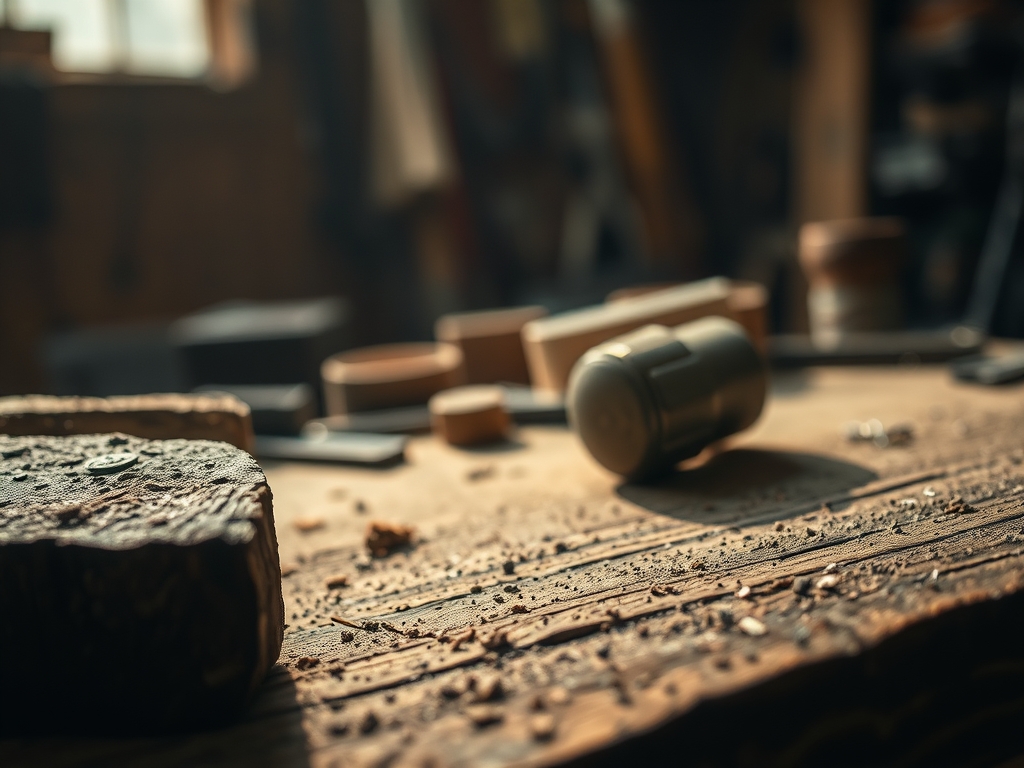
Imagine the smell of freshly planed cedar hitting your nostrils like a bolt of lightning. It is that crisp, resinous scent that signals your brain to shift gears from the mundane world into the realm of pure creation. You reach out and run your hand over a slab of raw walnut; you can feel the porous grain whispering secrets about its structural integrity. This is where the magic happens. Mastering the Shop Floor is not just about sweeping up sawdust; it is about the psychological resonance between a pristine workspace and a perfect project. When your environment is cluttered, your cognitive load spikes. Your brain spends precious RAM trying to ignore that pile of scrap wood instead of focusing on the tensile strength of your latest joint. A clean shop is a high-performance engine for your imagination. It allows you to move with fluid grace, knowing exactly where your calipers are tucked away. When the floor is clear, your mind follows suit, allowing you to achieve that elusive flow state where the wood seems to shape itself under your hands.
THE STUDIO KIT
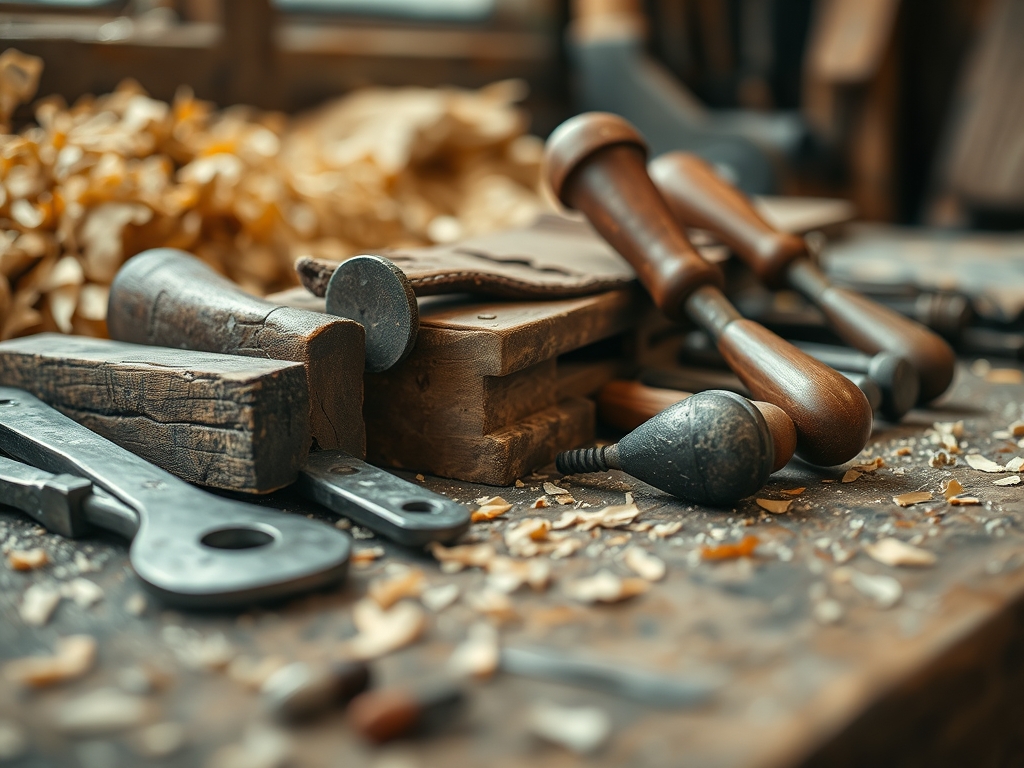
To master your environment, you need a kit that respects the physics of your materials. Start with a high-quality steel ruler and a marking awl. Unlike a pencil, an awl creates a physical indentation in the fibers, providing a mechanical track for your blade to follow. You will also need a set of digital calipers for measuring the thickness gauge of your stock to within a thousandth of an inch. For assembly, keep a bone folder and a burnishing tool nearby to smooth out edges and compress fibers without tearing the surface. Your primary cutting tool should be a Japanese pull saw or a high-end rotary cutter, depending on whether you are working with rigid lumber or flexible textiles.
Material Substitutions: If you cannot source premium hardwoods like white oak, which boasts incredible modulus of elasticity, consider high-density fiberboard (HDF) for jigs. While HDF lacks the natural beauty of grain, its isotropic properties mean it expands and contracts uniformly in all directions. For those working in soft crafts, substitute expensive leather with cork fabric. It offers a similar tactile density and tensile resistance while being entirely sustainable. Always check the ply count of your adhesives; a high-solids contact cement will provide a much stronger bond on porous surfaces than standard craft glue.
THE TEMPO
The "Maker's Rhythm" is a three-phase temporal dance that dictates the success of your project. First is the Calibration Phase, which takes roughly 45 minutes. This is when you check your tools for squareness and sharpen your blades. A dull blade increases friction, which generates heat and can actually alter the cellular structure of the wood or fabric you are cutting.
Next is the Execution Phase, the longest stretch, usually lasting three to six hours. This is the period of deep focus where you perform your primary cuts and joins. Finally, there is the Integration Phase, a 30-minute wrap-up where you clean your tools and organize your scraps. This phase is non-negotiable. By resetting your shop immediately, you are essentially "pre-loading" your brain for the next session. This rhythm prevents decision fatigue, ensuring that every movement you make is deliberate and ergonomic.
THE CORE METHOD
1. The Surface Preparation
Before a single cut is made, you must prepare your substrate. Use a micro-grit sandpaper or a cabinet scraper to remove any mill marks. This opens the pores of the material, allowing finishes to penetrate deeper into the fibers.
Mastery Tip: Understand surface tension. If your surface is too smooth (burnished), liquids like glue or stain will bead up rather than soak in. Aim for a "toothy" texture that facilitates capillary action.
2. Precision Marking and Scribing
Use your marking awl to score the grain. This technique actually severs the top layer of fibers, which prevents "tear-out" when you eventually use your saw or router.
Mastery Tip: Always scribe on the waste side of your line. This accounts for the kerf, or the width of the saw blade, ensuring your final piece maintains its exact dimensional stability.
3. Structural Assembly and Clamping
Apply your adhesive in a thin, even layer. When you apply clamps, do so with enough pressure to see a slight "squeeze-out" of glue, but not so much that you starve the joint.
Mastery Tip: Over-clamping can cause compression failure in the wood cells. Use a torque-limiting technique to ensure the pressure is distributed evenly across the entire surface area.
4. The Final Burnish
Once the piece is assembled and dry, use a bone folder or a smooth hardwood block to burnish the edges. This compresses the fibers and creates a natural sheen that resists moisture.
Mastery Tip: This process increases the surface density of the edges, making them more durable and less likely to fray or splinter over time.
THE TECHNICAL LEDGER
Maintenance & Longevity: To keep your shop at peak performance, oil your steel tools weekly to prevent oxidation. Use a dry PTFE lubricant on your saw tables to reduce friction without leaving an oily residue on your workpieces.
Material Variations:
- Sustainable: Bamboo plywood offers a high strength-to-weight ratio and rapid renewability.
- Recycled: Reclaimed barn wood has a low moisture content, meaning it is incredibly stable and less prone to warping or cupping.
- Premium: Exotic hardwoods like Ipe offer extreme Janka hardness, though they require carbide-tipped tools to cut effectively.
The Correction:
- The Gap: If a joint has a small gap, mix fine sawdust from the same wood with wood glue to create a matching filler.
- The Tear-out: If a saw blade chips the surface, use a damp cloth and a soldering iron to steam the fibers back into place.
- The Over-sand: If you sand through a veneer, the only fix is to "design into it" by adding an inlay or a decorative patch.
Studio Organization: Store your materials horizontally on a rack to prevent gravitational bowing. For delicate items like paper or textiles, use acid-free archival boxes to prevent chemical degradation from UV light and humidity.
THE FINAL REVEAL
Look at that! Your finished piece stands as a testament to the harmony between your hands and your workspace. Because you mastered the shop floor, every edge is crisp, every joint is tight, and the finish is as smooth as glass. There is a palpable weight to the object, a sense of structural integrity that only comes from precise execution. You did not just make a "thing"; you engineered a masterpiece. The clarity of your mind is reflected in the perfection of the grain. Go ahead, run your fingers over that burnished edge one more time. You earned that tactile satisfaction!
STUDIO QUESTIONS
Why does a sharp blade matter for safety?
A sharp blade requires less force to cut, reducing the risk of the tool slipping. Dull blades catch on fibers, causing unpredictable "kickback" that can lead to serious injury or ruined material.
What is the best way to handle sawdust?
Use a two-stage dust collection system. High-volume extractors catch heavy chips, while HEPA filters trap microscopic particulates that can settle into your finish or irritate your lungs during the curing process.
How do I stop wood from warping?
Always seal both sides of a board equally. If you only finish the top, the bottom will absorb moisture at a different rate, causing the fibers to expand unevenly and creating a permanent cupping effect.
Can I mix different wood species?
Yes, but you must account for their different coefficients of seasonal expansion. Always orient the grain in the same direction to ensure the entire piece moves as a single unit during humidity shifts.

