
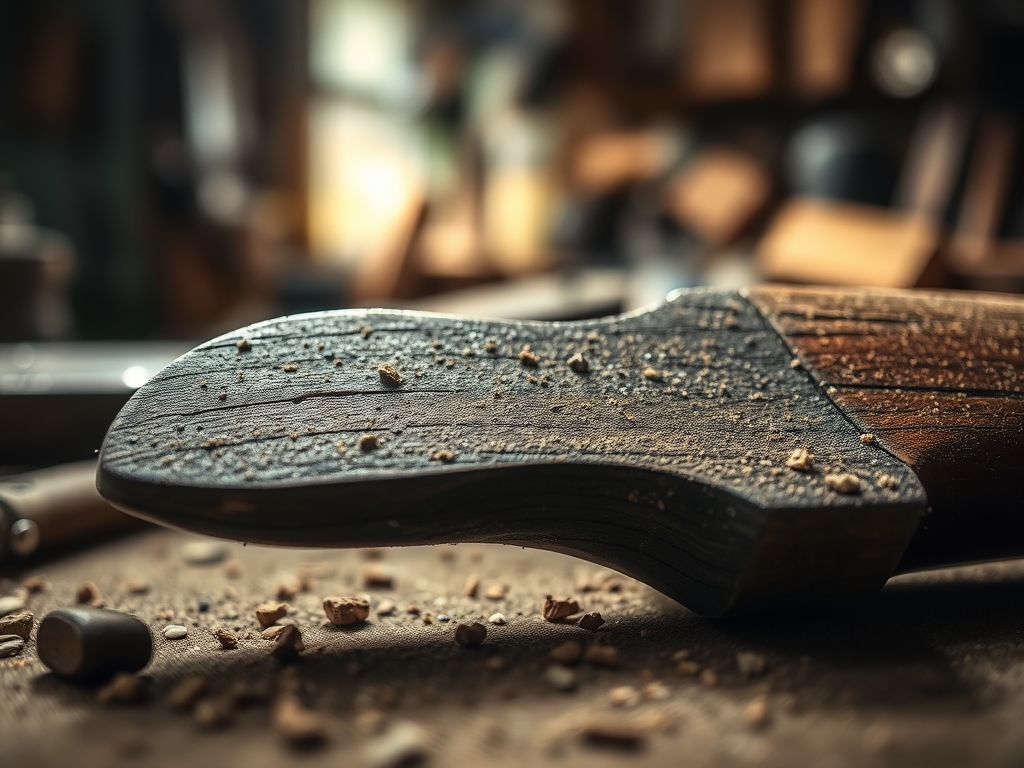
Imagine the scent of ancient iron and damp oak hitting you as you dig through a rusted bin at the local flea market. It is a heavy, metallic perfume that signals a hidden treasure buried under decades of neglect. You pull out a tool that looks like it has seen better centuries; a pitted, dull drawknife with handles that feel like sandpaper against your palms. This is not junk. This is the foundation for Advanced Tool Restoration, a process that blends high-level physics with the sheer joy of creating something beautiful from the forgotten. You can feel the weight of the high carbon steel, a material with a crystalline structure that is just waiting to be realigned and polished back to its former glory. We are about to take this piece of history and turn it into a surgical instrument for your workshop. It is about understanding the molecular bond of the metal and the cellular density of the replacement wood. We are not just cleaning; we are re-engineering the very soul of the tool to ensure it performs with modern precision while retaining its vintage character.
THE STUDIO KIT
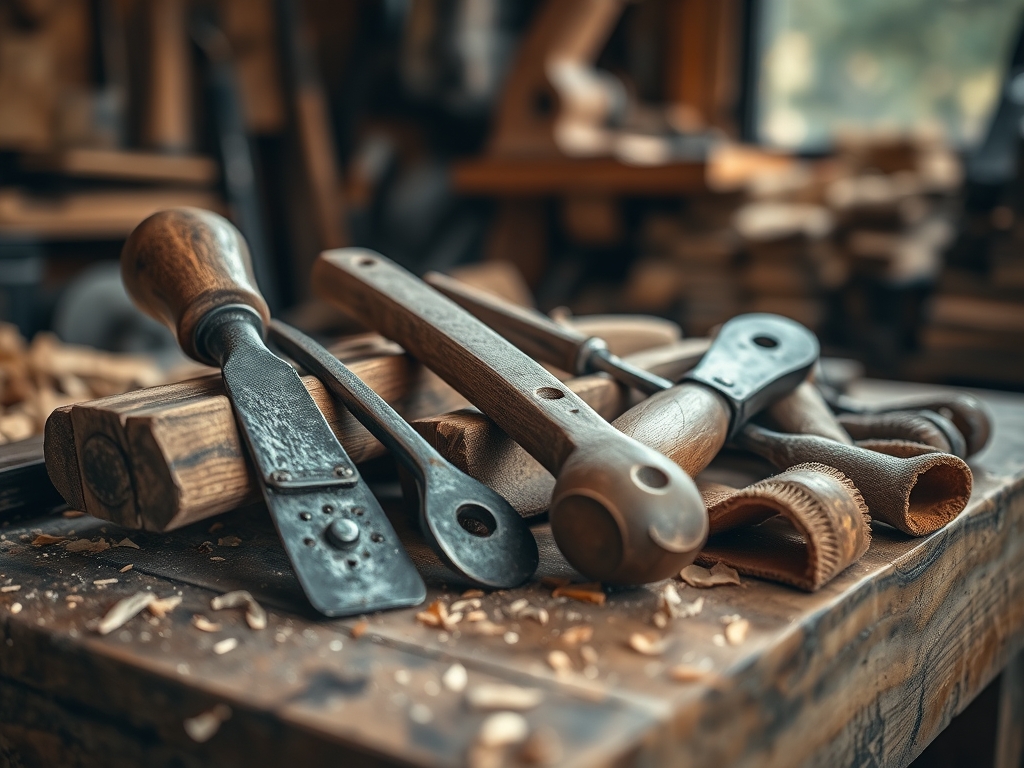
To execute this transformation, your workbench needs to be staged with precision instruments that respect the physics of the materials. You will need a set of digital calipers to measure the exact diameter of the tangs, ensuring a friction fit that will not fail under high torque. For the metalwork, gather an assortment of diamond abrasive plates ranging from 300 to 1200 grit. Unlike traditional whetstones, diamond plates maintain a perfectly flat surface, which is essential for correcting the geometry of a warped blade. You will also need a high-speed oscillating tool with various sanding attachments to reach the tight crevices where oxidation hides.
For the handle reconstruction, select a dense hardwood like curly maple or desert ironwood. These woods offer high compressive strength and a tight grain structure that resists moisture absorption. You will need a jeweler's saw for fine detail work and a bone folder to burnish any leather accents you might add for ergonomic grip. If you cannot find exotic hardwoods, a "Material Substitution" of stabilized birch or even high-density polyethylene (HDPE) can provide incredible durability, though you will sacrifice the traditional aesthetic for a more industrial, waterproof finish. Always keep a bottle of low-viscosity cyanoacrylate nearby to stabilize any micro-fractures you find in the original metal or the new wood.
THE TEMPO
Restoration is a dance between patience and power. You cannot rush the molecular changes required to bring steel back to life. The first phase, the "Deep Clean," usually takes about three hours of active labor. This involves chemical de-rusting and mechanical scale removal. Following this is the "Geometry Correction," which can take anywhere from two to five hours depending on the severity of the blade damage. This is where the Maker's Rhythm kicks in; it is a meditative state where you focus on the consistent angle of your stroke against the abrasive.
The "Handle Fitting" phase requires a full day, mostly due to the curing times of epoxies or the slow absorption of finishing oils like tung or linseed. Do not try to bypass these drying windows. The physics of polymerization in wood oils requires oxygen and time to create a hard, protective film. Total project time usually spans a weekend. If you try to compress this, you risk compromising the structural integrity of the tool, leading to a handle that wobbles or a blade that chips under the stress of actual use.
THE CORE METHOD
1. Stripping the Ancient Scale
The first step is removing the "patina," which is often just a polite word for destructive oxidation. Use a wire wheel on your bench grinder or an oscillating tool to strip the surface down to the bare metal. Technical Fact: Rust occupies more volume than the original steel, meaning it creates internal pressure that can lead to pitting. By removing it, you stop the galvanic corrosion that eats away at the tool's core.
Mastery Tip: Use a chemical bath of evaporated molasses or a mild acid to reach the microscopic pits. This uses capillary action to pull the rust out of areas your mechanical tools cannot reach, ensuring a clean slate for the next step.
2. Correcting the Bevel Geometry
Most flea market finds have been "sharpened" poorly by previous owners, resulting in a rounded edge. You must use your calipers to find the original intended angle, usually between 25 and 30 degrees for a drawknife. Use your coarsest diamond plate to grind a new, flat primary bevel. Technical Fact: A flat bevel allows for a consistent "wedge" action when cutting, reducing the force required to move through wood fibers.
Mastery Tip: Watch for the "burr" or wire edge to form on the opposite side of the blade. This indicates you have successfully ground the metal down to a single molecular point. This is the pinnacle of tensile sharpness where the two planes of the metal meet perfectly.
3. Handle Fabrication and Tang Seating
Measure the tang of the tool (the part that goes into the handle) and drill a pilot hole in your chosen hardwood that is slightly smaller than the tang's widest point. Use a torch to lightly heat the tang before driving it into the wood. Technical Fact: This creates a "charred fit," where the heat slightly collapses the wood cells, allowing them to mold perfectly to the shape of the metal for a permanent, wiggle-free bond.
Mastery Tip: Ensure the grain of the wood runs parallel to the length of the handle. This leverages the longitudinal strength of the wood fibers, preventing the handle from snapping when you apply leverage during a heavy cut.
4. The Final Burnish and Hone
Once the handle is set, sand it up to 400 grit and apply a drying oil. For the blade, move through your diamond grits up to 1200, then finish on a leather strop loaded with chromium oxide paste. Technical Fact: Stropping does not remove metal; it realigns the microscopic "teeth" at the edge of the blade, reducing friction and increasing the tool's cutting efficiency.
Mastery Tip: Test the edge by slicing through a piece of end-grain softwood. If the cut is shiny and smooth, your surface tension across the blade is uniform, and the tool is ready for master-level work.
THE TECHNICAL LEDGER
Maintenance & Longevity: To keep your restored masterpiece in top shape, wipe the metal with a thin coat of camellia oil after every use. This oil is non-polar and creates a hydrophobic barrier that prevents moisture from reaching the steel. For the handles, a quick buff with beeswax every six months will maintain the ergonomic grip and prevent the wood from becoming brittle.
Material Variations: If you want a more sustainable approach, use reclaimed bog oak or stabilized "trash" woods like spalted maple. These materials offer unique aesthetics but require more attention to structural integrity due to their irregular density. For a premium build, use titanium pins to secure the handles, providing a high strength-to-weight ratio that will never rust.
The Correction:
- The Overheated Edge: If you use a power grinder and the metal turns blue, you have ruined the temper. Fix: Grind past the blue section entirely to reach the "hard" steel beneath.
- The Loose Handle: If the handle wobbles, do not just add glue. Fix: Remove the handle, wrap the tang in thin copper shim stock, and re-seat it to create a mechanical lock.
- The Pitted Blade: If deep pits remain on the cutting edge, the tool will leave streaks in the wood. Fix: You must grind the entire edge back until the pits are gone, even if it changes the tool's profile.
Studio Organization: Store your restored tools in a vertical rack or a lined drawer. Never let the edges touch other metal objects. Use silica gel packets in your tool chest to manage the ambient humidity, keeping it below 40 percent to prevent flash rusting.
THE FINAL REVEAL
Look at that transformation! What started as a rusted, discarded piece of scrap is now a high-performance instrument that feels like an extension of your own hand. The wood glows with a deep, chatoyant luster, and the steel reflects light with a mirror-like clarity that screams precision. When you pull this tool across a piece of timber, it does not just cut; it sings. You have mastered the physics of Advanced Tool Restoration, proving that with the right technical knowledge and a bit of grit, the "old" can outperform the "new" any day of the week. This is not just a tool; it is a legacy piece that you have saved from the scrap heap and elevated to the status of a master workhorse.
STUDIO QUESTIONS
How do I know if the steel is worth restoring?
Perform a spark test with a grinder. If the sparks are bright, exploding "stars," it is high-carbon steel. If they are long, dull orange lines, it is likely mild iron and will not hold a sharp, professional edge.
Can I use a regular sander for the metal?
Yes, but be cautious of heat. High-speed friction can draw the temper out of the steel, making it soft. Always keep a bucket of water nearby to quench the tool and keep the metal cool to the touch.
What is the best wood for tool handles?
Hickory and Ash are the gold standards due to their incredible shock resistance and straight grain. For smaller tools, denser woods like Boxwood or Cocobolo offer better detail and a more balanced, ergonomic weight for fine control.
Is chemical rust remover safe for old tools?
Most modern chelating agents are pH neutral and safe. Avoid strong mineral acids like muriatic acid, as they can cause hydrogen embrittlement, making the vintage steel prone to snapping or cracking under high mechanical stress during use.

