
The smell of freshly milled cedar hitting a high speed steel blade is basically my version of a luxury perfume. There is something intoxicating about the tactile resistance of a dense grain meeting a sharp edge; it is the physical manifestation of potential. When you first plug in your equipment, you are not just turning on a motor. You are harnessing Advanced Shop Power to transform raw, stubborn materials into refined art. Whether you are feeling the cool, heavy weight of a brass caliper or the gritty texture of sixty grit sandpaper, the workshop is a sensory playground. We are talking about the physics of friction and the poetry of precision. You can feel the vibration of the motor in your palms, signaling that the tool is ready to overcome the tensile strength of the timber. It is about that perfect moment when the tool stops being an object and starts being an extension of your own hand. We are setting up a space where science meets soul, and I am here to make sure your studio is optimized for every high energy breakthrough.
THE STUDIO KIT
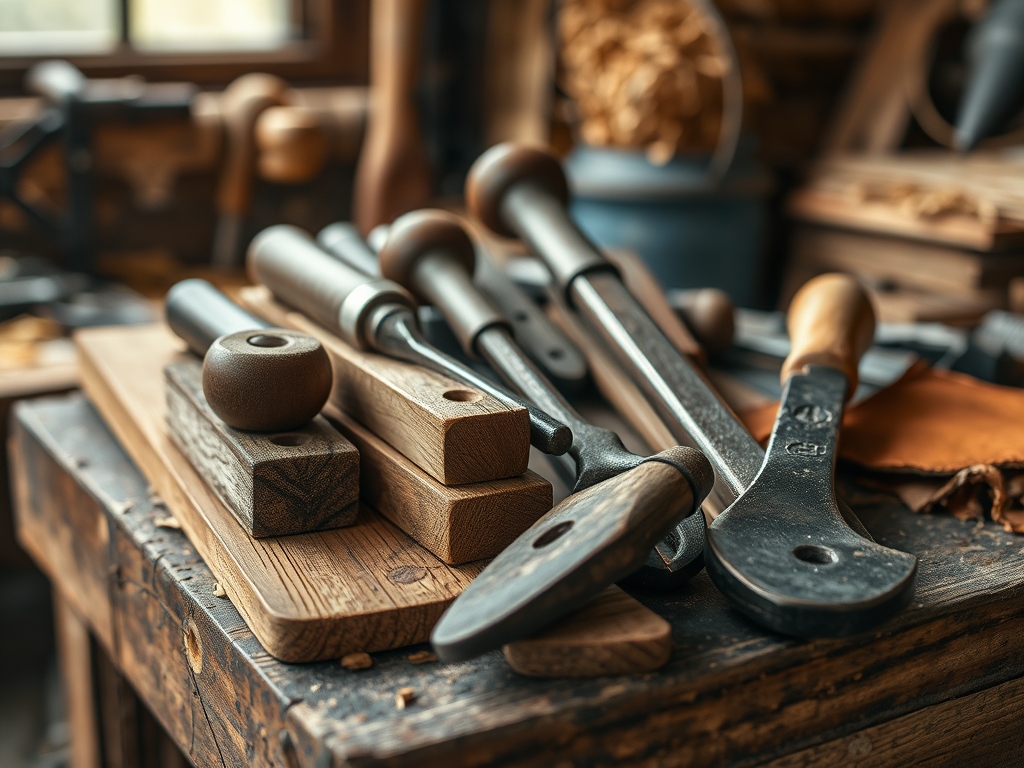
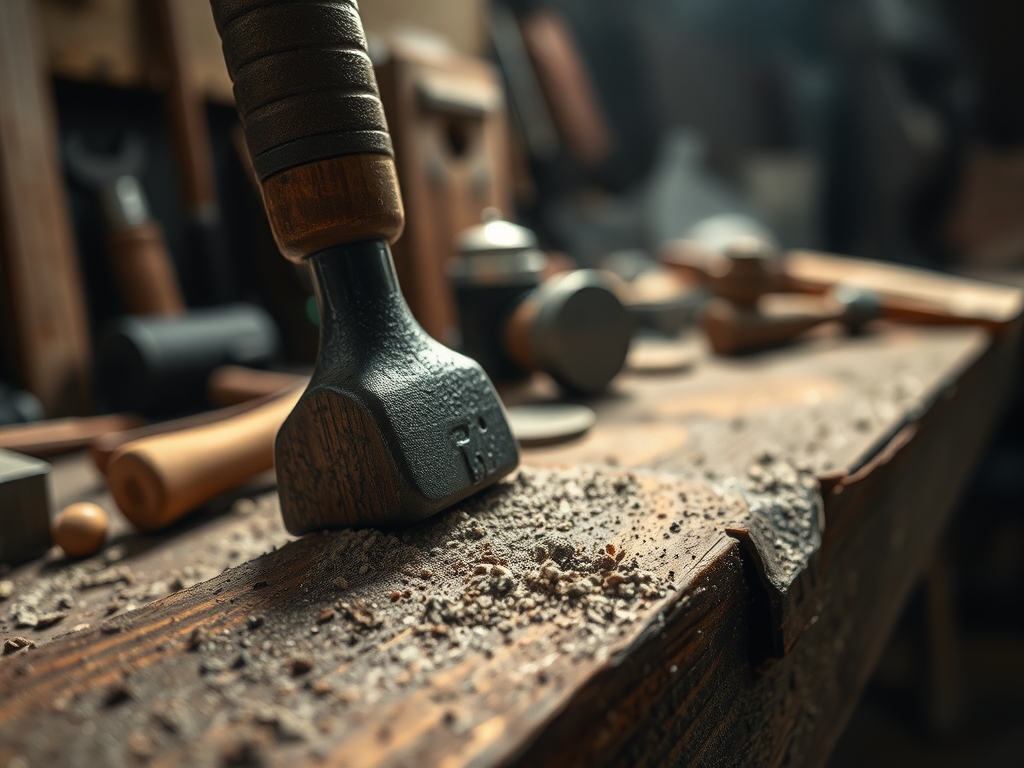
Setting up for professional grade making requires more than just a hammer and a dream. You need a curated selection of implements that respect the structural integrity of your medium. At the heart of my setup is the oscillating tool, which utilizes high frequency micro vibrations to make surgical cuts that a standard saw would butcher. For measuring, throw away the plastic ruler. You need stainless steel calipers to measure thickness down to the thousandth of an inch; because in this shop, "close enough" is an insult to the craft.
We also need to discuss your Material Substitutions. If you cannot source premium kiln dried walnut, look for high density fiberboard with a wood veneer. It offers superior dimensional stability, meaning it will not warp or cup when the humidity in your studio shifts. For heavy duty joining, I swear by cyanoacrylate adhesives paired with an activator spray for an instant chemical bond. If you are working with leather or paper, a bone folder and a rotary cutter are non negotiable for achieving those crisp, professional edges that scream high end boutique. Every tool in this kit serves a specific mechanical purpose, designed to manage the shear stress of the fabrication process.
THE TEMPO
The "Maker's Rhythm" is a real psychological state where time dilates and your efficiency peaks. You cannot rush the physics of curing or the cooling of a solder joint. I break my studio sessions into three distinct phases to maintain this flow. First is the Calibration Phase (approx. 45 minutes), where you check tool alignments and sharpen blades. A dull blade increases friction, which generates heat and can actually change the molecular structure of your material through scorching.
Next is the Execution Phase (3 to 5 hours), which is the meat of the project. This is where you are in the zone, moving from the drill press to the workbench with a calculated grace. Finally, there is the Stabilization Phase (12 to 24 hours). This is the hardest part for us impatient types. It is the time required for glues to fully polymerize or for finishes to outgas. If you disturb a piece before the chemical bonds have set, you risk delamination, which is basically a fancy word for your project falling apart. Respect the clock, and the clock will respect your craft.
THE CORE METHOD
1. Material Preparation and Squaring
Before you make a single cut, you must ensure your stock is perfectly square. Use a try square to check the 90 degree relationship between faces. If the wood is bowed, you are fighting physics from the start. Mastery Tip: Wood is a porous material that breathes. Always let your lumber acclimate to your shop's microclimate for 48 hours to prevent post production shrinkage or expansion.
2. Precision Marking and Scribing
Stop using fat carpenter pencils. For high density work, use a marking awl or a striking knife. These tools sever the wood fibers, creating a physical "track" for your saw blade to follow. Mastery Tip: This technique utilizes capillary action when applying finishes later; the severed fibers will take up stain differently, creating a crisp, visual boundary that prevents bleeding.
3. The Controlled Cut
When engaging your power tools, let the RPMs reach their peak before the blade touches the material. This ensures that the kinetic energy of the tool does the work, rather than your physical force. Mastery Tip: Excessive pressure causes "blade wander," where the metal heats up and flexes. Light passes maintain the tensile strength of the tool and produce a much smoother surface finish.
4. Mechanical Fastening and Bonding
When joining two surfaces, you are creating a new structural unit. Apply your adhesive in a thin, even layer to maximize surface area contact. Mastery Tip: Over clamping can be just as bad as under clamping. If you squeeze out all the glue, you create a "starved joint" with zero interfacial tension, leading to inevitable failure under load.
THE TECHNICAL LEDGER
Maintenance & Longevity: Your tools are an investment, not a disposable commodity. Every month, I perform a "Deep Clean" where I remove resin buildup from blades using a specialized solvent and coat all cast iron surfaces with a microcrystalline wax to prevent oxidation. Rust is the silent killer of precision; even a tiny pit on a jointer table can ruin your accuracy.
Material Variations: For those looking to go green, recycled HDPE (High Density Polyethylene) is a fantastic sustainable alternative to traditional plastics. It machines beautifully with standard woodworking tools but requires different speeds to prevent melting. If you are going premium, look for FSC-certified exotic hardwoods, which offer incredible density and natural oils that resist decay.
The Correction:
- Mistake: Tear-out on the back of a cut. Fix: Use a sacrificial "zero-clearance" backing board to support the wood fibers as the blade exits.
- Mistake: Glue spots showing up after staining. Fix: Use a blacklight to find invisible glue residue before you apply the finish; then scrape, don't sand, it away.
- Mistake: Wobbly furniture legs. Fix: Use a contour gauge to identify the exact floor variance and shim the joint, not the foot.
Studio Organization: To prevent material degradation, store your lumber horizontally on a rack with "stickers" (small spacers) between layers to allow airflow. Store your precision measuring tools in foam lined drawers to maintain their calibration. Never store your adhesives near a heat source, as thermal cycling breaks down the chemical polymers.
THE FINAL REVEAL
There is nothing quite like the moment you step back and see your finished piece catching the light. When you have used the right tools and respected the science of the materials, the result is unmistakable. The edges are crisp, the joints are seamless, and the finish feels like glass under your fingertips. It is a high energy win that proves you are not just a hobbyist; you are a master of your domain. You have successfully navigated the complexities of Advanced Shop Power to create something that will last for generations. Now, go take a photo of that masterpiece before we start the next one!
STUDIO QUESTIONS
How do I stop my drill bits from smoking?
Reduce your drill speed and apply more pressure. Smoking is caused by friction when the bit spins too fast without biting into the material. For metal, always use a cutting fluid to dissipate heat and preserve the bit's temper.
What is the best way to clean sawdust?
Use a high efficiency particulate air (HEPA) vacuum rather than a broom. Sweeping kicks fine dust into the air, which can settle into your wet finishes and damage your lungs. A cyclone separator will help save your vacuum filters.
Why does my wood glue keep failing?
You might be working in a shop that is too cold. Most PVAs require a minimum temperature of 50 degrees Fahrenheit to polymerize correctly. If the temperature drops during the night, the chemical bond will become brittle and snap.
Can I use a rotary tool for everything?
While versatile, rotary tools lack the torque for heavy duty tasks. They are designed for high speed, low resistance work like engraving or polishing. For structural cuts, always graduate to a tool with more horsepower to ensure safety.

