
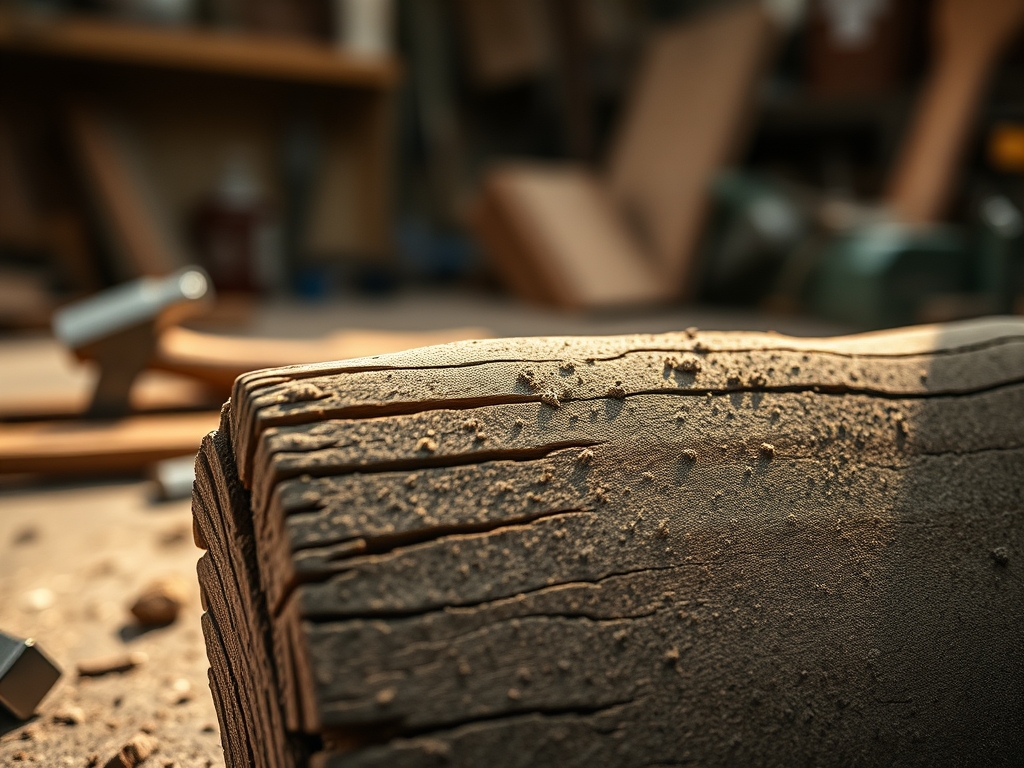
Imagine the scent of freshly planed cedar hitting your nostrils as the fine, golden dust settles on your workbench. You run your thumb along the edge of a raw timber plank, feeling the resistance of the cellulose fibers and the subtle heat generated by friction. This is where the magic happens. To be a complete maker, you must embody Professional Craftsmanship Values by respecting the inherent physics of your medium while maintaining a relentless obsession with precision. It is not just about finishing a project; it is about the tactile relationship between your nervous system and the raw material.
Being a complete maker means understanding that every cut is a conversation. When you pick up a piece of kiln dried hardwood, you are engaging with a biological structure that has specific tensile strength and a distinct grain direction. If you ignore those variables, the wood will fight you. If you honor them, the material becomes an extension of your own will. This high energy pursuit of excellence requires a blend of artistic vision and engineering discipline. We are going to dive deep into the studio physics that separate the hobbyists from the masters. Grab your safety glasses and let us get technical.
THE STUDIO KIT

To execute at a professional level, your kit must be an ecosystem of precision. You cannot rely on guesswork when you are dealing with tolerances measured in microns. Your primary tool is the digital caliper, which allows you to measure the exact thickness of your stock to ensure perfect joinery. For layout, a high carbon steel marking gauge is superior to a pencil because it severs the wood fibers, creating a physical track for your saw to follow. This prevents the "drift" often seen in amateur work.
You will also need a set of bench chisels with a high Rockwell hardness rating to maintain a razor edge during heavy paring. For assembly, a dead blow hammer is essential for seating joints without marring the surface. Regarding materials, we are looking for high density hardwoods like white oak or walnut because their tight pore structure allows for a superior finish.
Material Substitutions: If premium hardwoods are unavailable, you can substitute with high grade birch plywood. However, you must account for the voids often found in lower grade plys. If you are working in a metal medium, swap the woodworking tools for a jeweler's saw and a set of needle files. The physics of the "Maker's Rhythm" remains the same; only the resistance of the substrate changes.
THE TEMPO
The "Maker's Rhythm" is the temporal flow of a project, and mastering it is a core Professional Craftsmanship Value. You cannot rush the curing of adhesives or the drying of finishes without compromising the structural integrity of the piece. A complete project usually breaks down into three distinct phases.
The first phase is the Milling and Layout, which takes approximately four to six hours. This is the most mentally taxing stage because an error of one millimeter here will compound into a centimeter by the end of the build. The second phase is Joinery and Assembly, requiring roughly eight hours. This is where you engage in the repetitive, meditative work of cutting tenons or drilling pilot holes. The final phase is Surface Preparation and Finishing, which spans forty eight hours. Most of this time is "passive" as you wait for oils to polymerize or topcoats to off gas. A complete maker knows that the "waiting" is just as active a process as the "cutting."
THE CORE METHOD
1. Calibrating the Substrate
Before the first cut, you must verify that your material is perfectly flat and square. Use a jointer or a hand plane to remove any "cup" or "bow" in the wood. Mastery Tip: Wood is hygroscopic, meaning it absorbs moisture from the air. By planing both sides equally, you maintain the internal tension of the board, preventing it from warping as it acclimates to your studio's humidity levels.
2. The Precision Layout
Using your marking gauge and a try square, scribe your joinery lines directly onto the wood. Do not use a thick lead pencil; the width of a pencil line can be up to 0.5mm, which is far too imprecise. Mastery Tip: Always scribe your lines slightly "fat." This allows you to "sneak up on the fit" by removing microscopic amounts of material during the final paring process, ensuring a piston-fit joint.
3. Executing the Mechanical Bond
Whether you are using dovetails, mortise and tenon, or high strength fasteners, the goal is to maximize the surface area for the adhesive. Use an awl to create starter holes for any screws to prevent the wood from splitting along the grain. Mastery Tip: Capillary action pulls wood glue into the porous end grain. To prevent a "starved joint," apply a thin "size" coat of glue to the end grain first, let it tack up for two minutes, then apply the final bead for assembly.
4. The Refinement Burnish
Once the structure is sound, move through your sanding grits methodically: 80, 120, 180, and 220. Between each grit, wipe the surface with a damp cloth to "raise the grain." Mastery Tip: Use a bone folder or a smooth polished stone to burnish the edges of your project. This compresses the fibers, making them less porous and creating a natural luster that resists moisture penetration better than sanding alone.
THE TECHNICAL LEDGER
Maintenance & Longevity: To ensure your piece lasts for generations, you must apply a finish that allows the material to breathe. A blend of beeswax and linseed oil provides a tactile, repairable surface. Avoid heavy plastics like thick polyurethane, which can crack when the wood naturally expands and contracts with the seasons.
Material Variations:
- Sustainable: Reclaimed heart pine offers incredible density but requires a metal detector to check for hidden nails.
- Recycled: HDPE (High Density Polyethylene) can be melted and turned into durable outdoor components using an oscillating tool for refinement.
- Premium: Exotic hardwoods like Ebony or Cocobolo offer stunning aesthetics but contain natural oils that can interfere with standard glues; wipe these with acetone before bonding.
The Correction:
- The Gap: If a joint has a visible gap, do not use wood filler. Instead, wedge a thin "shim" of the same wood species into the gap with glue, then sand flush.
- The Tear-out: If your saw blade chips the wood, you are likely cutting against the grain. Switch directions or use a zero-clearance insert on your saw to support the fibers.
- The Glue Stain: If glue dries on the surface, it will block the finish. Use a cabinet scraper to remove the dried film rather than sanding, which often just pushes the glue deeper into the pores.
Studio Organization: Store your materials horizontally on a rack with "stickers" (small wooden strips) between layers to allow for 360 degree airflow. This prevents the buildup of moisture pockets that cause rot or fungal growth. Keep your precision tools like micrometers in felt lined drawers to prevent corrosion from ambient humidity.
THE FINAL REVEAL
Look at that finished piece. The way the light catches the burnished edges and the way the joinery looks like it grew together naturally is the hallmark of a complete maker. You have moved beyond mere construction into the realm of applied physics and art. The weight of the piece feels substantial because you chose the right density; the surface feels like silk because you mastered the grit progression. This project is a physical manifestation of your Professional Craftsmanship Values. You did not just make an object; you mastered a process.
STUDIO QUESTIONS
What is the most important tool for a beginner?
The digital caliper is essential. It removes the guesswork from material thickness and joinery, ensuring that every component fits with mathematical precision. Measuring accurately is the foundation of all professional craftsmanship values and successful builds.
How do I prevent wood from warping?
Always seal both sides of your material with the same number of coats. This ensures that moisture enters and leaves the wood at an equal rate, preventing the uneven tension that causes bowing, cupping, or twisting over time.
What is the best way to clean my tools?
Use a specialized blade cleaner or high purity isopropyl alcohol to remove resin and pitch. Afterward, apply a thin layer of camellia oil or paste wax to protect the metal from oxidation and reduce friction during use.
Why does my finish look blotchy?
Blotchiness occurs when the wood's density varies, causing uneven absorption. To fix this, apply a pre-stain conditioner or a thin coat of shellac to seal the pores before applying your final pigment or oil finish.

