
The smell of freshly cut walnut is basically my signature perfume at this point; it is that heady mix of toasted sugar and raw earth that tells me my Saturday is about to get very productive. When you run your hand across a rough-sawn board, you are not just feeling wood; you are reading the history of its growth rings and calculating the Advanced Shop Techniques required to tame that specific grain direction. I live for the moment the blade bites into the stock and the resistance tells me exactly how the lignin is going to behave under pressure. There is a specific, visceral thrill in knowing that a pile of lumber is about to become a legacy piece because you understand the physics of the materials. We are talking about more than just "making a table" here; we are deep-diving into the tensile strength and hygroscopic nature of organic fibers to ensure that every joint is a masterpiece of engineering. Grab your safety glasses and a double espresso; we are going to build something that would make a master carpenter weep with joy.
THE STUDIO KIT
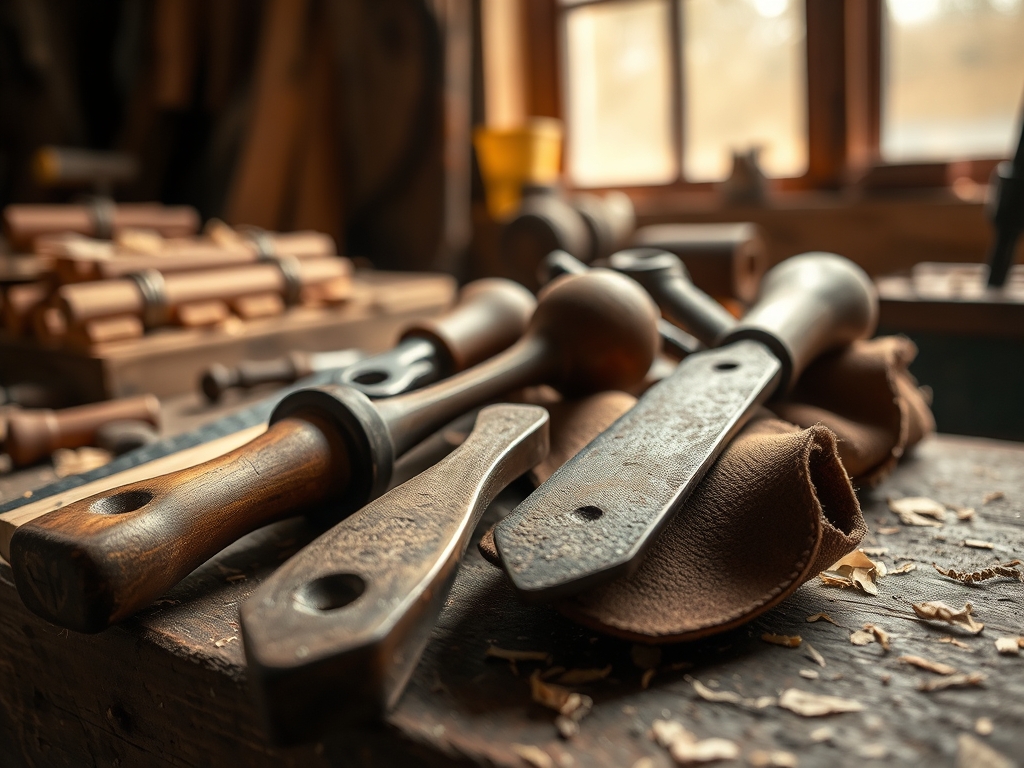
To achieve a professional grade finish, your tool kit needs to be as precise as a surgeon's tray. I never start a build without my digital calipers to measure thickness down to the thousandth of an inch; wood moves, and those tiny increments matter for mortise and tenon integrity. You will need a high-quality marking awl for scribing lines that a pencil simply cannot match for accuracy. For the heavy lifting, an oscillating tool is essential for cleaning up tight corners where a standard chisel might struggle. I also keep a bone folder and a set of burnishing tools on hand to compress wood fibers at the edges of joints, which prevents splintering during the final assembly.
Material selection is where the science really kicks in. While I love the porous density of white oak, you can utilize Material Substitutions like thermally modified ash if you need superior rot resistance without the weight. If you are working on a budget, high-grade birch ply offers incredible dimensional stability due to its cross-laminated layers, which counteract the natural tendency of wood to cup or warp. Always check your moisture meter before the first cut; if the internal saturation is above twelve percent, your joinery will shrink and fail as the piece acclimates to your home's climate.
THE TEMPO
The Maker's Rhythm is not about speed; it is about respecting the biological clock of your materials. I break my builds into three distinct phases: the Milling Phase, the Joinery Phase, and the Curing Phase. Milling takes about four hours of active labor, as you must allow the wood to "rest" for twenty-four hours after the initial rough cuts to let internal stresses find a new equilibrium. If you skip this, your straight boards will turn into bananas overnight.
The Joinery Phase is the heart of the project, usually requiring a solid twelve to fifteen hours of focused "deep work." This is where you are using your jeweler's saw for fine details and ensuring every shoulder is square. Finally, the Curing Phase is the most underrated; you need at least forty-eight hours for modern polyvinyl acetate (PVA) glues to fully cross-link their polymer chains. Rushing the finish over damp glue is a recipe for a cloudy, peeling mess. Respect the clock, and the clock will respect your craftsmanship.
THE CORE METHOD
1. Precision Stock Preparation
Before the first blade touch, use your calipers to verify that your stock is uniform across its entire length. We are aiming for a parallelism that ensures the wood sits flat on the tool beds, preventing "snipe" or uneven depths.
Mastery Tip: Wood is a bundle of straws; if you cut across the vessel elements too quickly, they shatter rather than slice. Use a high-tooth-count blade to maintain structural integrity and reduce the need for aggressive sanding later.
2. The Scribed Joinery Layout
Forget the pencil; use a marking gauge to slice the wood fibers exactly where your joint will sit. This creates a physical "wall" for your chisel to rest in, ensuring that your fit is air-tight.
Mastery Tip: This technique utilizes capillary action during the gluing process. A severed fiber absorbs adhesive more deeply than a crushed one, creating a chemical bond that is technically stronger than the wood itself.
3. Progressive Grit Refinement
Sanding is not just about smoothness; it is about closing the pores of the wood in a controlled sequence. Start at 80 grit to level the surface and move up to 220 grit, never skipping a step in the numerical progression.
Mastery Tip: Raising the grain with a damp cloth between the final two grits prevents "fuzzing" when you apply your finish. This manages the surface tension of the wood, allowing the oil or lacquer to lay perfectly flat.
4. Controlled Adhesive Application
Apply glue to both mating surfaces using a silicone brush to ensure 100 percent coverage. You want a small amount of "squeeze-out" to prove the joint is saturated, but not so much that it creates a mess.
Mastery Tip: Over-clamping can actually starve a joint of glue. You need just enough pressure to close the gap; excessive force squeezes out the necessary film thickness required for interfacial adhesion.
THE TECHNICAL LEDGER
Maintenance & Longevity: To keep your piece in museum condition, apply a high-quality paste wax every six months. This creates a sacrificial hydrophobic barrier that prevents atmospheric moisture from penetrating the wood cells and causing expansion cycles.
Material Variations:
- Premium: Black Walnut or Cherry for incredible chatoyancy.
- Sustainable: Bamboo ply or reclaimed "sinker" logs.
- Recycled: Pallet oak, though you must scan for metal with a detector to protect your blades.
The Correction:
- The Gap: If a joint has a hairline gap, mix fine sawdust from the same board with wood glue to create a matching filler.
- The Tear-out: If the grain chips, use a sharp block plane to feather the area before sanding.
- The Blotcher: If the stain looks uneven, use a "pre-stain conditioner" to equalize the absorption rate of the wood fibers.
Studio Organization: Store your unfinished components horizontally on a flat rack. Stacking them vertically against a wall causes "creep," where gravity slowly bows the wood over time, ruining your precision milling.
THE FINAL REVEAL
There is nothing quite like the moment you buff away the final coat of wax and see the light dance across the grain you have spent forty hours perfecting. The finished piece feels substantial; it has a tactile warmth that cold, factory-made furniture can never replicate. When you run your fingers over the joints and feel absolutely no transition between the two pieces of wood, you know you have mastered the physics of the craft. It is bold, it is elegant, and it is built to last three lifetimes. You didn't just make furniture; you engineered an heirloom using Advanced Shop Techniques that bridge the gap between art and science.
STUDIO QUESTIONS
Why is grain direction so important?
Grain direction determines the tensile strength and stability of your cut. Cutting against the grain causes "tear-out," which ruins the surface finish. Always "read" the cathedral patterns to ensure your tools move with the fibers, not against them.
What does "raising the grain" actually do?
When wood gets wet, the compressed fibers stand up like tiny hairs. By intentionally wetting the wood and sanding those hairs off before finishing, you ensure the final liquid topcoat doesn't make the piece feel "fuzzy" or rough.
How do I prevent my tabletop from cracking?
Wood expands and contracts across its width. Use "Z-clips" or elongated screw holes for the tabletop fasteners. This allows the wood to move with seasonal humidity changes without fighting the rigid frame, preventing structural stress fractures.
Why use a marking awl instead of a pencil?
A pencil line has a measurable thickness that can lead to "stacking errors." A marking awl severs the wood fibers at a specific point, providing a physical "register" for your saw or chisel to follow with microscopic accuracy.

