
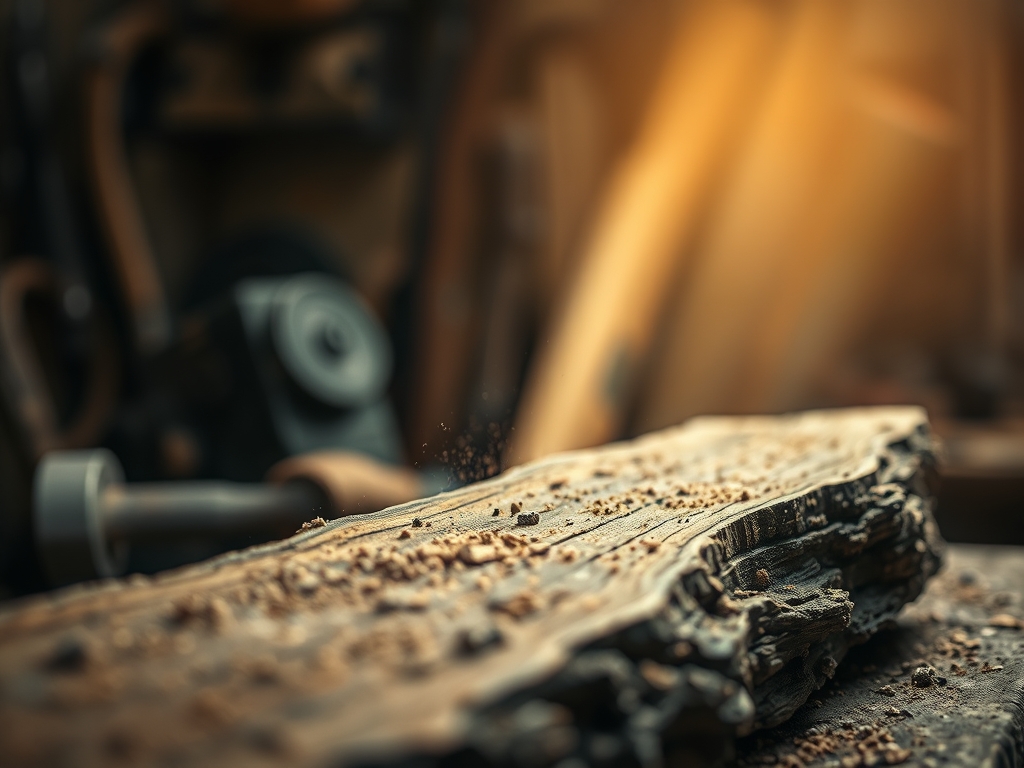
Close your eyes and listen to that high pitched sing of a sharp chisel meeting a stubborn block of cherry wood. It is visceral. It is the moment where raw nature meets human intent. Mastering the Wood Art requires more than just a sharp blade; it demands an intimate understanding of cellular structures and moisture content. When you run your thumb across the grain, you are feeling the history of the tree.
You can feel the difference between the open pores of oak and the tight, buttery density of maple. This is not just a hobby. It is a dialogue between your hands and the fibers. We are moving beyond basic carpentry into the realm of true craftsmanship where every shaving tells a story about the internal tension of the timber. Grab your safety glasses and tie back your hair. We are about to turn a static piece of lumber into a legacy piece that breathes with life.
THE STUDIO KIT
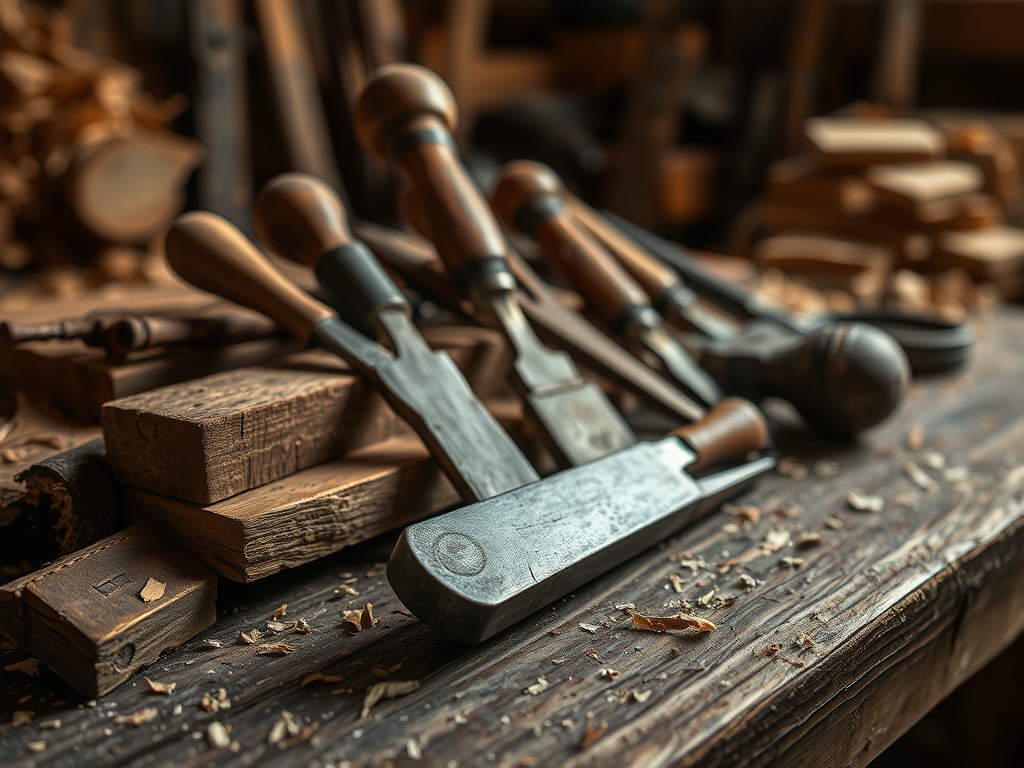
To achieve professional results, your workbench needs to be an extension of your own nervous system. You will need a high carbon steel marking knife for precision lines that a pencil simply cannot match. A pencil lead has width; a knife line has none. You will also need a set of beveled edge chisels, a block plane for smoothing end grain, and a digital caliper to measure thickness down to the thousandth of an inch.
For the materials, focus on kiln dried hardwoods with a moisture content between six and eight percent. If the wood is too wet, it will warp as it reaches equilibrium with your home environment. If you cannot find premium walnut or cherry, look for Material Substitutions like high grade birch plywood. While plywood lacks the singular grain direction of solid timber, its cross laminated layers provide incredible dimensional stability and resistance to shearing forces. You might also consider reclaimed heart pine, which offers a high resin content that smells like a forest and polishes to a glass like sheen.
THE TEMPO
The "Maker's Rhythm" is a psychological state where time dilates. You cannot rush the cellulose. Expect to spend approximately two hours in the Material Selection and Milling phase. This is where you square your stock and ensure every face is perfectly perpendicular. The Layout and Joinery phase is the most demanding, requiring four to six hours of intense focus. This is the stage where you use your awl to prick the exact centers for your drill bits.
The Assembly and Gluing phase takes about one hour of frantic activity followed by twenty four hours of "The Long Wait." You must allow the polyvinyl acetate (PVA) glue to undergo its chemical transition, forming a bond that is actually stronger than the wood fibers themselves. Finally, the Finishing and Burnishing phase takes another three hours spread over several days. This allows each layer of oil or wax to polymerize correctly. Do not skip the curing time; patience is a technical requirement.
THE CORE METHOD
1. The Precision Layout
Start by marking your reference faces. Use a try square to check for flatness. Every measurement must originate from these "dead flat" surfaces to prevent cumulative error. If your base is off by a fraction of a degree, your final joints will have unsightly gaps.
Mastery Tip: This step relies on geometric alignment. By using a marking knife instead of a pencil, you create a physical track for your saw to follow, which prevents the blade from wandering across the grain.
2. The Strategic Cut
Using a Japanese pull saw, begin your joinery cuts. Unlike Western saws that cut on the push stroke, a pull saw allows for a thinner blade because the tension of the pull keeps the steel straight. This results in a narrower kerf and less wasted material.
Mastery Tip: Understand shear strength. When cutting joinery like dovetails, you are maximizing the surface area for glue contact while creating a mechanical interlock that resists being pulled apart.
3. The Refined Pare
Once the bulk of the waste is removed, use your chisels to pare down to your knife lines. Keep the flat side of the chisel against the wood to act as a guide. This is a game of microns. You should be taking off shavings so thin they are translucent.
Mastery Tip: This process utilizes cleavage planes. By working with the grain rather than against it, you prevent the wood from "running" or splitting deep into the heart of your workpiece.
4. The Final Bond
Apply a thin, even layer of glue to both mating surfaces. Use a small brush to ensure total coverage. When you clamp the pieces together, you should see a small, consistent bead of "squeeze out" along the entire seam.
Mastery Tip: This is the science of capillary action. The glue seeks out the porous openings in the wood fibers, anchoring itself deep within the cellular structure as it hardens.
THE TECHNICAL LEDGER
Maintenance & Longevity: To keep your creation pristine, avoid placing it in direct sunlight or near HVAC vents. Wood is hygroscopic, meaning it constantly absorbs and releases moisture. Extreme fluctuations will cause the wood to check or crack. Apply a fresh coat of beeswax every six months to maintain the moisture barrier.
Material Variations:
- Sustainable: Bamboo or cork offer rapid regrowth cycles.
- Recycled: Pallet wood or old barn beams provide a weathered aesthetic but require careful scanning with a metal detector.
- Premium: Exotic species like Ebony or Cocobolo offer incredible density and natural oils but require specialized adhesives.
The Correction:
- The Gap: If a joint has a small gap, mix fine sanding dust with wood glue to create a matching paste.
- The Tear-out: If a plane blade rips the fibers, dampen the area with a drop of water to swell the cells before re-sanding.
- The Over-sand: If you sand through a veneer or lose a sharp edge, you must "draw back" the surrounding area to create a new, intentional taper.
Studio Organization: Store your lumber horizontally on a rack with "stickers" (small wood strips) between each board. This allows for 360 degree airflow, preventing the wood from "cupping" due to uneven drying on one side.
THE FINAL REVEAL
Look at that! The way the light catches the grain transitions is nothing short of magical. You have taken a chaotic, organic material and imposed a beautiful, mathematical order upon it. The piece feels heavy, balanced, and intentional. When you run your hand over the surface, there is no friction; there is only the cool, smooth finish of a job well done. This object does not just sit in a room; it commands the space. You have successfully navigated the physics of the forest to create something that will outlast us both.
STUDIO QUESTIONS
What is the best wood for a beginner?
Poplar is excellent because it is inexpensive, relatively soft, and has a clear grain structure. It allows you to practice complex joinery without the high cost of walnut or the extreme hardness of white oak.
How do I keep my tools from rusting?
Apply a thin coat of camellia oil or a specialized tool wax to all steel surfaces. This creates a hydrophobic barrier that prevents oxygen and moisture from initiating the oxidation process on your expensive chisels and planes.
Why does my wood keep splitting?
Splitting usually occurs because of internal stresses or rapid changes in humidity. Always leave "room to breathe" in your designs by using floating panels or elongated screw holes to allow for natural expansion and contraction.
Can I use a regular saw for fine joinery?
While possible, a dedicated joinery saw with a high tooth count (TPI) provides a much cleaner finish. High TPI saws minimize fiber crushing, which is essential for creating the tight, seamless fits required in professional woodworking.

