
Run your fingers across a raw slab of black walnut and you will feel the history of the forest vibrating beneath your skin. It is not just about building furniture; it is about the hunt for that perfect, invisible seam. Mastering the Wood Grain Match is the ultimate test of a maker's patience and spatial reasoning. When you align those swirling growth rings just right, the tabletop looks like it was harvested from a single, impossible tree. You are looking for a flow that mimics water moving over stones. If the grain breaks abruptly, the eye catches on the visual static. We want a smooth, uninterrupted melody. To achieve this, we must respect the cellular structure of the timber. Wood is a bundle of microscopic straws held together by lignin. When we cut it, we expose these pores. If we do not account for how those fibers reflect light, the seam will reveal itself the moment the sun hits it. This is where art meets the rigorous laws of physics.
THE STUDIO KIT
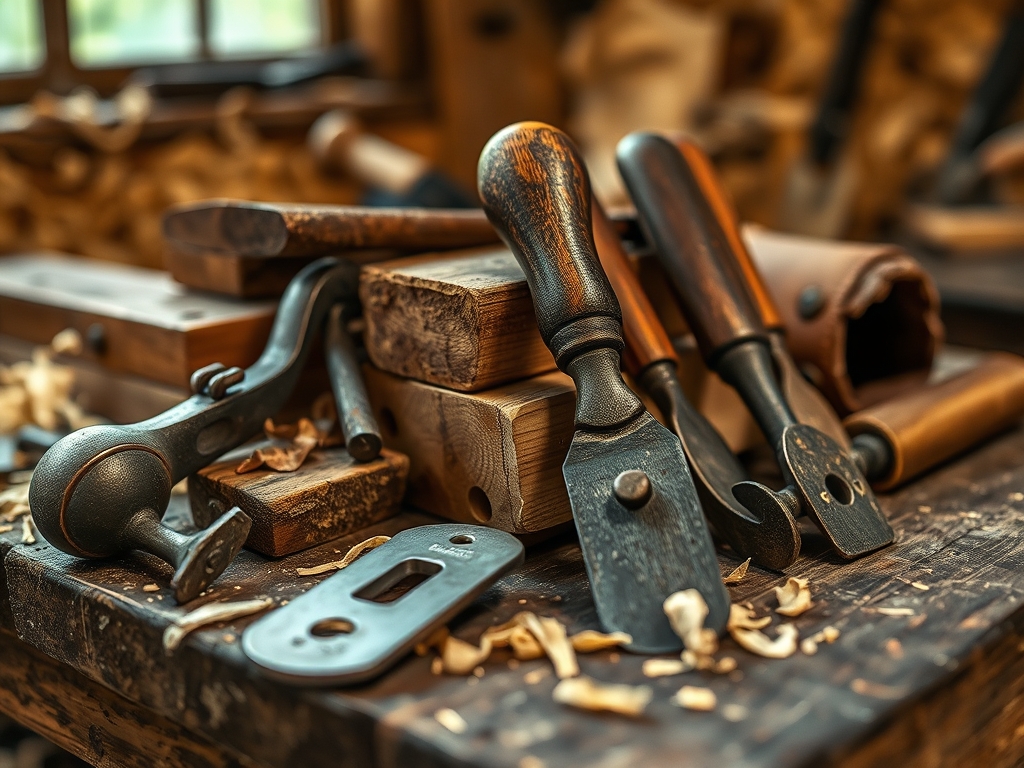
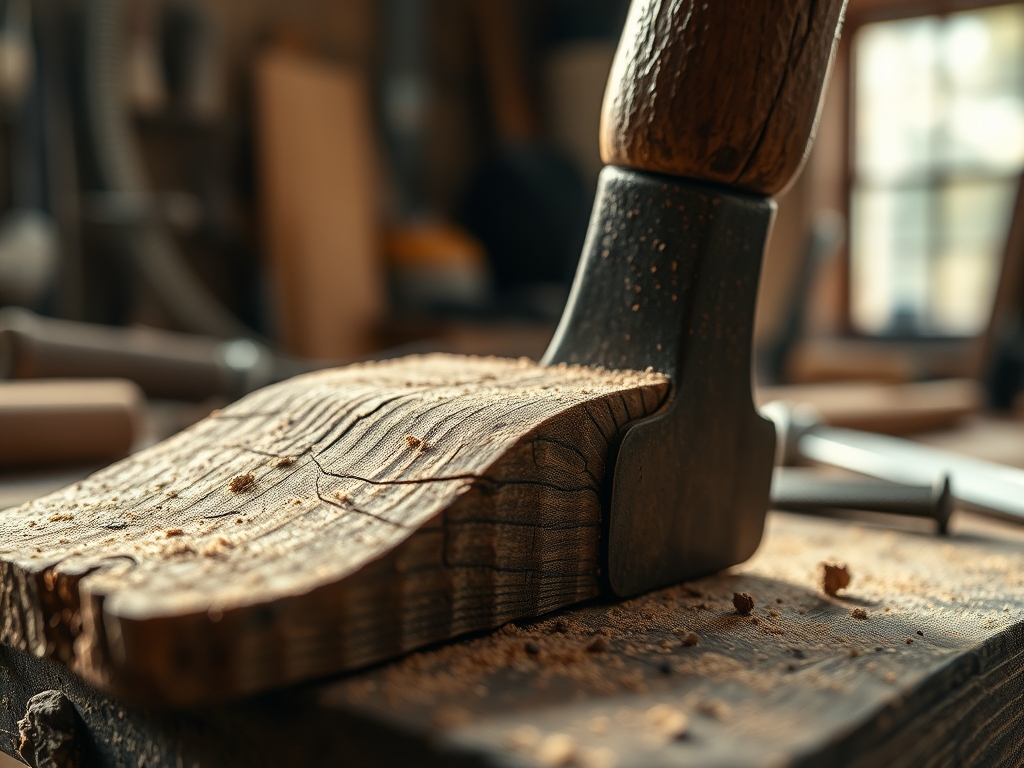
To achieve a seamless bond, your arsenal must be precise. You will need a pair of digital calipers to measure board thickness down to the thousandth of an inch. A sharp marking awl is superior to a pencil because it severs the wood fibers, creating a physical track for your blade to follow. For the actual joining, a low-angle jack plane is essential for shearing end grain without tearing. We also utilize PVA glue, which relies on a chemical bond that is often stronger than the wood itself.
If you are working with a tighter budget, look into Material Substitutions. While solid hardwood is the gold standard, high-quality baltic birch plywood with a thick veneer can offer incredible stability. You can also substitute expensive brass dowels with hardwood biscuits or tenons to maintain structural integrity. Regardless of the material, keep a burnishing tool nearby to compress fibers at the seam for a tighter fit.
THE TEMPO
The "Maker's Rhythm" is not about speed; it is about respecting the drying times and the internal stresses of the wood. Expect to spend roughly two hours on the Selection Phase, where you map out the grain patterns. The Preparation Phase, involving jointing and planing, takes another four hours. Once you apply the adhesive, the Curing Phase requires a minimum of twenty-four hours under tension.
Do not rush the acclimation period. Wood is a hygroscopic material, meaning it absorbs and releases moisture based on the humidity of your studio. Let your lumber sit in your workspace for at least a week before you make your first cut. This prevents the wood from warping after you have already achieved a perfect match.
THE CORE METHOD
1. The Bookmatch Flip
Start by resawing a thick board down the center like opening a book. This creates a mirrored image of the grain. To ensure the best result, use a thin-kerf bandsaw blade to minimize material loss.
Mastery Tip: This technique relies on bilateral symmetry. Because the two faces were once touching, their cell structures are identical. This ensures that the way they expand and contract with seasonal humidity changes will be perfectly synchronized, preventing the joint from cracking.
2. Squaring the Shoulders
Use a jointer or a long hand plane to create a perfectly flat 90-degree edge on both boards. Check the flatness by placing the two edges together and holding them up to a light source. If any light leaks through, the seam is not ready.
Mastery Tip: This is about surface tension and contact area. A perfectly flat edge maximizes the surface area available for the adhesive to grab onto. Even a microscopic gap creates a pocket of air that weakens the tensile strength of the final tabletop.
3. The Dry Fit Alignment
Before applying any glue, clamp your boards together to check the grain flow. Use your marking awl to draw "V" shapes across the joint. These marks act as your visual guide when the slippery glue is applied.
Mastery Tip: Wood fibers are porous, and they will swell slightly once they absorb the moisture from the glue. A dry fit allows you to anticipate how much clamping pressure is needed to overcome this "glue slide" and keep your grain perfectly aligned.
4. Controlled Clamping Pressure
Apply a thin, even layer of glue to both surfaces. Use parallel jaw clamps to apply pressure. You want to see "squeeze-out," which are tiny beads of glue appearing along the seam.
Mastery Tip: Excessive pressure can starve a joint by forcing all the glue out of the pores. You are aiming for a bond thickness of about 0.003 inches. This allows for capillary action to draw the adhesive deep into the tracheids of the wood, creating a mechanical lock.
THE TECHNICAL LEDGER
Maintenance & Longevity: To keep your tabletop pristine, apply a hard-wax oil finish. Unlike polyurethane, which sits on top, oil penetrates the fibers and allows the wood to breathe. Re-apply every six months to maintain the hydrophobic barrier.
Material Variations:
- Sustainable: Reclaimed barn wood offers unique "nail stain" aesthetics but requires careful scanning with a metal detector.
- Premium: Quarter-sawn white oak provides exceptional dimensional stability and beautiful "ray flecks."
- Recycled: Compressed paper composites are incredibly dense and offer a modern, industrial look.
The Correction:
- The Ghost Seam: If a line is visible, the boards were not square. Fix this by "springing the joint," which involves planing a microscopic curve into the center of the boards.
- Grain Shift: If the grain moved during clamping, use a rotary tool to carve in faux grain lines and fill them with matching wood dust and resin.
- Glue Staining: If glue dries on the surface, it will block finish absorption. Use a cabinet scraper to remove it; do not just sand it, as sanding often pushes the glue deeper into the pores.
Studio Organization: Store your unfinished slabs vertically in a rack with spacers (stickers) between them. This allows for even airflow on all sides, preventing the "cupping" caused by uneven moisture evaporation.
THE FINAL REVEAL
There is nothing quite like the moment you wipe that first coat of oil across the surface and the grain "pops." Suddenly, those two separate boards vanish, replaced by a single, flowing landscape of timber. The light catches the chatoyancy of the fibers, making the wood look almost three-dimensional. You have successfully navigated the physics of the forest to create something that feels solid, permanent, and utterly professional. It is a tactile masterpiece that invites everyone to reach out and touch the seamless transition you worked so hard to perfect.
STUDIO QUESTIONS
How do I stop boards from sliding during glue-up?
Sprinkle a tiny amount of common table salt onto the wet glue. The salt crystals act as microscopic anchors that prevent the boards from shifting while you apply clamp pressure without affecting the final bond strength.
What is the best tool for checking flatness?
A precision-ground steel straightedge is the gold standard. Place it across your workpiece and use a feeler gauge to check for gaps. If a 0.002-inch gauge can slide under the edge, you need more planing.
Can I match grain on plywood edges?
Yes, by using "edge banding" cut from the same species. For the best results, cut your own strips from a solid board to ensure the color and pore density match the veneer on the plywood face perfectly.
Why does my wood joint look dark?
This usually happens because of "end grain" absorption. If your blade was dull, it crushed the fibers instead of cutting them, causing them to soak up more glue or stain. Always use a razor-sharp blade for final passes.
How long should I wait to sand after gluing?
Wait at least 24 hours. Even if the glue feels dry, the wood around the joint has swollen from moisture. If you sand too early, you will end up with a sunken pit once the wood fully dries.

