

The scent of fresh cedar shavings is better than any expensive candle; it is the smell of potential energy waiting to be released. I spent years working in a dimly lit corner of the garage, but everything changed when I realized that an Advanced Shop Layout is not just about where you put your saw. It is about how the light hits the grain of the wood at a shallow angle so you can see every microscopic imperfection before your chisel even touches the surface. Moving my bench to the window was a revelation in physics. Natural light reveals the tensile strength and fiber density of my materials in a way that flickering overhead LEDs never could. When you are working with organic matter, you need to see the cellular structure. You need to see how the light catches the porous ends of a mahogany plank or the way a burnished edge reflects the sun. It is about the tactile connection between the maker and the medium. Now, my workspace breathes with the day.
THE STUDIO KIT
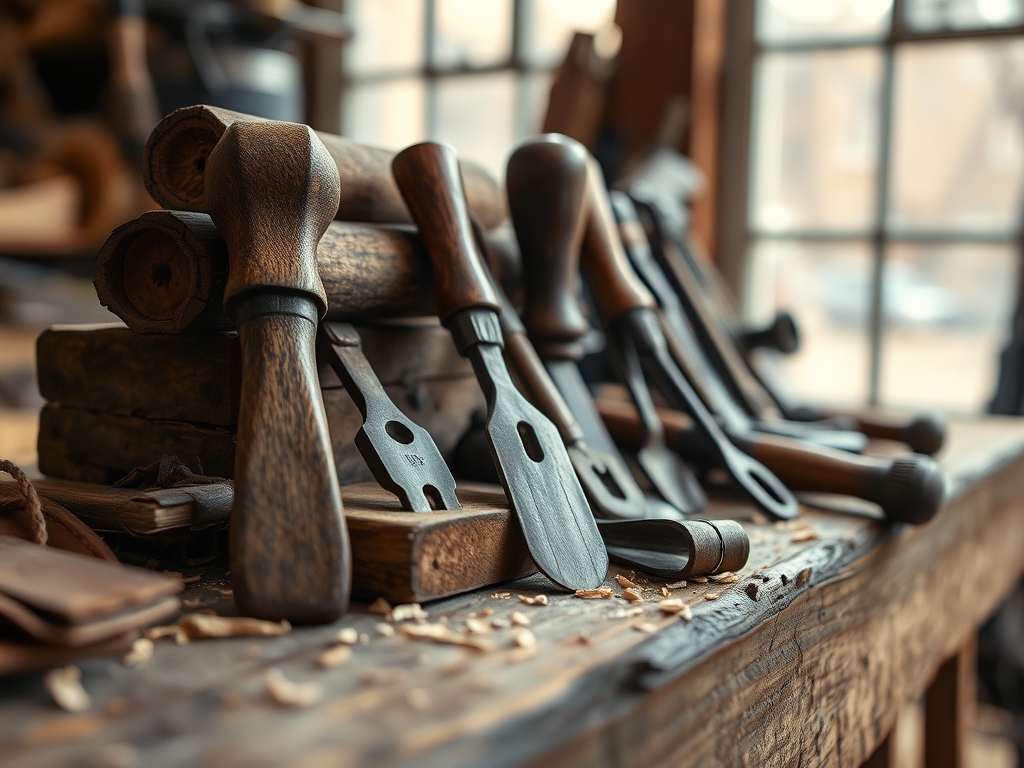
To master this specific layout, you need tools that respect the laws of physics. My kit starts with a pair of hardened steel calipers for measuring thickness down to the thousandth of an inch. Precision is the difference between a joint that holds and one that fails under stress. I also keep a bone folder and a heavy-duty awl nearby; these are essential for marking lines without tearing the delicate surface fibers of high-grade paper or leather. For cutting, a rotary cutter with a tungsten carbide blade ensures that the shear force is distributed evenly across the material, preventing the fraying that occurs with standard shears.
Material Substitutions are a vital part of the maker's journey. If you cannot source premium white oak, look for ash; it possesses similar ring-porous characteristics and excellent shock resistance. If top-grain leather is out of reach, a high-density kraft paper treated with linseed oil can offer a surprisingly high tensile limit for structural prototypes. Always consider the gauge of your fasteners. Substituting a 16-gauge nail for an 18-gauge staple might seem minor, but it fundamentally alters the load-bearing capacity of your assembly.
THE TEMPO
The "Maker's Rhythm" is a biological metronome. You cannot rush the curing time of an epoxy or the evaporation rate of a water-based finish. I divide my sessions into three distinct phases. The first is the Analytical Phase, which takes about two hours. This is where I calibrate my tools and map out my cuts. Precision here saves hours of correction later.
The second phase is the Kinetic Phase, lasting four to six hours. This is the heavy lifting; the sawing, the sanding, and the assembly. During this time, your heart rate syncs with the oscillating tool in your hand. Finally, there is the Refinement Phase. This is a slow, three-hour process of fine-tuning. It involves the final burnishing of edges and the application of oils. You must allow the material to rest between these stages to account for hygroscopic expansion, where the material absorbs moisture from the air and shifts its dimensions.
THE CORE METHOD
1. Calibrating the Workspace Geometry
Start by aligning your primary work surface perpendicular to the light source. This setup minimizes shadows and allows you to use a try square with absolute visual certainty. Ensure your bench height is ergonomic, typically at the level of your ulnar styloid process when standing.
Mastery Tip: This alignment utilizes specular reflection. By positioning the light to graze the surface, you can detect high spots in your material that would be invisible under direct, top-down lighting.
2. Establishing the Grain Orientation
Before making a single mark, identify the longitudinal axis of your material. Whether it is wood, fabric, or metal, every material has a "preferred" direction of strength. Use your awl to lightly score a reference line that follows this internal structure.
Mastery Tip: Understanding grain direction is about managing anisotropy. Materials are stronger along the fibers than across them; ignoring this leads to structural failure under minimal torsional stress.
3. Executing the Primary Cut
Using your rotary cutter or jeweler's saw, execute your primary cuts with a consistent velocity. Do not hesitate mid-cut, as this creates heat friction that can scorch wood or melt synthetic fibers. Keep your blade at a consistent 45-degree angle to the surface.
Mastery Tip: This technique relies on kinetic friction management. A steady, swift movement reduces the "chatter" of the blade, resulting in a cleaner edge that requires less sanding.
4. Applying the Binding Agent
When joining two surfaces, apply your adhesive in a thin, even layer. Use a spatula to ensure total coverage. Clamp the pieces together using parallel jaw clamps to ensure the pressure is distributed across the entire surface area.
Mastery Tip: This step facilitates capillary action. The adhesive is drawn into the microscopic pores of the material, creating a mechanical bond that is often stronger than the material itself once fully polymerized.
THE TECHNICAL LEDGER
Maintenance is the soul of a productive shop. Every week, I wipe down my steel tools with a light coat of camellia oil to prevent oxidation. For longevity, keep your workspace at a consistent humidity level. Drastic swings in moisture cause materials to warp, ruining the dimensional stability of your projects.
Material Variations offer different aesthetic and structural outcomes. Sustainable bamboo provides incredible compressive strength, while recycled HDPE (high-density polyethylene) offers a moisture-proof alternative for outdoor kits. If you are going for Premium, nothing beats the density of kiln-dried walnut.
The Correction:
- The Gap: If a joint has a visible gap, do not just fill it with glue. Mix fine sawdust from the same wood with clear resin to create a structural filler that matches the color and density.
- The Tear-out: If your saw tears the back of the wood, you are likely using a blade with too few teeth. Switch to a high-TPI (teeth per inch) blade and use a "zero-clearance" sacrificial board behind your piece.
- The Surface Bloom: If your finish looks cloudy, it is trapped moisture. Lightly sand the area with 400-grit paper and reapply the finish in a lower-humidity environment.
Studio Organization is key to preventing degradation. Store your lumber horizontally to prevent bowing. Keep your adhesives in a cool, dark cabinet to prevent premature polymerization. I use a modular pegboard system to keep my most-used tools within a thirty-inch "strike zone" to maximize efficiency.
THE FINAL REVEAL
There is a specific moment when a project transforms from a pile of parts into a finished piece. It is the moment you wipe away the excess oil and the grain literally "pops" under the sunlight from the window. The result of a proper Advanced Shop Layout is a piece that feels balanced in the hand and looks flawless to the eye. You can feel the structural integrity in the weight of it. It is not just a shelf or a box; it is a testament to your understanding of physics and your respect for the material. When you work with the light instead of against the shadows, your craft reaches a level of professional polish that feels like magic but is actually just very good science.
STUDIO QUESTIONS
How do I prevent wood from warping in my shop?
Maintain a consistent humidity level between 40 and 50 percent. Store your lumber flat and off the ground to ensure even airflow around all sides, which prevents uneven moisture absorption and keeps the internal cells stable.
What is the best way to sharpen a chisel?
Use a series of whetstones ranging from 1000 to 8000 grit. Maintain a consistent 25-degree bevel. Finish by stropping the edge on leather with a polishing compound to achieve a mirror-like finish and microscopic sharpness.
Why does my glue keep failing on oily woods?
Woods like teak or rosewood contain natural oils that repel water-based adhesives. Wipe the joint surface with acetone immediately before gluing to strip the surface oils, allowing the adhesive to penetrate the porous structure effectively.
How can I tell if my workbench is truly level?
Place a precision spirit level across the length and width. If the bubble is off, use adjustable shims or leveling feet. A level surface is critical for ensuring that your gravity-fed assemblies remain square during the curing process.

