
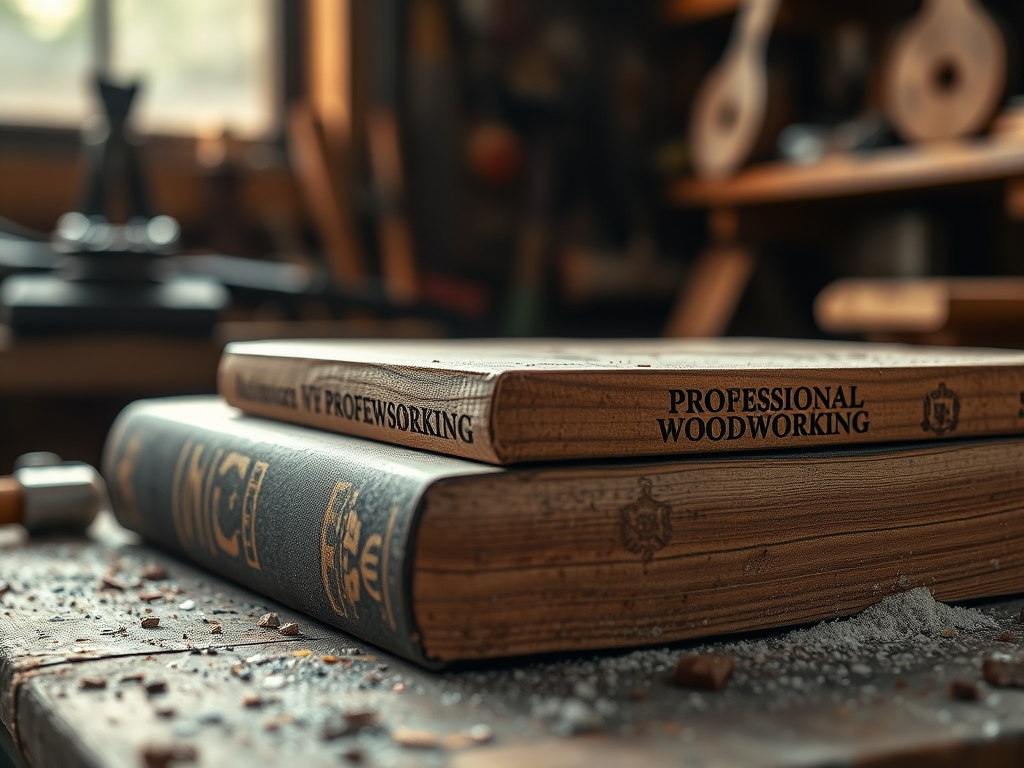
Imagine the smell of fresh cedar shavings mixing with the sharp, acidic tang of bookbinder's glue; it is a scent that signals the start of something permanent. When I first ran my fingers over a raw slab of black walnut, I realized that understanding the tensile strength of wood was just as important as the prose printed on the pages it would eventually hold. To truly master the craft, I had to dive into my collection of Professional Woodworking Books to learn why grain direction dictates every single cut. There is a specific, tactile thrill in feeling the resistance of a fiber as you glide a chisel through it. Wood is not a static material; it is a breathing, porous entity that reacts to the moisture in your palms and the temperature of your studio. You cannot just force it into a shape. You have to negotiate with it. This journey from a pile of timber to a finished, functional library piece taught me that the physics of the material is the heartbeat of the design.
THE STUDIO KIT
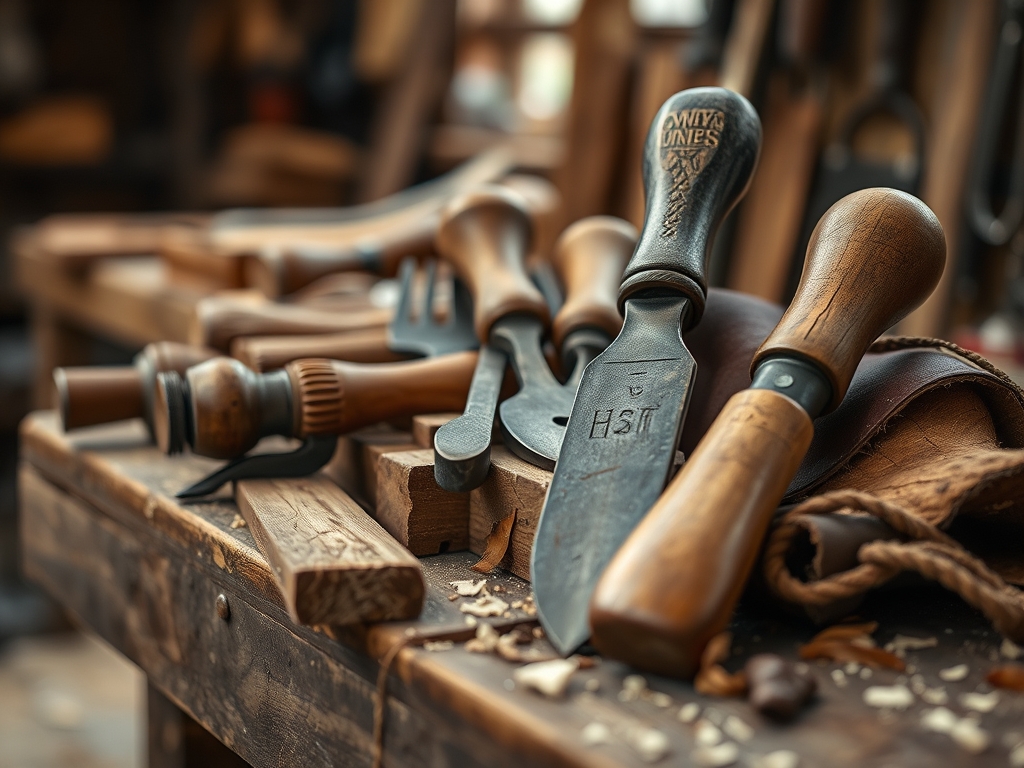
To execute a project worthy of a master's shelf, your kit must be calibrated for precision. I start with digital calipers to measure the exact thickness of my stock down to the thousandth of an inch. Wood expands and contracts, so precision at the start prevents structural failure later. You will need a high-carbon steel marking awl for scoring lines; pencil lead is too thick for high-stakes joinery. For the surfaces, we use a low-angle block plane to shear the end grain without crushing the cells.
The materials list is a study in density. I prefer quarter-sawn white oak for its incredible stability and beautiful medullary rays. If you are looking for Material Substitutions, you can swap the oak for cherry if you want a warmer tone, though it is softer and prone to burning if your blades are dull. For the internal supports, we use marine-grade birch plywood because the cross-laminated layers provide superior dimensional stability compared to solid wood in high-humidity environments.
THE TEMPO
The "Maker's Rhythm" is not about speed; it is about respecting the curing times and the physical properties of your adhesives. The first phase is the Milling Phase, which takes roughly four hours. This is where you square your lumber and allow it to "rest" for twenty-four hours to ensure no internal stresses cause it to warp after the first cuts.
Next is the Joinery Phase, a focused six-hour window where the "tempo" slows down to a crawl. This is the meditative part of the process where you are matching the grain orientation of each piece. Finally, the Finishing Phase spans three days. This includes the application of oils, the burnishing of the wood fibers, and the mandatory drying periods. If you rush the finish, you trap moisture, which can lead to clouding or "blushing" in the protective film.
THE CORE METHOD
1. Mapping the Grain Direction
Before the first cut, you must identify the longitudinal axis of the wood. Using your Professional Woodworking Books as a guide, look at the "cathedrals" or the tight lines on the face of the board.
Mastery Tip: Always plane with the grain to avoid "tear-out." This happens because wood fibers are like a bundle of straws; if you cut against the direction they grow, the blade catches and lifts the fiber instead of shearing it.
2. Executing the Dovetail Joinery
We use a dovetail saw with a high tooth count to create the interlocking joints. These joints rely on mechanical friction and surface area for their legendary strength.
Mastery Tip: The science here is all about surface area. By creating multiple interlocking tails and pins, you increase the square footage of the glue bond, making the joint stronger than the wood itself.
3. Precision Sanding and Pore Management
Using a progression of grits from 120 to 320, we smooth the surface. This is not just for aesthetics; it is to prepare the vascular structure of the wood for the finish.
Mastery Tip: Use a "tack cloth" between grits to remove micro-dust. If dust remains in the pores, it creates a "slurry" when the finish is applied, which ruins the optical clarity of the wood grain.
4. The Compression Fit Assembly
During the dry fit, we use parallel jaw clamps to ensure the box is perfectly square. This is where your ergonomic handles and steady pressure prevent the wood from bowing under stress.
Mastery Tip: Wood has a "memory." If you clamp it out of square, it will try to return to that crooked shape forever. Use a machinist's square to verify every corner is exactly ninety degrees.
5. Applying the Polymerizing Finish
We apply a blend of tung oil and beeswax. This penetrates the porous surface and hardens within the fibers through a process called oxidative polymerization.
Mastery Tip: This creates a hydrophobic barrier. The oil occupies the space where water molecules would usually go, preventing the wood from swelling when the humidity changes in your room.
THE TECHNICAL LEDGER
Maintenance & Longevity: To keep your woodwork pristine, avoid silicone-based sprays. Use a high-quality microcrystalline wax every six months to maintain the sheen and protect against UV degradation.
Material Variations:
- Sustainable: Bamboo ply offers incredible tensile strength and grows rapidly.
- Recycled: Reclaimed heart pine has a high resin content, making it naturally rot-resistant.
- Premium: African Ebony is so dense it actually sinks in water; it is perfect for small, high-contrast decorative inlays.
The Correction:
- The Gap: If a joint has a tiny gap, mix fine sawdust with wood glue to create a matching filler.
- The Burn: If a router bit leaves a burn mark, use a card scraper to shave off the charred cells without changing the flat profile.
- The Warp: If a board cups, dampen the concave side and place it weighted on a flat surface to pull it back to level.
Studio Organization: Store your finished pieces away from direct heat vents. Rapid temperature shifts cause the wood to "check" or crack. Keep your Professional Woodworking Books on a shelf with a slight air gap behind them to prevent moisture traps.
THE FINAL REVEAL
There is nothing quite like the moment you pull the clamps off and see a perfectly executed piece of joinery. The light catches the burnished edges, and the wood feels warm, almost soft, to the touch despite its incredible hardness. It is a functional monument to the physics of the natural world. When you place your favorite volumes into a case you built with your own hands, you aren't just storing paper; you are honoring the craft. This project is sturdy, elegant, and built to outlast us all. It is the ultimate "maker's high" to see raw nature transformed into a precise, geometric masterpiece.
STUDIO QUESTIONS
Why does wood grain direction matter so much?
Grain direction determines the structural integrity and ease of cutting. Cutting against the grain causes "tear-out," where fibers rip rather than shear. Proper alignment ensures the piece remains stable and resists warping over time as environmental humidity fluctuates.
What is the best glue for heavy-duty woodworking?
A PVA (Polyvinyl Acetate) glue is standard for its strong bond and flexibility. For projects requiring a longer "open time" to adjust complex joints, a slow-set epoxy or liquid hide glue is preferred by professionals for superior shear strength.
How do I prevent my wood from splitting?
Always pre-drill pilot holes before inserting screws to relieve internal pressure. Additionally, allow your lumber to acclimate to your studio's humidity for at least 48 hours. This prevents the wood from shrinking or expanding rapidly after it has been cut.
What does "burnishing" the wood actually do?
Burnishing uses friction to compress the surface fibers of the wood. This creates a natural lustre and hardens the exterior, making it more resistant to scratches. It also prepares the wood to accept a finish more evenly by closing the pores.
Can I use a rotary tool for joinery?
Yes, an oscillating tool or a high-speed rotary tool with a carving bit can be used for intricate detail work or cleaning up tight corners. However, for primary structural joints, traditional hand tools or a table saw provide the necessary geometric precision.

