
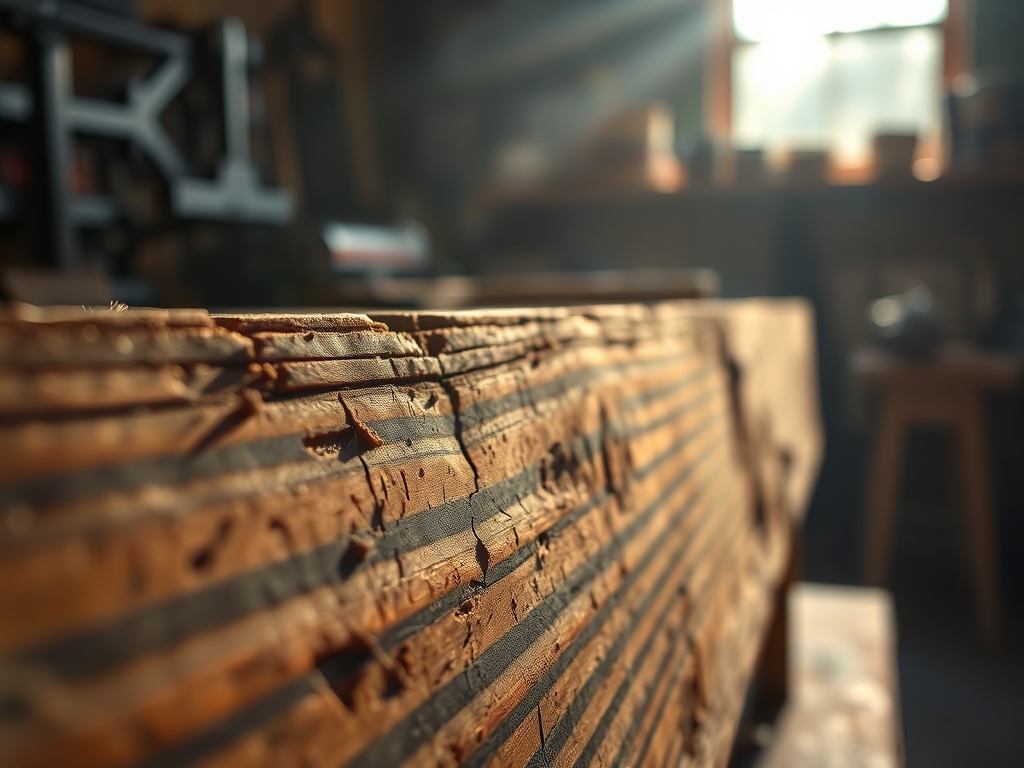
Close your eyes and run your fingertips across the surface of a raw walnut slab. You feel that? It is the microscopic landscape of open pores and cellulose fibers waiting for a transformation. We are moving beyond the era of simple waxes and sticky oils. Today, we are diving into the high stakes world of Advanced Furniture Finishes; a realm where chemistry meets craftsmanship to create a surface that is practically indestructible. It is not just about making a table look pretty for a dinner party. It is about manipulating the molecular bond between the substrate and the coating to achieve a finish that feels like silk but acts like armor. When we talk about modern ceramic coatings, we are discussing liquid glass technology that fills the cellular voids of the timber. The tactile feedback changes from the rough drag of organic wood to a frictionless, cool glide. This is the ultimate upgrade for your studio projects. We are taking the ancient soul of woodworking and wrapping it in a futuristic, hydrophobic shield that defies liquid penetration and heat damage.
THE STUDIO KIT
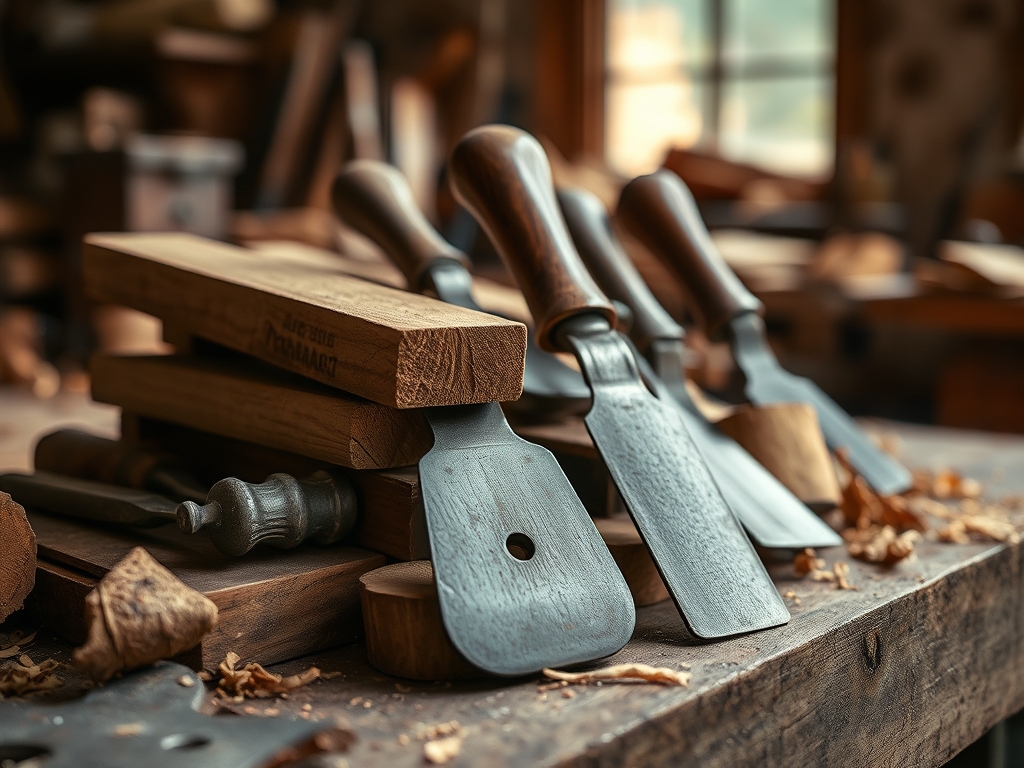
To master this finish, your workbench needs to look less like a hobby shop and more like a high tech laboratory. First, you need a high quality silica based ceramic coating with a high percentage of SiO2. This is the heart of the operation. You will also need a set of digital calipers to measure the thickness of your veneer layers, ensuring you do not sand through the decorative ply. For the application, grab a pack of lint free suede microfiber applicators and a firm foam block. You must have a high intensity LED inspection lamp to catch "high spots" or uneven flashing during the curing process.
For the prep phase, an oscillating tool with a fine grit sanding pad is essential for leveling the grain. If you are working with intricate carvings, a bone folder or a small burnish tool helps compress the wood fibers before the liquid hits. Material Substitutions: If you cannot source a dedicated furniture ceramic, a high solids graphene coating offers similar thermal resistance. If you lack a professional buffing machine, a clean sheepskin pad attached to a variable speed drill works in a pinch, provided you monitor the heat friction to avoid scorching the resin.
THE TEMPO
The "Maker's Rhythm" for a ceramic finish is all about controlled patience. This is not a project you finish in an afternoon. The first phase is the Surface Calibration, which takes roughly four to six hours of meticulous sanding and grain raising. You are aiming for a grit sequence that ends at 400 or 600, depending on the wood density. Once the surface is prepped, the Application Window is surprisingly fast; usually only thirty to sixty minutes of intense focus.
The real test of your nerves is the Curing Interval. While the coating may feel dry to the touch within four hours, the molecular cross linking requires a full twenty four to forty eight hours to reach maximum hardness. During this time, the studio must remain a "clean room" environment. No dust, no humidity spikes, and absolutely no wandering fingers. The rhythm is slow, fast, then a long, silent pause while the chemistry does the heavy lifting.
THE CORE METHOD
1. Grain Hydration and Leveling
Before the coating touches the wood, you must perform a "water pop." Lightly mist the surface with distilled water to raise the loose cellulose fibers. Once dry, sand them back with a high grit paper. This prevents the ceramic from raising the grain later, which would create a gritty texture.
Mastery Tip: This process utilizes capillary action to pull moisture into the pores, forcing the crushed fibers to stand upright. By shearing them off now, you ensure the ceramic sits on a perfectly flat plane, increasing the overall refractive index of the finish.
2. Solvent Deep Clean
Use an isopropyl alcohol wipe to remove every trace of skin oil and sawdust. Any contaminant left on the surface will prevent the ceramic from bonding to the lignin in the wood. Use your LED lamp to check for any "ghosting" or oily streaks.
Mastery Tip: This step is about maximizing surface energy. A high energy surface allows the liquid coating to "wet out" or spread evenly rather than beading up, ensuring a uniform thickness across the entire piece.
3. The Precision Application
Apply the ceramic coating to your suede applicator. Move in small, overlapping circular motions, followed by long "leveling" strokes in the direction of the grain. You want to see a slight "rainbow" effect, which indicates the coating is flashing or evaporating its carrier solvent.
Mastery Tip: Observe the viscosity of the fluid as it hits the wood. The coating is designed to penetrate the top 0.5mm of the surface through molecular migration, creating a hybrid layer that is part wood and part silica.
4. The Buff and Level
After the coating has flashed (usually ninety seconds to three minutes), use a fresh microfiber towel to buff the surface. Use light pressure. You are not trying to rub the coating off; you are simply leveling the peaks and valleys of the liquid layer.
Mastery Tip: This stage manages film build. If the layer is too thick, it becomes brittle and may crack under the wood's natural expansion. Buffing ensures the finish remains flexible enough to move with the seasonal shifts of the timber.
THE TECHNICAL LEDGER
Maintenance for a ceramic finished piece is remarkably low. Because the surface is hydrophobic, spills will bead up like mercury. Simply wipe with a damp cloth. Avoid harsh alkaline cleaners that could slowly degrade the silica shield over several years. For longevity, apply a "ceramic boost" spray once a year to replenish the top sacrificial layer.
Material Variations:
- Sustainable: Look for bio based resins that incorporate recycled glass beads for a lower carbon footprint.
- Premium: Rare earth mineral infusions can add a subtle metallic shimmer to dark woods like ebony or bog oak.
The Correction:
- High Spots: If you see a dark, oily patch after curing, it is a high spot. Fix it by lightly hand sanding with 2000 grit wet paper and re-applying a thin layer of ceramic.
- Dust Nibs: If a speck of dust lands in the wet coat, do not touch it. Wait for the full cure, then use a jeweler's saw or a sharp chisel to flick it out before buffing.
- Clouding: This happens in high humidity. Use a heat gun on the lowest setting to gently draw out trapped moisture before the coating sets.
Studio Organization: Store your ceramic bottles in a climate controlled cabinet. Once opened, the oxygen in the bottle will eventually cause the liquid to crystallize. To prevent degradation, use a shot of "bloxygen" (argon gas) to displace the air before sealing the cap.
THE FINAL REVEAL
There is nothing quite like the moment you peel back the masking tape and see the light hit a finished ceramic piece. The wood looks "wet" but feels bone dry and incredibly hard. The colors are deeper; the chatoyancy of the grain pops with a three dimensional depth that traditional polyurethane simply cannot match. You have created a piece that is not just furniture, but a high performance object. It is sleek, it is modern, and it is built to survive a century of use. You should feel like a total boss; you just turned chemistry into art.
STUDIO QUESTIONS
What is the main benefit of ceramic over wax?
Ceramic coatings provide much higher tensile strength and chemical resistance. Unlike wax, which melts at low temperatures, ceramic creates a permanent, heat resistant bond that does not require monthly reapplication to maintain its protective hydrophobic properties.
Can I use this on outdoor furniture?
Yes, but ensure the coating has built in UV inhibitors. The silica shield protects the wood from moisture, while the UV blockers prevent the sun from breaking down the lignin, which causes wood to turn grey over time.
How many layers should I apply?
Two layers are usually sufficient. The first layer penetrates the porous structure of the wood, while the second layer builds the protective film. Adding more than three layers can lead to brittleness and potential delamination during seasonal wood movement.
Is the finish food safe?
Once fully cured and cross linked, most high quality ceramic coatings are inert and safe for incidental food contact. However, always check the Material Safety Data Sheet (MSDS) of your specific brand to ensure it meets FDA compliance for surfaces.

