
Close your eyes and listen to the crisp, rhythmic bite of a sharp chisel meeting the end grain of a walnut plank. It is a sound that signals mastery. I used to rush the process, but I learned that Professional Woodworking Tips are less about the heavy machinery and more about the micro habits that respect the cellular structure of the timber. When you run your thumb across a freshly planed surface, you are feeling the result of severed lignins and perfectly aligned fibers. It is tactile magic.
The difference between a hobbyist and a maker who commands the medium is found in the preparation. I spent years fighting against wood movement before I realized that the material is alive. It breathes. It expands across its width because of its hygroscopic nature, meaning it absorbs moisture from your very breath. To truly excel, you have to stop treating wood like a static block and start treating it like a bundle of straws held together by organic glue. Once you master that mental shift, your joinery becomes seamless and your finishes become glass.
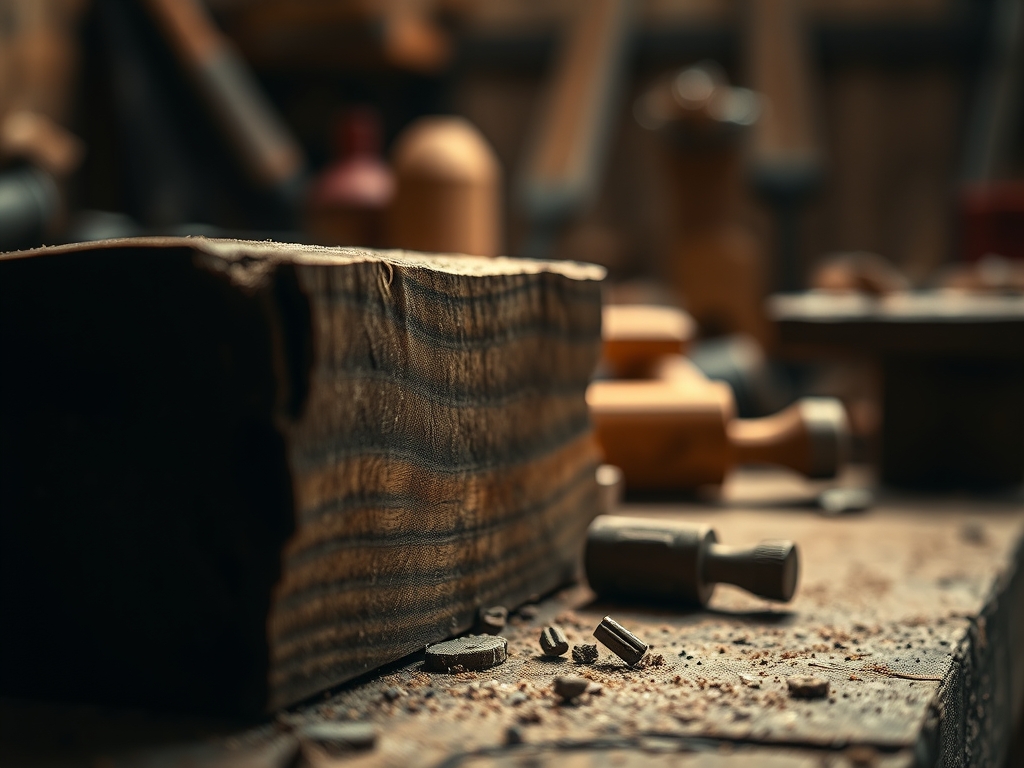
THE STUDIO KIT

Walking into my studio is like entering a high stakes laboratory where the scent of cedar meets the precision of aerospace engineering. To elevate your game, you need more than a hammer. You need **digital calipers** for measuring thickness down to the thousandth of an inch. My kit always includes a **marking awl** instead of a pencil; a physical scribe line severs the wood fibers, providing a literal “track” for your saw to follow, which prevents the grain from splintering.
I also swear by a high quality card scraper. Unlike sandpaper, which abrades the surface and leaves dust in the pores, a scraper shears the wood, leaving the cellular structure open and vibrant. For Material Substitutions, if you cannot source premium hardwoods like White Oak or Cherry, look for Baltic Birch plywood. It offers incredible dimensional stability due to its cross-banded layers, making it perfect for jigs and shop furniture where you cannot afford any warping.
THE TEMPO
The "Maker's Rhythm" is a biological clock that dictates the quality of your output. Woodworking is not a sprint; it is a series of controlled pauses. You have the Milling Phase, which takes roughly twenty percent of your time, where you square your stock to ensure every face is perfectly perpendicular. If you skip this, your project is doomed before you even cut a joint.
Then comes the Joinery Phase, the heart of the build, taking nearly fifty percent of your schedule. This is where you focus on the interference fit, ensuring your tenons slide into mortises with just enough friction to hold, but not enough to split the wood. Finally, the Finishing Phase requires patience for curing. Most makers fail here by rushing the oil application. You must allow for polymerization, a chemical reaction where the oil turns into a solid protective film within the wood pores.
THE CORE METHOD
1. The Precision Scribe
Before making a single cut, use your marking gauge to define your boundaries. Mastery Tip: This relies on the physics of shear stress. By pre-cutting the surface fibers with a blade, you create a structural "weak point" that ensures the wood breaks exactly where you want it, preventing the jagged "tear out" that happens when a saw blade exits the grain.
2. Managing Grain Direction
Always "read" the grain before planing or sanding. Look at the cathedral patterns on the face of the board to determine which way the fibers are leaning. Mastery Tip: This is about tensile strength. If you plane "against" the grain, you are essentially lifting the fibers and snapping them off at the root. Planing "with" the grain keeps the fibers compressed and smooth.
3. The Glue Up Strategy
Apply your adhesive evenly using a silicone brush to avoid "starved joints." Mastery Tip: This involves capillary action. A porous wood surface will naturally pull the liquid glue into its tubes. If you apply too much pressure with your clamps, you squeeze all the "bridge" material out, leaving nothing to bond the two surfaces together. Aim for a light, consistent bead of squeeze-out.
4. The Final Burnish
After your final sanding, use a clean cloth or a piece of leather to burnish the wood. Mastery Tip: This process uses friction and heat to compress the surface tracheids. By smoothing down the microscopic "fuzz" left by abrasives, you create a surface that reflects light more uniformly, giving the wood a natural, high gloss luster even before you apply a topcoat.
THE TECHNICAL LEDGER
Maintenance & Longevity: Your tools are extensions of your hands. I hone my plane irons every four hours of use. A dull blade requires more force, which increases the risk of the tool slipping and causing injury or ruining the workpiece. Use a honing guide to maintain a consistent 25 degree primary bevel.
Material Variations:
- Sustainable: Reclaimed Douglas Fir offers high strength but is prone to "pitch pockets" that can gum up your blades.
- Premium: Black Walnut is the gold standard for its workability and rich color, though its dust is a known sensitizer.
- Recycled: Pallet wood can be beautiful but often contains high silica content or hidden nails that will ruin a carbide tipped blade instantly.
The Correction:
- The Gap Fix: If a joint has a tiny gap, rub a bit of wood glue into the crack and sand over it immediately. The sawdust mixes with the glue to create a perfectly matched filler.
- The Dent Pop: If you drop a tool on your project, use a damp cloth and a soldering iron. The heat turns the water into steam, which enters the crushed cells and forces them to expand back to their original shape.
- The Tear Out Repair: If a chunk of wood chips off, save the piece! Use cyanoacrylate (CA) glue for an instant bond that preserves the grain match better than any putty.
Studio Organization: To prevent degradation, store your lumber horizontally and "stickered" (with small spacers between boards). This allows for even airflow on all sides, preventing the differential drying that causes boards to cup, bow, or twist.
THE FINAL REVEAL
There is nothing quite like the moment you apply that first coat of oil and see the grain "pop." The wood transforms from a dull, dusty grey into a deep, shimmering landscape of amber and chocolate. When you run your hand over the finished piece, you are not just feeling wood; you are feeling the hours of precision, the calculated physics of the joints, and the respect you showed the material. It feels solid, heavy, and permanent. You have taken a raw element of nature and refined it into a legacy.
STUDIO QUESTIONS
How do I stop my wood projects from warping?
Maintain consistent humidity in your shop and always finish both sides of a board equally. This balances the moisture exchange rate, ensuring that one side does not shrink faster than the other, which is the primary cause of seasonal cupping.
What is the best way to sharpen a chisel?
Use a series of diamond stones ranging from 400 to 8000 grit. The goal is to create two perfectly flat planes that meet at a microscopic point. A sharp edge is technically a zero radius intersection of two polished surfaces.
Why does my wood stain look blotchy?
Blotchiness occurs in woods like Pine or Cherry because of uneven density in the grain. The softer areas soak up more pigment. Use a pre-stain wood conditioner to seal the pores slightly, ensuring a more uniform absorption of the color.
Can I use regular glue for outdoor furniture?
No, you must use a Type III water resistant adhesive. Standard PVA glue will soften and fail when exposed to high humidity or direct rain because its chemical bonds are not designed to withstand constant moisture cycling and UV exposure.
What tool should I buy first for woodworking?
Invest in a high quality block plane. It is the most versatile tool for fine tuning joints, softening sharp edges, and cleaning up end grain. It teaches you more about grain direction and wood physics than any power tool ever could.

