

Run your fingers across the surface of a raw walnut slab and you will feel the history of the forest waiting for a voice. It is not just about aesthetics; it is about the structural integrity of the cellular walls and how they interact with liquid. When we dive into Advanced Wood Coloring, we are essentially performing a chemical negotiation with the wood grain. Most people think staining is a surface level affair, but we are looking for a deep, molecular bond that mimics the slow oxidation of a century. You want that rich, storied patina that feels like it was inherited from a Victorian study, not something that came out of a plastic jug at a big box store. We are talking about the tactile magic of tannins reacting with iron and the way porous earlywood absorbs pigment differently than the dense latewood. This is where physics meets fine art. Grab your safety goggles because we are about to manipulate the very fibers of the timber to create something timeless.
THE STUDIO KIT
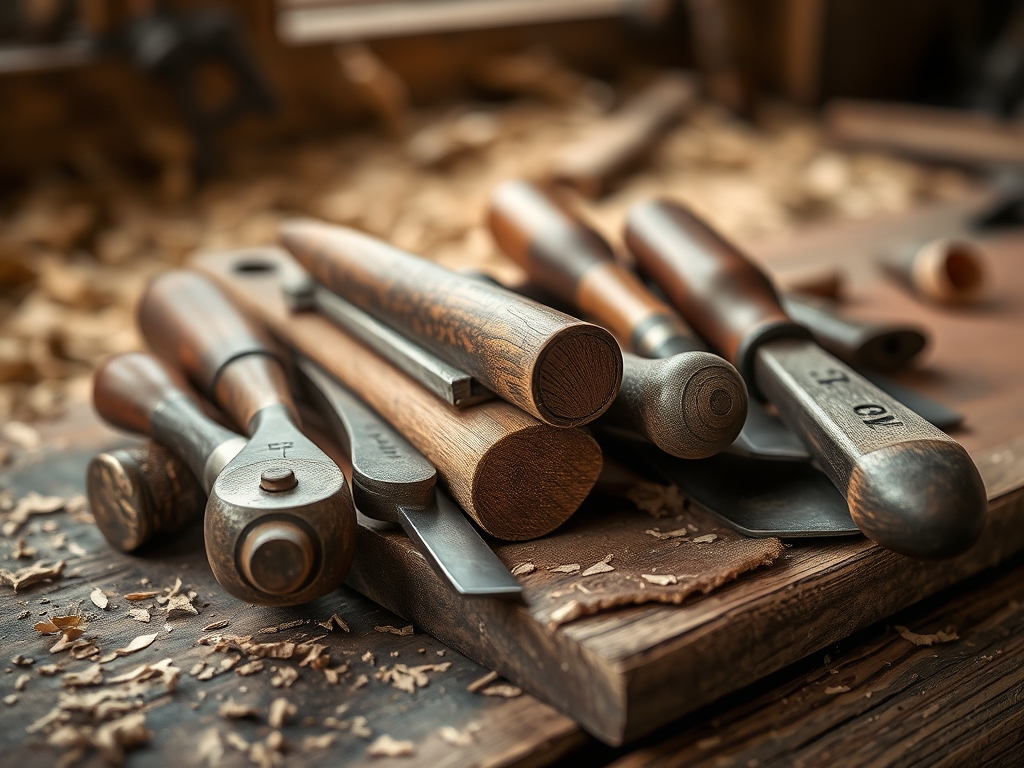
To master the art of the antique finish, your workbench needs more than just a brush. You need precision tools that respect the tensile strength of the wood fibers. Start with a high quality oscillating tool equipped with a fine grit sanding pad to open the pores without crushing the tracheids. You will also need a caliper to measure the depth of any decorative gouges or "distressing" marks you plan to add. For the dye itself, we are moving away from synthetics. Your kit should include raw walnut husks, dried madder root, and iron acetate (which you can make by dissolving steel wool in white vinegar).
For application, skip the cheap foam. You need a natural bristle brush or a lint free cotton rag for a proper burnish. Have a jeweler's saw on hand if you plan on inlaying any contrasting veneers after the dyeing process is complete.
Material Substitutions: If you cannot find walnut husks, high tannin black tea is an excellent alternative for base layering. If you lack an oscillating tool, a traditional hand plane used with the grain can create a glass like surface that accepts dye with incredible clarity, though it requires significantly more ergonomic effort.
THE TEMPO
The "Maker's Rhythm" is not a race; it is a sequence of chemical transitions. You cannot rush the capillary action of a natural dye.
- The Preparation (60 Minutes): This involves sanding through the grits and cleaning the surface. This is the most physically demanding part, requiring consistent pressure to avoid "pigtail" swirls.
- The Extraction (24 Hours): Your natural dyes need time to steep. Think of it like a cold brew coffee; the longer the soak, the higher the pigment density.
- The Application (30 Minutes per Coat): The actual wiping or brushing is fast, but it requires a steady hand to prevent overlapping "lap marks."
- The Curing (12 to 24 Hours): This is where the moisture evaporates and the pigment settles into the lignin of the wood.
- The Finishing (2 Hours): Applying a top coat of wax or oil to lock in that antique glow.
THE CORE METHOD
1. Grain Raising and Surface Prep
Before a drop of dye touches the wood, you must "whisker" the surface. Lightly mist the wood with distilled water. This causes the crushed fibers to stand up. Once dry, sand them back with 320 grit sandpaper.
Mastery Tip: This process manages the surface tension of the wood. If you skip this, the water based dye will raise the grain during application, resulting in a fuzzy, unprofessional texture that ruins the tactile quality of the piece.
2. The Tannin Pre-Wash
Apply a concentrated solution of black tea or tannic acid powder. This is especially important for woods low in natural tannins, like pine or maple. Let this soak in and dry completely.
Mastery Tip: We are increasing the chemical reactivity of the substrate. By saturating the porous cells with extra tannins, you ensure that the subsequent iron wash has plenty of "fuel" to create a deep, dark reaction.
3. The Iron Acetate Reaction
Brush on your iron acetate solution. You will watch a "magic" transformation as the wood turns from a pale tan to a deep, weathered silver or charcoal black in seconds. This is not a pigment sitting on top; it is a change in the wood's chemistry.
Mastery Tip: This is an exothermic reaction on a micro scale. The iron molecules bind with the tannins to create ferric tannate. This is the same chemistry used in historical iron gall inks, ensuring the color will never fade because it is part of the wood structure.
4. Layering the Organic Pigment
Once the iron wash is dry, apply your primary dye (like walnut or madder root). This adds warmth and "glow" back into the grayed wood, creating that complex, multi dimensional antique look.
Mastery Tip: Use a bone folder or a smooth stone to burnish the wood between coats. This compresses the surface fibers, increasing the refractive index of the finish and making the color appear deeper and more vibrant.
5. Sealing the Patina
Finish with a coat of high quality beeswax or boiled linseed oil. Rub it in vigorously until the wood feels warm to the touch.
Mastery Tip: The friction of rubbing creates heat that lowers the viscosity of the wax, allowing it to penetrate deeper into the intercellular spaces. This creates a moisture barrier that protects the structural integrity of your work.
THE TECHNICAL LEDGER
Maintenance & Longevity: Natural dyes are surprisingly hardy, but they dislike direct UV light. To maintain the look, re-wax the piece once a year. This keeps the fibers hydrated and prevents the brittleness that leads to checking or cracking.
Material Variations:
- Sustainable: Use fallen acorns or onion skins foraged from your kitchen.
- Premium: Logwood or Cochineal provide rare purples and reds that were historically reserved for royalty.
- Recycled: Old rusty nails in vinegar make the best "ebonizing" solution for a reclaimed look.
The Correction:
- The Blotchy Mess: If the dye takes unevenly, the wood was likely contaminated with oil. Fix: Wipe with mineral spirits and re-sand.
- The Gray Ghost: If the iron wash looks dull, you lack tannins. Fix: Apply a stronger tea wash and re-apply the iron.
- The Bleed Through: If the dye smears when you apply the top coat, it was not dry. Fix: Let it cure for another 24 hours and use a spray sealer first.
Studio Organization: Store your liquid dyes in glass jars, never metal, as the metal will react with the dye. Keep them in a cool, dark cabinet. Label every jar with the date and the "recipe" used to ensure you can replicate the results on future projects.
THE FINAL REVEAL
Look at that! You have successfully transformed a "new" piece of lumber into a relic that looks like it has survived a century of sunlight and stories. The way the light hits the grain now is different; it has a depth that synthetic stains simply cannot replicate. You can feel the burnished smoothness and see the way the iron has highlighted the unique "fleck" of the wood. It is sophisticated, it is soulful, and it is scientifically sound. You did not just paint it; you evolved it.
STUDIO QUESTIONS
Does natural dye affect the wood strength?
No, natural dyes do not compromise the tensile strength of the wood. Because they are water based and non acidic, they preserve the lignin and cellular structure while providing deep, permanent Advanced Wood Coloring.
Can I use this on plywood?
Yes, but be cautious. The ply layers are held together by glue which can act as a barrier to capillary action. Use light coats to prevent the moisture from delaminating the thin veneer.
How do I get a darker color?
Increase the "soak time" of your dye or apply multiple thin layers. Each pass allows more pigment to settle into the porous grain, building a richer, more opaque antique patina over time.
Is iron acetate safe for indoor furniture?
Absolutely. Once the vinegar evaporates and the wood is sealed with wax or oil, the reaction is stable. It is a non toxic way to achieve professional Advanced Wood Coloring without harsh fumes.

