
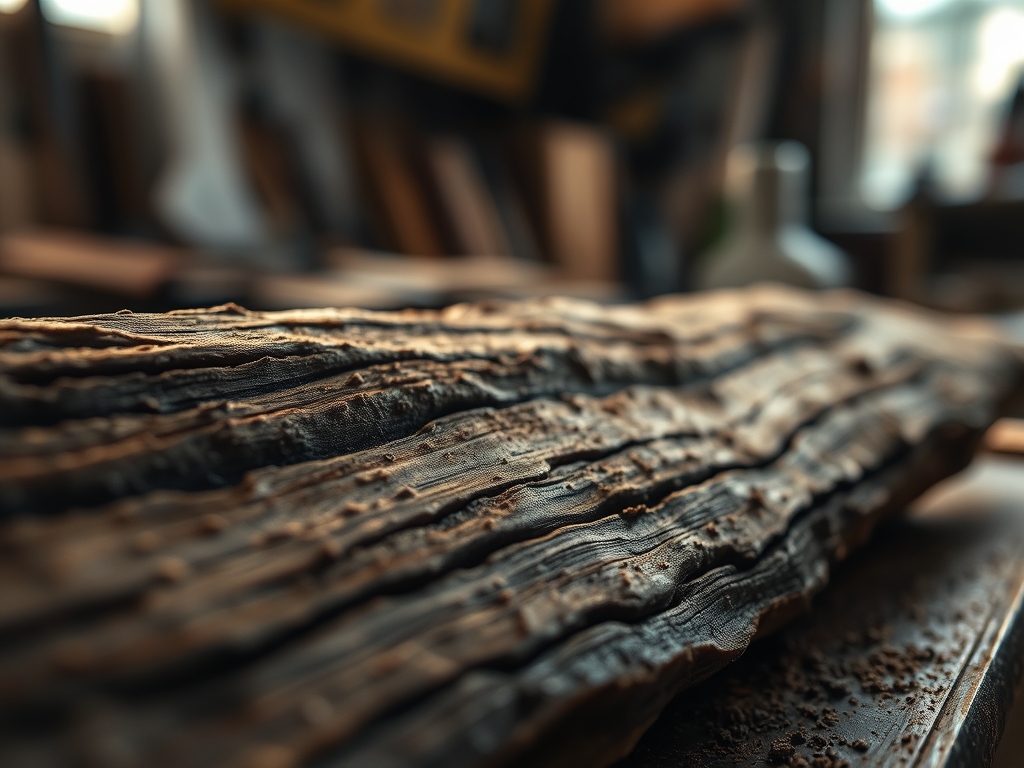
Close your eyes and imagine the scent of freshly planed cedar hitting your nostrils while the grit of a sixty-grit sandpaper dances under your palm. It is not just about picking a random plank from the lumber yard; it is about the visceral connection between your hands and the organic architecture of the tree. When I talk about Mastering the Wood Grain, I am referring to the high-stakes puzzle of aligning cellular structures to create a visual masterpiece. You cannot just force wood to behave. It is a living, breathing medium with a memory of its own growth. If you ignore the direction of the fibers, your project will fight you at every turn with tear-outs and warping. But when you get it right? The surface feels like glass and the light reflects off the fibers in a way that makes the whole piece look like it is moving. We are diving deep into the physics of lignin and cellulose today because your next project deserves that flawless, high-end studio finish that only comes from a true understanding of material science.
THE STUDIO KIT
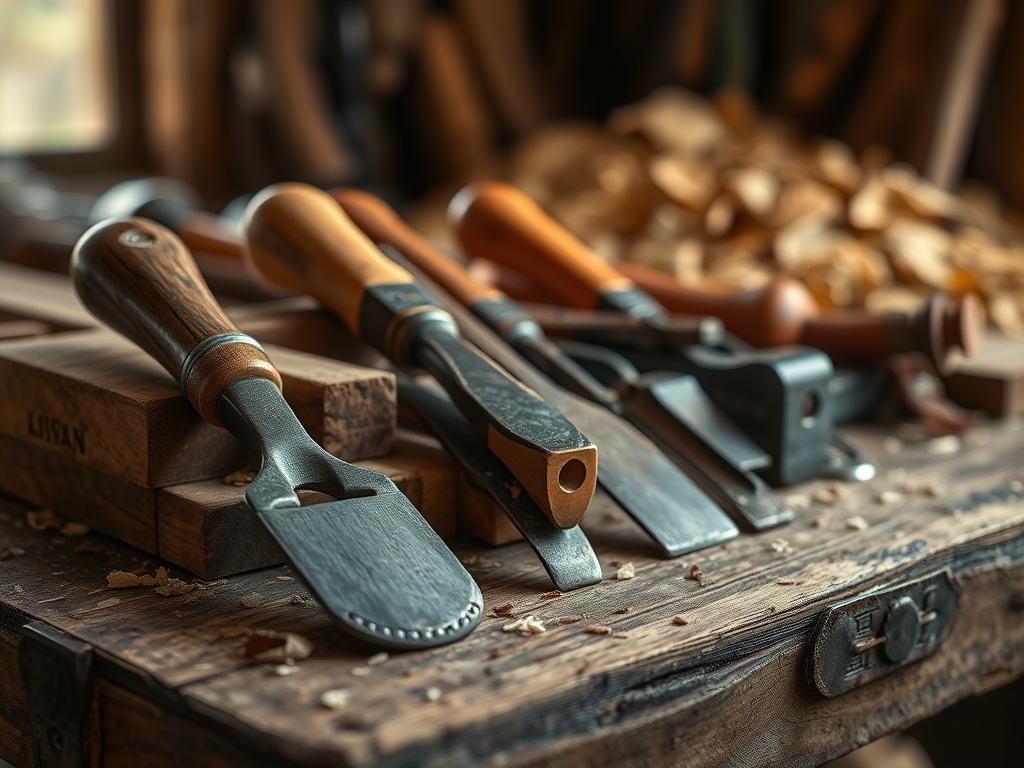
To achieve professional flow, your toolkit needs to be as precise as a surgeon's tray. We start with digital calipers to measure the exact thickness of our boards down to the thousandth of an inch. This ensures that when we book-match our grain, the transition is seamless. You will also need a marking awl for scoring lines without the drag of a graphite pencil; this severs the surface fibers cleanly to prevent splintering. For the actual shaping, an oscillating tool with a fine-grit attachment allows for surgical precision in tight curves where the grain direction shifts rapidly.
Our primary materials include quarter-sawn white oak for its incredible dimensional stability and black walnut for those deep, soulful swirls. If you are looking for material substitutions, consider recycled bamboo for a high-tensile alternative or Baltic birch ply if you need uniform strength across multiple axes. Do not forget a burnishing tool to compress the wood cells at the edges; this creates a hardened, glossy rim that resists moisture. Every tool here serves the purpose of respecting the wood's tensile strength while manipulating its aesthetic porosity.
THE TEMPO
The Maker's Rhythm is a three-act play that cannot be rushed. Phase one is the Acclimation Period, which takes forty-eight to seventy-two hours. You must let your boards sit in your studio environment so their internal moisture content stabilizes with the local humidity. Skipping this leads to the "heartbreak of the warp" later. Phase two is the Mapping and Milling, a focused four-hour session where you read the grain and make your primary cuts. This is the intellectual peak of the project.
Phase three is the Refinement Cycle, which can span several days depending on the finish. Each layer of oil or lacquer requires a specific curing window to allow for capillary action to draw the pigment deep into the pores. The rhythm here is slow and steady; you are waiting for the chemical bonds to solidify. Professional crafting is 10 percent action and 90 percent patience. If you try to sand before the previous coat is fully dry, you will gum up your paper and ruin the tactile smoothness of the grain.
THE CORE METHOD
1. Reading the Growth Rings
Before the first cut, examine the end grain to determine if the board is flat-sawn, rift-sawn, or quarter-sawn. This tells you exactly how the wood will expand and contract over time. Look for the "cathedrals" on the face of the board; these arched grain patterns indicate the direction of the tree's growth.
Mastery Tip: Wood is anisotropic, meaning it has different properties in different directions. Always plane in the direction the "hairs" are laying down to avoid lifting the fibers and causing structural pits.
2. The Book-Match Alignment
Take a thick board and resaw it down the middle like opening a book. This creates a symmetrical mirror image of the grain. Use your marking awl to label the inside faces so you don't lose the orientation during the sanding process.
Mastery Tip: This technique utilizes visual symmetry to trick the eye into seeing a single, wider piece of wood, which increases the perceived value and structural harmony of the piece.
3. Managing the Moisture Gradient
Apply a light mist of denatured alcohol to the surface to reveal the hidden grain patterns and check for any "wild" spots that might catch a blade. This also highlights any leftover glue or sap that could interfere with your finish.
Mastery Tip: The alcohol acts as a temporary solvent that mimics the refractive index of a final finish, allowing you to see surface tension issues before they become permanent mistakes.
4. The Graduated Sanding Sequence
Start with a lower grit and move up incrementally (80, 120, 180, 220). Never skip a step. Each higher grit removes the microscopic scratches left by the previous one. Between each grit, wipe the board with a tack cloth to remove debris.
Mastery Tip: Using a bone folder on the edges between sanding stages can help compress the cellular walls, creating a "pre-burnished" edge that holds detail better under heavy use.
THE TECHNICAL LEDGER
Maintenance is the key to longevity. A high-end wood piece should be treated with a non-drying oil or a high-quality wax every six months to maintain its ergonomic feel and prevent the wood from becoming brittle. For material variations, premium hardwoods like cherry will darken over time due to UV exposure, while sustainable cork offers a softer, more acoustic-friendly surface but lacks the structural gauge of solid timber.
The Correction: Three Common Mistakes
- The Grain Ghost: This happens when you sand across the grain, leaving visible white lines. The Fix: Lightly dampen the area to raise the grain, then sand strictly parallel to the fibers using a higher grit.
- The End-Grain Soak: End grain is more porous and drinks up finish, turning much darker than the rest of the board. The Fix: Apply a clear wood conditioner or a wash-coat of shellac to the end grain first to seal the "straws" before staining.
- The Harmonic Vibration: Using an oscillating tool at too high a speed can cause burn marks. The Fix: Reduce the RPM and keep the tool moving constantly to dissipate heat and prevent localized scorching of the lignin.
Studio Organization: Store your boards horizontally on a rack with "stickers" (small wood spacers) between them. This allows for total airflow around all sides of the timber, preventing the uneven moisture absorption that causes "cupping" or "bowing."
THE FINAL REVEAL
There is nothing quite like the moment you apply that final coat of oil and the wood grain literally "pops" into three dimensions. The way the light catches the chatoyancy of the fibers makes all that technical measuring and patient sanding worth it. You have transformed a raw, rugged slab into a sophisticated piece of functional art that flows perfectly from one edge to the other. It feels warm, it feels substantial, and most importantly, it feels like it was made by someone who truly understands the soul of the material. You didn't just build a board; you mastered the very essence of the forest.
STUDIO QUESTIONS
How do I know which way the grain is running?
Look at the side of the board for the "slope" of the fibers. If the grain lines look like they are running uphill, you should plane in that same upward direction to keep the surface smooth and prevent tearing.
Can I fix a board that has already warped?
Slight warps can be corrected by introducing moisture to the concave side and applying heat. However, for severe "propeller" twists, it is usually better to resaw the board into smaller, stable sections and reglue them.
What is the best finish for showing off grain?
A high-quality tung oil or boiled linseed oil penetrates deep into the pores, highlighting the natural contrast. For a more durable, modern look, a "rub-on" poly-oil blend provides protection without the plastic-like film of traditional lacquers.
Why does my wood look "muddy" after staining?
Muddiness usually occurs when the wood was not sanded to a high enough grit or if the dust was not fully removed. The pigments get trapped in the sanding scratches rather than the natural pores of the wood grain.

