
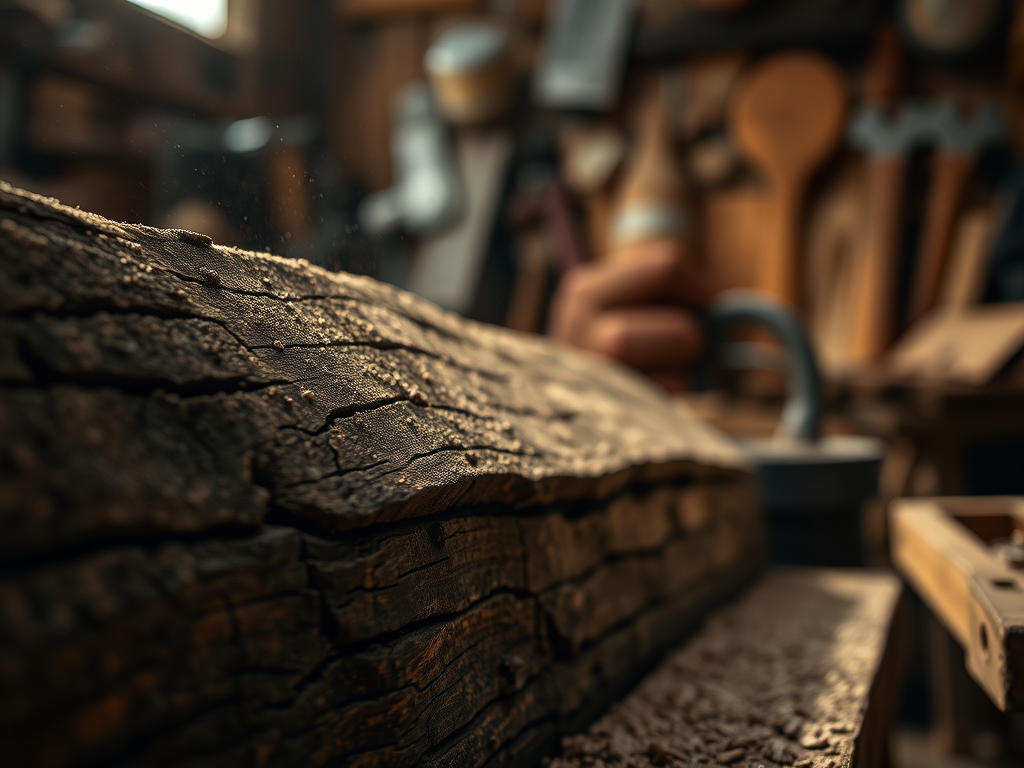
The smell of freshly planed cedar mixed with the ozone tang of a high speed rotary tool is basically my signature perfume at this point. There is something intoxicating about the tactile resistance of a raw material before it yields to your intent. Mastering Professional Shop Management means transforming that chaotic creative spark into a streamlined, high output workflow without losing your artistic soul in the process. When you run your fingers over a piece of grain, you are not just feeling texture; you are reading the structural history of the fiber. You have to understand how the tensile strength of your medium dictates the limits of your design. If you ignore the physics of the material, the material will eventually ignore your instructions. We are here to build things that do not just look pretty but actually survive the test of structural integrity. Grab your favorite mug of caffeine and clear your workbench because we are about to turn your workshop into a precision calibrated machine.
THE STUDIO KIT
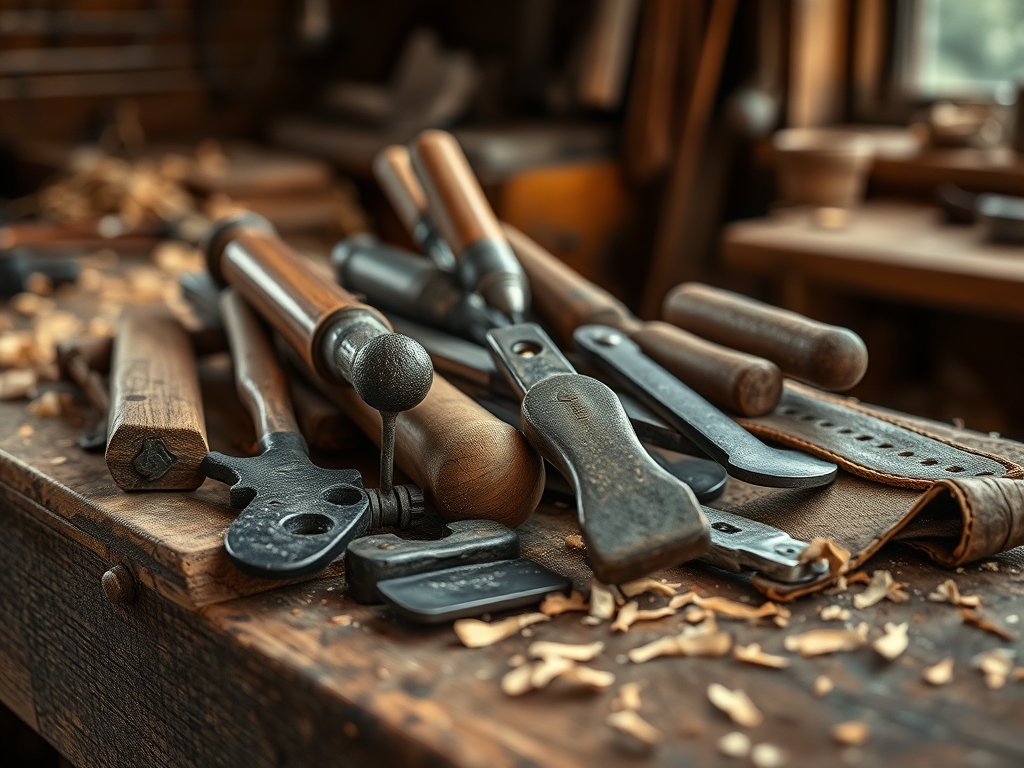
Every professional project begins with a baseline of high quality instruments that respect the physics of the craft. You cannot achieve surgical precision with dull edges or uncalibrated gear. For this workflow, you will need a set of digital calipers to measure thickness down to the thousandth of an inch. This is crucial when dealing with porous materials that might swell or shrink based on ambient humidity. You will also need a bone folder for crisp, structural creases and a high carbon steel awl for marking pilot holes without splitting the fibers.
If you are working with textiles or thin veneers, a rotary cutter with a fresh tungsten blade is nonnegotiable to prevent fraying at the edges. For heavier tasks, an oscillating tool provides the controlled vibration needed for plunge cuts without the kickback of a traditional saw. If your primary material is unavailable, consider Material Substitutions like high density polyethylene (HDPE) for structural components or a heavy gauge cardstock reinforced with resin for prototyping. Always check the gauge of your metals and the ply of your threads to ensure they can handle the mechanical stress of the finished piece.
THE TEMPO
The "Maker's Rhythm" is the heartbeat of any successful studio. It is the calculated balance between the frantic energy of ideation and the slow, meditative pace of finishing. Professional shop management requires you to respect the cure times and drying cycles of your adhesives and finishes. You cannot rush chemistry. Typically, a project follows a 20-60-20 ratio. The first 20 percent of your time is spent in the "Cold Phase" which involves planning, measuring, and material selection. This is where you calculate the load bearing capacity of your joints.
The middle 60 percent is the "Active Phase" where the bulk of the fabrication happens. This is the loudest part of the process, involving the most physical exertion and tool usage. The final 20 percent is the "Refinement Phase." This is where you burnish edges, apply protective coatings, and perform the final quality control checks. Skipping the refinement phase is the difference between a hobbyist attempt and a professional result. If you try to compress these timelines, you risk internal delamination or structural failure because the materials did not have time to stabilize.
THE CORE METHOD
1. The Dimensional Blueprint
Before a single cut is made, you must map out your project using a detailed schematic. Use your calipers to verify the exact thickness of your stock. Even if the label says half an inch, the actual measurement might be 0.48 inches. This discrepancy matters when you are calculating friction fits.
Mastery Tip: Understand that wood and paper have a specific grain direction. If you fold or cut against the grain, you disrupt the longitudinal fibers, which significantly reduces the structural integrity of the piece. Always align your primary stress points with the grain for maximum durability.
2. The Precision Cut
Using your rotary cutter or saw, execute your primary cuts with a single, continuous motion. Stopping and starting creates "chatter marks" that are a nightmare to sand out later. Ensure your work surface is perfectly level to prevent torsional stress on the material during the cutting process.
Mastery Tip: When cutting dense materials, heat buildup can cause thermal expansion. This can lead to your blade binding or the material warping. Use a "pulse cutting" technique to allow the tool and the material to dissipate heat, maintaining the accuracy of your dimensions.
3. The Adhesive Bond
Apply your bonding agent sparingly. Most makers use too much glue, which leads to "squeeze out" that ruins the finish. Use a small brush to create an even film across the porous surface to ensure maximum surface area contact.
Mastery Tip: This is all about capillary action. A thin, even layer of adhesive will be drawn into the microscopic voids of the material, creating a chemical and mechanical bond that is often stronger than the material itself. Clamping pressure should be firm but not so tight that it starves the joint of glue.
4. The Edge Refinement
Once the structure is sound, focus on the edges. Use a bone folder or a high grit abrasive to smooth out any irregularities. This is not just for aesthetics; smooth edges prevent snagging and reduce the likelihood of the material peeling or delaminating over time.
Mastery Tip: When you burnish an edge, you are essentially compressing the fibers and generating enough heat to fuse them together. This creates a natural seal that protects the interior of the material from moisture and oxidation.
THE TECHNICAL LEDGER
To ensure the longevity of your work, you must consider the environment. Materials like leather, wood, and certain plastics are sensitive to UV degradation and humidity fluctuations. Applying a microcrystalline wax can provide a breathable but protective barrier. For those looking for Material Variations, sustainable options like cork fabric or recycled aluminum offer unique aesthetic qualities while maintaining high tensile strength.
Even the best makers run into hurdles. Here is "The Correction" for common issues. First, if you experience surface cracking, it is likely due to the material drying too quickly. Fix this by rehydrating the area slightly and applying a slower drying finish. Second, if a joint is loose, do not just add more glue. Instead, use a "shim" of the same material to fill the gap and restore the friction fit. Third, if you see discoloration after finishing, it might be a chemical reaction between the material and the solvent. Always perform a "spot test" on a scrap piece before committing to the final reveal.
For Studio Organization, store your completed projects in a climate controlled environment away from direct sunlight. Use acid free tissue paper for delicate items and ensure structural pieces are stored flat to prevent gravitational bowing. A professional shop is a clean shop; keep your tools oiled and your surfaces clear to prevent cross contamination of finishes and dust.
THE FINAL REVEAL
Look at that! The finished piece is a masterpiece of physics and flair. When you hold it, you can feel the weight of the quality and the precision of the joints. It has that satisfying ergonomic feel that only comes from thoughtful construction. Because you respected the grain direction and the cure times, this project is not just a temporary craft; it is a durable object that will hold its shape and beauty for years. The way the light catches the burnished edges is pure magic. You have successfully navigated the complexities of professional shop management and come out the other side with something truly spectacular.
STUDIO QUESTIONS
How do I prevent my materials from warping?
Store all sheet goods flat in a climate controlled space. Ensure even airflow around all sides of the material to prevent uneven moisture absorption, which causes the internal fibers to expand at different rates and leads to torsional bowing.
What is the best way to clean my precision tools?
Use a specialized solvent to remove adhesive residue or sap. Follow up with a light coat of machine oil to prevent oxidation. Always wipe down your calipers and blades after every session to maintain their accuracy and edge.
Can I mix different types of adhesives in one project?
It is generally discouraged unless you are sure the chemical bases are compatible. Mixing a water based glue with a solvent based epoxy can lead to a bond failure where the two layers delaminate under mechanical stress.
How do I know if my blade is dull?
If you feel the tool "dragging" or see "tearing" instead of clean slicing, the blade is spent. A dull blade requires more force, which increases the risk of slipping and ruins the structural integrity of your cut.
Why is grain direction so important for strength?
Fibers are strongest when pulled along their length. By aligning the grain with the direction of the most stress, you utilize the material's natural tensile strength, preventing the piece from snapping or shearing under a heavy load.

