

Imagine the sharp, citrus scent of freshly planed cedar hitting your nostrils while the cool weight of a steel marking gauge rests in your palm. You reach for a piece of premium cherry wood, expecting that buttery smooth grain, but instead, you feel a slight, sickening ripple along the surface. Your fingertips do not lie. That microscopic wave is the physical manifestation of wood fibers gasping for air or drowning in it. This is why I obsess over Professional Shop Humidity before I even think about touching my workbench. If the air is too dry, your materials become brittle and prone to catastrophic splitting under the slightest pressure from a chisel. If it is too humid, the cells swell, your joints will bind, and that perfect dry fit you spent hours on will suddenly feel like trying to jam a square peg into a soggy hole. Understanding the invisible moisture content in your studio is the difference between a masterpiece and a pile of expensive kindling. It is the pulse of the room.
THE STUDIO KIT
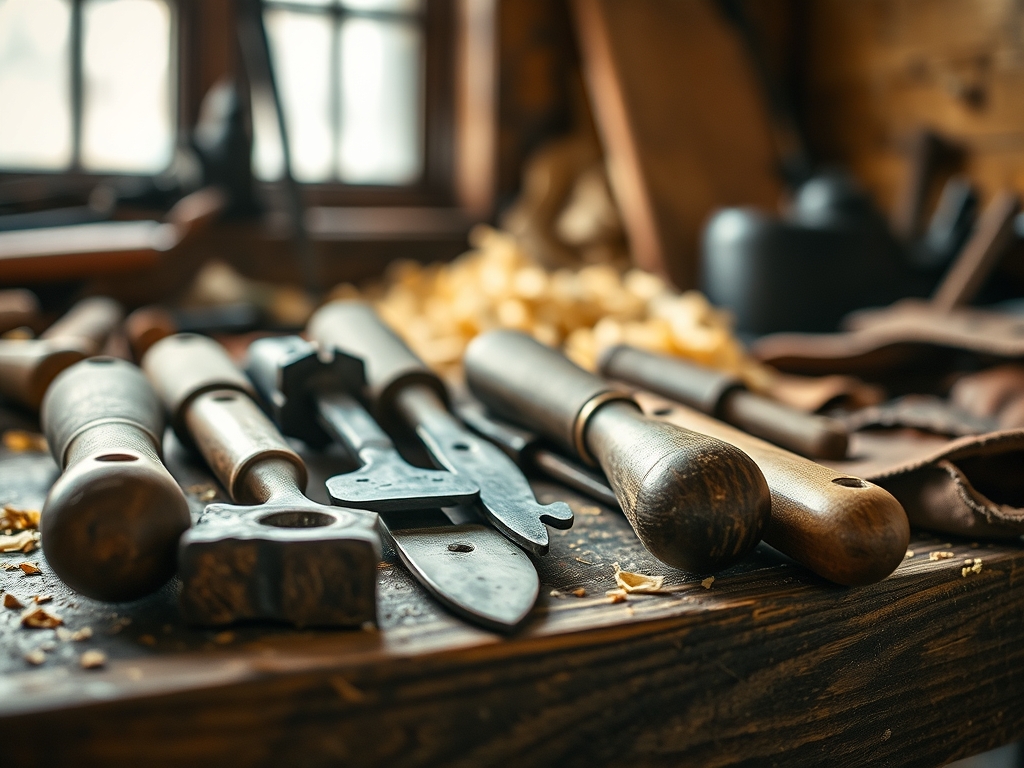
To master the environment, you need more than just a cheap plastic sensor. I keep a digital hygrometer with a NIST-certified sensor for laboratory grade accuracy. Alongside it, my toolkit features a pinless moisture meter to check the internal saturation of organic blanks without marring the surface. For the actual crafting, I rely on hardened steel calipers for measuring thousandths of an inch in expansion, a bone folder for high pressure creasing of fibrous papers, and a tungsten carbide rotary cutter for clean shear forces.
The materials in my studio range from vegetable tanned leather to kiln dried hardwoods and heavyweight cotton rag paper. Each of these is hygroscopic, meaning they actively exchange water molecules with the surrounding air. If you are looking for Material Substitutions, you can swap traditional hardwoods for stabilized resin burls which are nearly immune to humidity shifts. Alternatively, if you lack premium leather, synthetic microfiber suedes offer a similar tensile strength without the temperamental reaction to a rainy afternoon. However, for the purist, managing the air is the only way to ensure your burnished edges stay glassy and your lap joints remain flush for decades.
THE TEMPO
The Maker's Rhythm is not just about how fast you can swing a hammer; it is about the patience required for material acclimation. When a new shipment of lumber or leather arrives, it undergoes a "thermal shock" period. I allow at least forty eight hours for materials to reach equilibrium moisture content (EMC) within my specific studio climate.
The first phase is the Acclimation Soak, taking two to five days depending on the thickness of the stock. Next comes the Rough Cut Phase, which takes about three hours; here, you relieve internal stresses in the material. The Refinement Phase follows, requiring a steady six hour window where you perform final dimensions. Finally, the Curing Phase for finishes or adhesives can take anywhere from twelve to seventy two hours. Trying to rush this tempo by ignores the physics of evaporation, leading to warped boards or "blushing" in your lacquer finishes where moisture gets trapped under the sealant.
THE CORE METHOD
1. Calibrating the Environment
Before the first cut, check the hygrometer. For a professional shop, you are aiming for a steady 40 to 50 percent relative humidity. Mastery Tip: This range prevents the hypsometric tension from causing cellular collapse in timber or the loss of suppleness in leather hides. If the reading is off, use a dehumidifier or ultrasonic humidifier to correct the baseline before the material begins to "move."
2. Measuring Internal Saturation
Use your moisture meter to probe the heart of your material. Surface readings are often deceptive because the exterior dries faster than the core. Mastery Tip: This gradient is known as differential drying. If the core is 2 percent wetter than the surface, the material will eventually "cup" toward the drier side as it seeks balance. Always measure the end grain for the most aggressive data points.
3. Executing the Relief Cut
When working with large planks, perform a rough cut slightly oversized. This allows the newly exposed internal fibers to react to the Professional Shop Humidity. Mastery Tip: By removing the outer "skin" of the material, you are managing residual stress. Letting the piece sit for an hour after this cut ensures that any bowing happens now, rather than after you have already cut your final joinery.
4. Precision Fitting with Calipers
Use your calipers to measure your tenons or thickness. If you notice a change of more than .005 inches over an hour, your shop environment is fluctuating too rapidly. Mastery Tip: This is the coefficient of thermal expansion at work. Keeping a constant temperature is just as vital as humidity because warm air holds more water vapor, directly impacting the dimensional stability of your project.
THE TECHNICAL LEDGER
Maintenance & Longevity: To keep your tools from rusting in high humidity, apply a thin coat of camellia oil or microcrystalline wax. Your hygrometer should be recalibrated annually using a salt-slurry test to ensure the sensors have not drifted.
Material Variations:
- Sustainable: Cork fabric is a fantastic eco-friendly option that handles humidity shifts with incredible resilience due to its suberin content.
- Recycled: Reclaimed barn wood is often "dead," meaning it has finished most of its major movement, but it remains highly porous and will still react to extreme dampness.
- Premium: Grade A English Bridle leather requires strict humidity control to prevent the fats and waxes from "spewing" to the surface as a white powder.
The Correction:
- The Mistake: Wood joints are too tight to assemble. The Fix: Use a heat gun or hair dryer to locally reduce moisture, shrinking the fibers just enough for the fit.
- The Mistake: Leather feels "mushy" during tooling. The Fix: Place the piece in a dry box with silica gel for twenty minutes to restore the structural integrity of the grain.
- The Mistake: Paper ripples after gluing. The Fix: This is caused by capillary action pulling water from the glue. Use a dry mount press or a heavier weight paper with a higher gsm (grams per square meter) to resist warping.
Studio Organization: Store your sheet goods vertically with spacers (stickers) between them to allow 360 degree airflow. Never store premium materials directly on a concrete floor, as concrete acts as a moisture wick, creating a permanent damp zone that will rot your stock from the bottom up.
THE FINAL REVEAL
When the humidity is dialed in, the result is pure magic. You run your hand over the finished surface and feel nothing but seamless, intentional perfection. The joints are invisible; the leather has a crisp, snappy temper; and the finish is as clear as a mountain lake. There is a profound sense of "rightness" when a piece is built in harmony with its environment. It feels solid, heavy, and permanent. You are not just making an object; you are engineering a legacy that will not fall apart the moment the seasons change.
STUDIO QUESTIONS
What is the ideal humidity for a wood shop?
Maintain a relative humidity between 40% and 50%. This range ensures that wood reaches an equilibrium moisture content of approximately 8%, which minimizes the risk of shrinking, swelling, or structural cracking in finished furniture pieces.
How does humidity affect leather crafting?
High humidity makes leather overly soft and difficult to burnish, while low humidity causes the fibers to become brittle. Consistent moisture levels ensure the leather retains its tensile strength and responds predictably to swivel knives and stamping tools.
Can I use a cheap analog hygrometer?
Analog hygrometers rely on mechanical springs that lose tension over time. For professional results, a digital sensor is required to provide the accuracy needed for delicate material physics and to track small, rapid environmental fluctuations.
What is equilibrium moisture content?
EMC is the point where a material neither gains nor loses moisture to the surrounding air. Reaching this state is critical before final assembly to prevent the project from warping or pulling apart as it adjusts to a new home.
Why does my wood warp even indoors?
Indoor environments fluctuate with HVAC usage. Air conditioning strips moisture, while heating can dry air excessively. Without a hygrometer, you cannot see these shifts, which cause the wood fibers to expand and contract at different rates.

