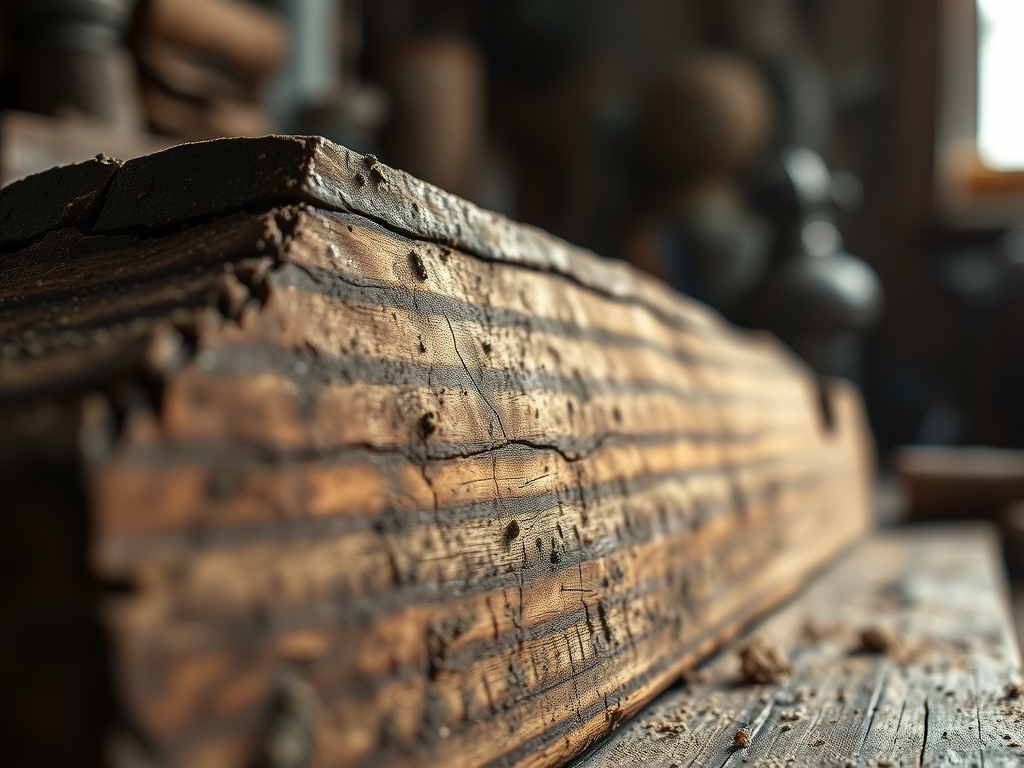
Close your eyes and listen to the crisp, percussive snap of a sharp chisel meeting the end grain of American Black Walnut. It is a sound that signals pure intent. When you are Hand Cutting Dovetails, you are not just joining two pieces of wood; you are engaging in a high stakes negotiation with cellulose fibers and lignin. Walnut is a dream because of its medium density and predictable crush rate. It offers just enough resistance to keep your saw tracking straight, yet it is forgiving enough to compress slightly when you drive that final assembly home. You can feel the tactile vibration through the handle of your saw as the teeth bite into the dark, chocolatey heartwood. This is about more than aesthetics. It is a mechanical marriage that relies on the interlocking geometry of tails and pins to resist tensile forces. If you get this right, the joint will remain structurally sound for a century. If you miss by a fraction of a millimeter, the light will bleed through the gaps and haunt your perfectionist soul. Let us get into the grit of it.
THE STUDIO KIT
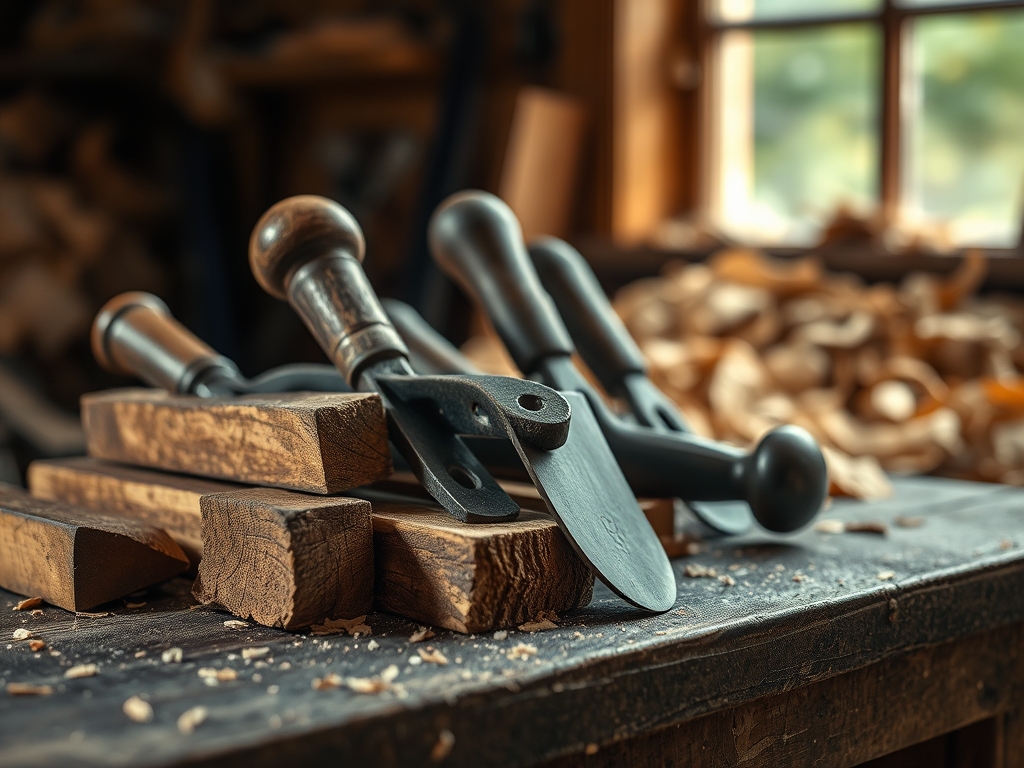
To achieve a gap free result, your tool kit must be an extension of your own nervous system. You will need a high carbon steel dovetail saw with at least 15 points per inch; this ensures the kerf is thin enough to maintain the integrity of your layout lines. Grab your marking gauge with a circular blade. Unlike a pin gauge, a circular blade slices across the grain fibers rather than tearing them, which prevents "grain wander" during your initial strike. You also need a set of bench chisels ground to a 25 degree primary bevel with a 30 degree micro bevel for maximum edge retention in the abrasive walnut pores.
For the layout, a marking awl and a sliding T-bevel are non negotiable. We use these to define the specific slope, usually a 1:6 or 1:8 ratio for hardwoods. Material Substitutions: If you cannot source premium walnut, Cherry is a fantastic alternative due to its similar Janka hardness and tight grain structure. Avoid softwoods like Pine for your first attempt; the low fiber density causes the wood to crush inconsistently under the chisel, making a gap free fit nearly impossible for a novice.
THE TEMPO
The "Maker's Rhythm" is a psychological state where your heart rate slows to match your sawing stroke. Expect to spend about forty minutes on the layout and initial cuts for a single corner. The first phase is the Analytical Tempo, where you use your calipers to ensure both boards are planed to the exact same thickness. The second phase is the Kinetic Tempo, which involves the actual sawing and chopping. This is where the physical physics of the wood comes into play. You must account for the moisture content of the walnut; if the wood is too "green," the joints will shrink and open up as they dry. Aim for a steady, deliberate pace. Rushing the chisel work leads to over-striking, which causes internal fractures in the wood fibers and ruins the friction fit.
THE CORE METHOD
1. The Reference Strike
Establish your baseline by using the marking gauge to scribe the thickness of the mating board onto all four sides of your workpiece. This creates a physical "trench" for your chisel to sit in later.
Mastery Tip: This scribe line acts as a mechanical stop. By severing the surface fibers, you prevent splintering and tear-out when the saw exits the wood, ensuring the shoulder of the joint is perfectly flush.
2. Geometry of the Tails
Mark your tail angles on the end grain and extend them down to the scribe line. Use your dovetail saw to cut on the "waste" side of the line.
Mastery Tip: Leave the line! The thickness of a pencil mark can be 0.5mm. By sawing exactly next to the line, you utilize the kerf offset to maintain the precise dimensions required for a high friction interface.
3. Clearing the Baselines
Use a jeweler's saw to remove the bulk of the waste, then switch to your sharpest chisel to pare back to the scribe line.
Mastery Tip: Use the principle of undercutting. By slightly hollowing out the center of the baseline, you ensure the outer edges make contact first. This creates a "spring joint" effect that guarantees a gap free appearance on the exterior.
4. Transferring to the Pin Board
Secure your pin board in the vise and place the finished tail board on top. Use your marking awl to trace the shape of the tails onto the end grain of the pins.
Mastery Tip: This is where parallax error kills projects. Keep your eye directly over the awl to ensure the point stays tight against the tail. Even a hair's breadth of deviation will result in a loose joint.
5. The Final Pare and Fit
Carefully saw the pins and use a chisel to "creep up" on the line. Test the fit frequently, looking for "shiny spots" on the wood which indicate high pressure areas.
Mastery Tip: Walnut contains natural oils that act as a mild lubricant. Use a burnisher or the back of a chisel to lightly compress the very edges of the pins before assembly. This utilizes the elastic deformation properties of the wood to create a seamless transition.
THE TECHNICAL LEDGER
Maintenance & Longevity: To keep your walnut joints tight for decades, finish the piece with a penetrating oil like Tung oil. This stabilizes the cell walls against humidity shifts. Keep your chisels honed to a mirror polish; a dull blade crushes fibers rather than cutting them, leading to "bruised" wood that will eventually shrink and create gaps.
Material Variations: While we love Black Walnut for its rich tones, recycled walnut from old furniture can be brittle due to age-related lignin degradation. If using salvaged wood, increase your slope to 1:6 to provide more structural "meat" to the pins.
The Correction:
- The Gap Fix: If you have a small gap, take a shaving of the same walnut, apply a drop of glue, and wedge it into the space. Once dry, chisel it flush.
- The Over-cut: If you sawed past your baseline, use a mixture of fine sanding dust and wood glue to create a structural paste.
- The Split Pin: If a pin splits during assembly, it is usually due to a lack of internal relief. Back out the joint, glue the split, and slightly pare down the mating tail before trying again.
Studio Organization: Store your walnut boards flat and weighted down. If they bow even slightly, the internal tension will pull your dovetails apart over time. Use a moisture gauge to ensure your studio stays between 35 percent and 50 percent humidity to prevent the wood from "moving" mid-build.
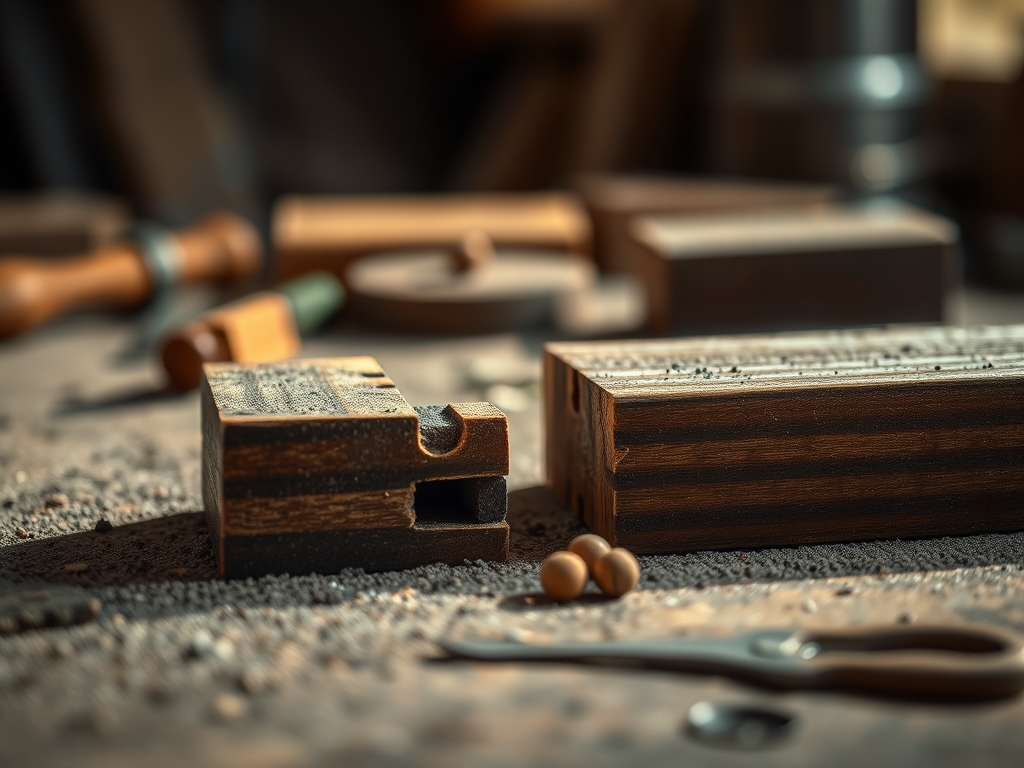
THE FINAL REVEAL
There is nothing quite like the moment you pull the clamps off a finished walnut dovetail joint. When the glue has cured and you plane the end grain flush, the transition between the two boards should look like a single, continuous piece of wood that has been folded by a god. The dark heartwood of the pins against the swirling grain of the tails creates a rhythmic, architectural beauty. When you run your thumb over the corner, you should feel absolutely no transition; it should be as smooth as polished stone. This is the peak of the craft. You have mastered the physics of the material and forced it to submit to your precision.
STUDIO QUESTIONS
How do I prevent the walnut from splitting during the final fit?
Ensure your moisture content is stable and use a dead blow mallet for assembly. The controlled, non-rebound strike distributes the force evenly across the joint, preventing the localized stress concentrations that cause the grain to shear or split.
What is the best way to sharpen a chisel for walnut?
Use a series of water stones up to 8000 grit. Walnut is porous but hard; a polished edge slices through the lignin bonds without tearing, which is essential for the clean, crisp lines required for a gap free dovetail.
Can I use a router for these results?
While a router is efficient, it creates a "static" joint. Hand cutting allows for tapered pins, which offer superior mechanical strength. The slight irregularities of handwork actually allow for a tighter fiber-to-fiber bond than the sterile accuracy of a machine.
Why is my marking gauge line visible after finishing?
You likely struck the line too deep. In the future, use a lighter touch on the visible faces. If the line remains, it is a "mark of the maker," but you can minimize it by lightly steaming the wood to swell the fibers back up.