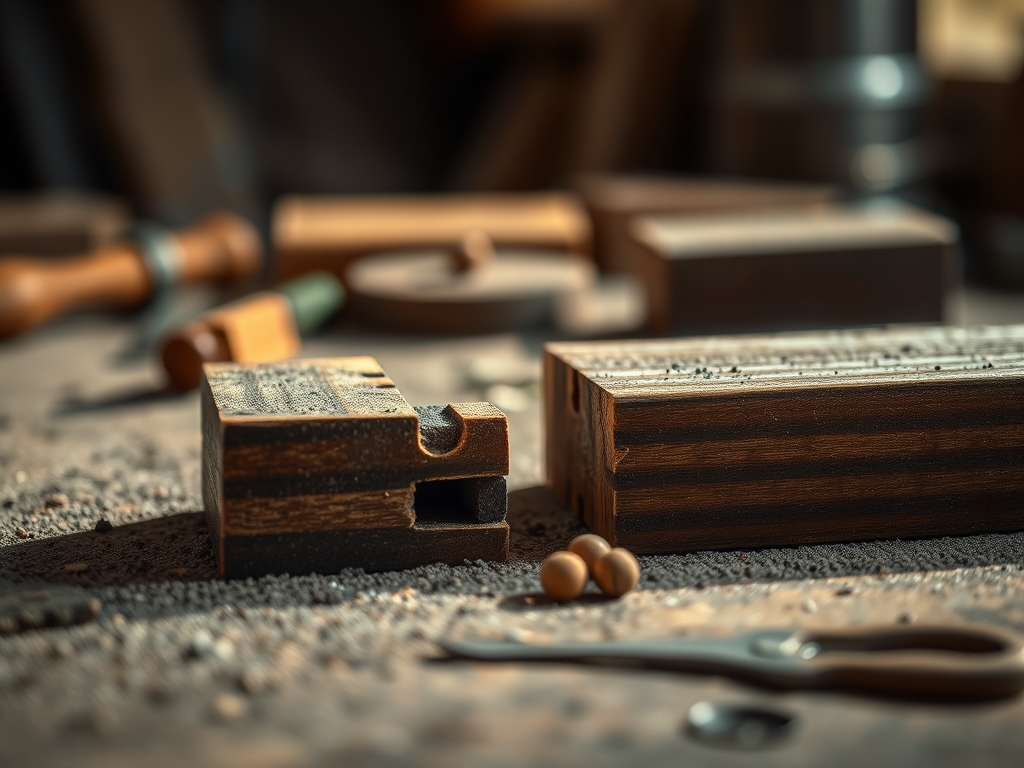
The smell of toasted cedar and the sharp, medicinal tang of walnut oil are currently battling for dominance in my studio; it is the absolute best kind of sensory overload. When you dive into the world of Complex Inlay Work, you are not just playing with wood scraps. You are essentially performing a high-stakes surgery on organic fibers. My fingers are currently covered in a fine layer of sawdust that feels like velvet, but beneath that soft texture is the hard reality of precision engineering. Fitting tiny wood pieces into a pattern requires you to respect the tensile strength of every sliver. If you push too hard, the grain snaps. If you are too timid, the seam shows. We are aiming for a fit so tight that the molecules practically shake hands. It is about the friction between two perfectly matched edges. This process is a rhythmic dance of measuring, slicing, and cursing softly under your breath until that final piece clicks into place like a puzzle.
THE STUDIO KIT
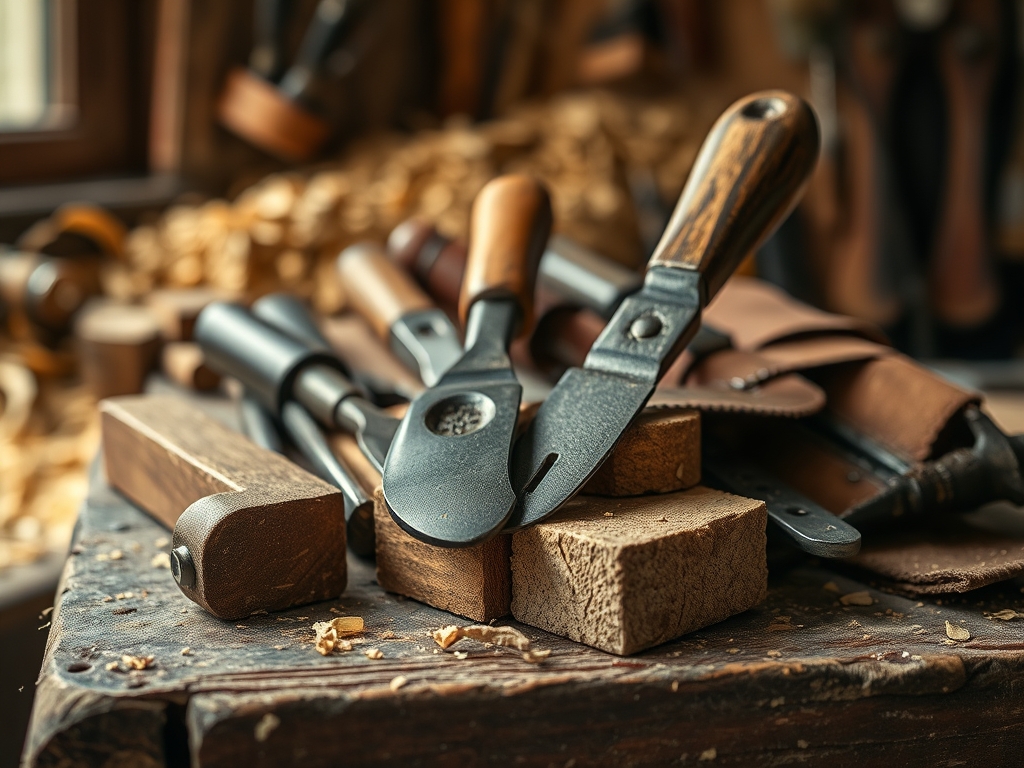
To master this, your toolbox needs to be as sharp as your wit. I rely on a jeweler's saw with a high TPI (teeth per inch) count to navigate those microscopic curves without splintering the porous edges of the veneer. You will also need a pair of digital calipers because we are measuring in microns, not inches. For the actual carving of the host material, an oscillating tool or a very fine marking awl is essential to define your boundaries.
I use a bone folder to burnish the edges of the wood, which compresses the fibers and creates a smoother transition. If you cannot find exotic hardwoods like ebony or bird's-eye maple, you can look into Material Substitutions such as dyed birch or even stabilized reclaimed pallet wood. These alternatives often have a more predictable grain direction, making them easier for a first-timer to manipulate without the wood shattering under the pressure of a blade.
THE TEMPO
The "Maker's Rhythm" is not a sprint; it is a slow, methodical pulse. You should expect to spend about forty percent of your time in the "Selection Phase," where you are staring at wood grain and obsessing over color gradients. The actual cutting takes about thirty percent of the total project time, while the final twenty percent is dedicated to the burnishing and finishing process. A standard four-inch floral inlay might take a seasoned pro six hours of focused labor. If you try to rush the glue-up or sand too aggressively before the adhesive has fully cured, you risk thermal expansion pulling your pattern apart. Respect the clock, and the wood will respect you.
THE CORE METHOD
1. Mapping the Grain Geometry
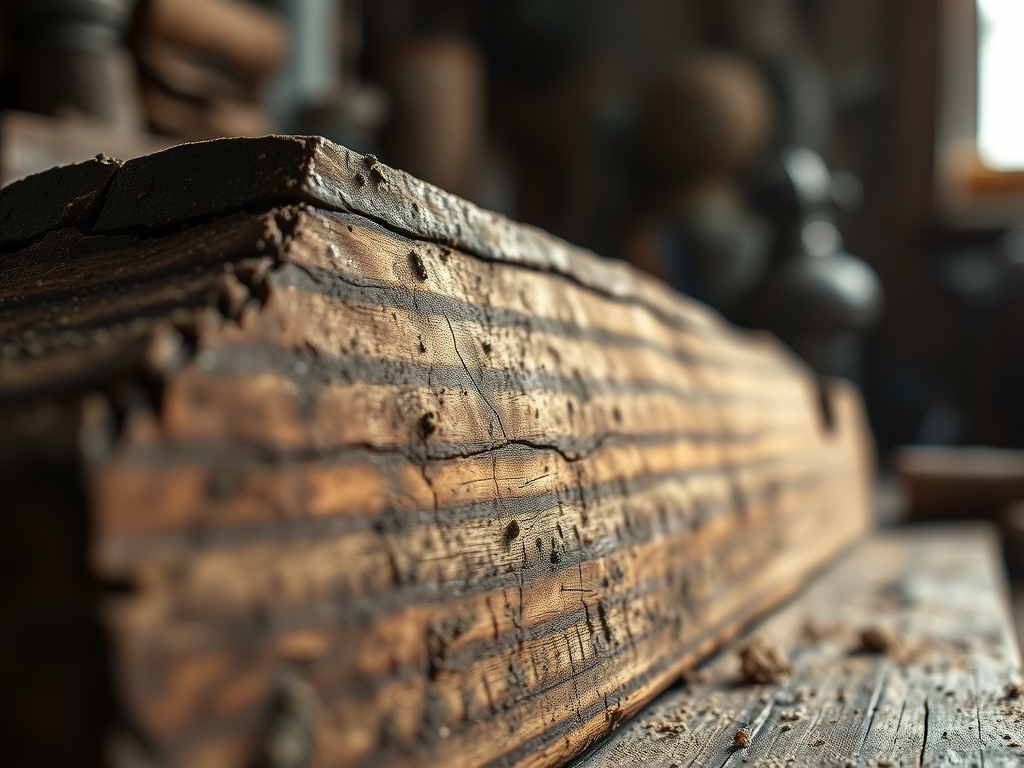
Before the first cut, you must analyze the grain direction of both your inlay piece and the base material. Wood expands and contracts at different rates depending on its cellular structure. By aligning the grain of your tiny pieces with the grain of the host wood, you minimize the risk of the pattern popping out during seasonal humidity shifts.
Mastery Tip: This involves the science of hygroscopy. Wood is essentially a bundle of straws. If those straws are not oriented correctly, they will suck up moisture and swell at different rates, leading to structural failure.
2. The Scribe and Score
Use your marking awl to trace the pattern directly onto the surface. This creates a physical "trench" for your chisel or rotary tool to follow. I prefer to use a gauge to ensure the depth is consistent across the entire design. A shallow scribe leads to a loose fit, while a deep scribe can weaken the tensile integrity of the base board.
Mastery Tip: The capillary action of the wood fibers means that a sharp scribe line actually severs the surface cells, preventing the wood from "fuzzing" or tearing when you begin the deeper excavation.
3. Excavation and Clearing
Using a micro-chisel, remove the waste material from the host wood. You want to create a pocket that is exactly 0.5mm shallower than the thickness of your inlay. This allows for a "proud" fit, meaning the inlay sits slightly above the surface so it can be sanded perfectly flush later.
Mastery Tip: This relies on compressive stress. By leaving the inlay slightly proud, you allow the downward pressure of your clamps to force the fibers together, creating a seamless mechanical bond.
4. The Friction Fit and Adhesive
Apply a thin layer of high-solids wood glue. You do not want a "puddle" because the moisture in the glue can cause the tiny wood pieces to curl. Press the piece into place using a bone folder to ensure there are no air pockets trapped beneath the veneer.
Mastery Tip: This is all about surface tension. A thin, even layer of adhesive creates a stronger bond than a thick one because it allows the polymer chains to interlock directly with the wood cells without a brittle "bridge" of excess glue.
THE TECHNICAL LEDGER
Maintenance & Longevity: To keep your Complex Inlay Work from lifting over time, always seal the finished piece with a non-aqueous finish like a high-quality wax or a thin shellac. Water-based finishes can penetrate the seams and cause the wood to swell, ruining your tight tolerances.
Material Variations:
- Sustainable: Bamboo veneer offers incredible tensile strength but is very abrasive on blades.
- Recycled: Old guitar soundboards provide aged, stable spruce that is a dream to carve.
- Premium: Mother of pearl or abalone adds a non-wood element that requires diamond-tipped bits.
The Correction:
- The Gap: If you have a visible seam, mix the fine sanding dust from your project with a drop of clear resin to create a matching filler.
- The Crack: If a tiny piece snaps, use a cyanoacrylate (super glue) with an accelerator to "stitch" the fibers back together instantly.
- The Lift: If a corner pops up after drying, use a warm iron over a damp cloth to reactivate the glue and re-clamp.
Studio Organization: Store your tiny veneer scraps in airtight, anti-static bins. Fluctuations in shop humidity are the enemy of precision. I label my bins by wood density and species to make selection faster during the "Spark" phase.
THE FINAL REVEAL
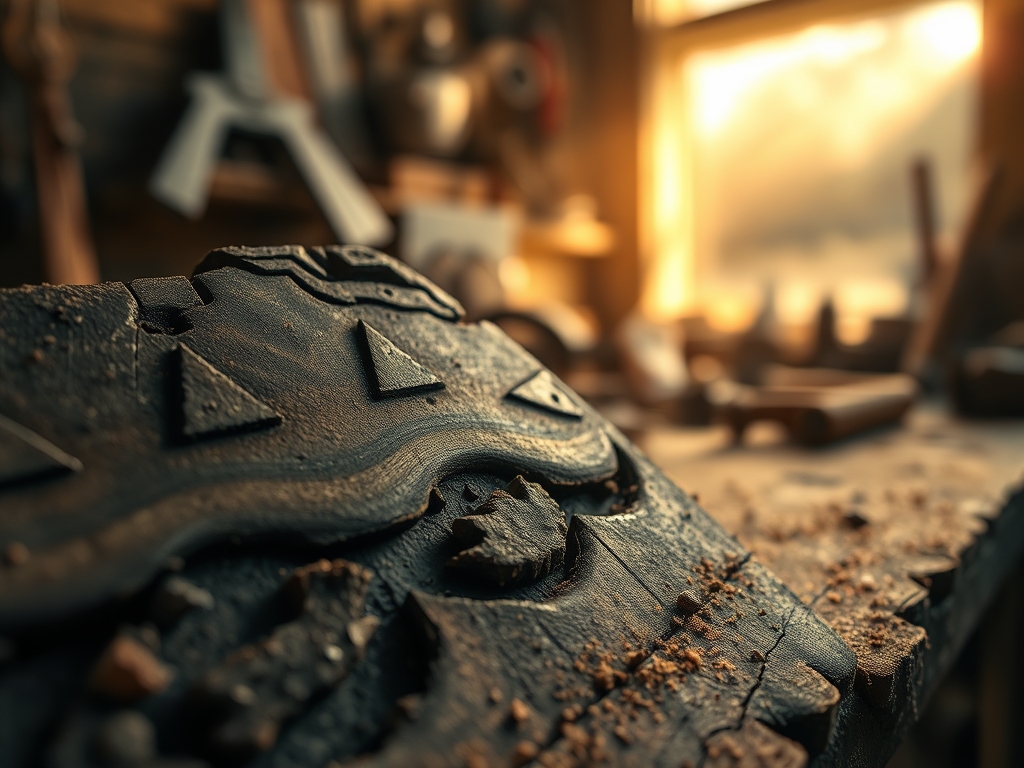
There is nothing quite like the moment you wipe away the final layer of dust to reveal a perfectly flush, intricate pattern that looks like it grew right out of the board. The way the light catches the different grain directions creates a shimmering, holographic effect called chatoyancy. It is a testament to your patience and your technical skill. You have taken raw, stubborn organic matter and forced it into a geometric masterpiece. It feels smooth, heavy, and expensive. You did that!
STUDIO QUESTIONS
What is the best wood for beginners?
Cherry and walnut are ideal because they have a consistent cell density and are forgiving under a blade. Avoid extremely oily woods like teak until you have mastered the adhesive process, as the oils can interfere with the bond.
How do I prevent wood splintering?
Always apply a layer of high-quality masking tape over your cut line before using your jeweler's saw. The tape supports the surface fibers and prevents the blade from "lifting" the grain as it exits the wood.
Can I use a laser cutter for this?
Yes, but be aware of the "kerf," which is the width of the laser beam. You must adjust your digital files to account for this tiny gap, or your pieces will fit too loosely within the host material.
Why did my inlay change color?
Many exotic woods are photosensitive. Exposure to UV light will cause woods like purpleheart to turn brown or cherry to darken. Always use a finish with UV inhibitors to protect your intricate color patterns.