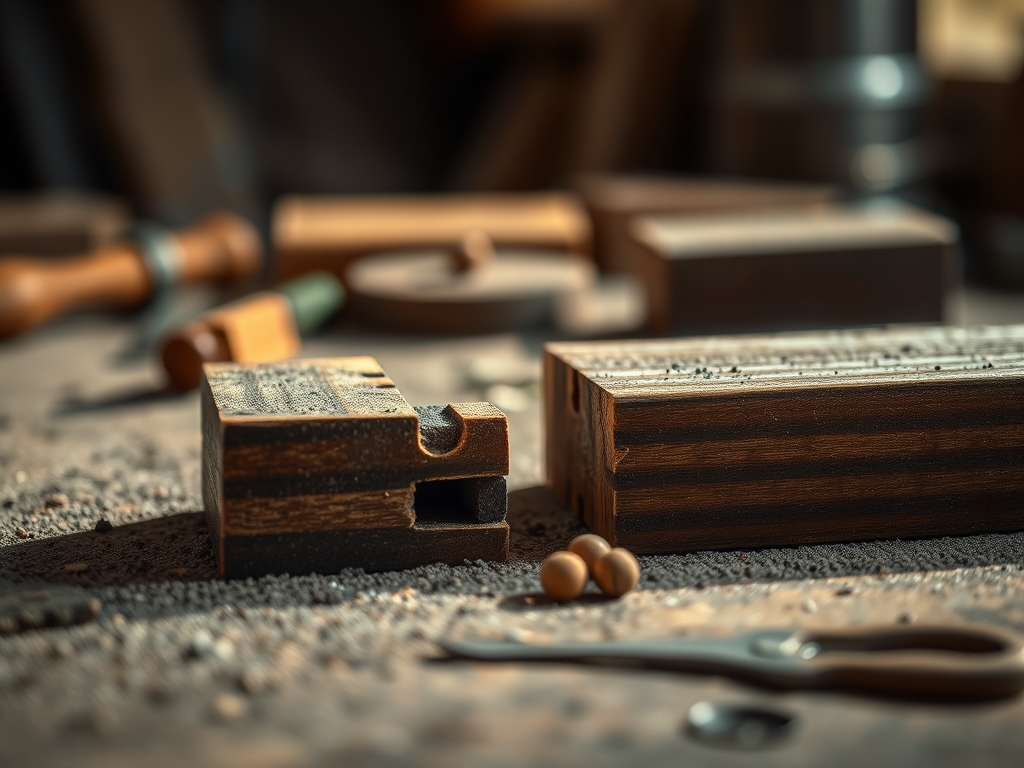
The smell of fresh sawdust is basically my morning coffee; it is that sharp, resinous scent that tells me a project is about to get real. When you run your hand over a raw slab, you are feeling more than just texture. You are feeling a living, breathing history of cells that still react to the world around them. Understanding Wood Movement is the absolute secret sauce to making sure your gorgeous coffee table doesn't literally tear itself apart when the summer humidity hits. Wood is hygroscopic, which is a fancy way of saying it acts like a giant sponge. If you do not account for the way those fibers swell and shrink, your joints will fail and your finish will crack. I have spent years learning how to dance with the grain rather than fighting it. It is all about respecting the physics of the material. We are going to dive into how to plan for that inevitable seasonal expansion so your builds stay rock solid for decades.
THE STUDIO KIT
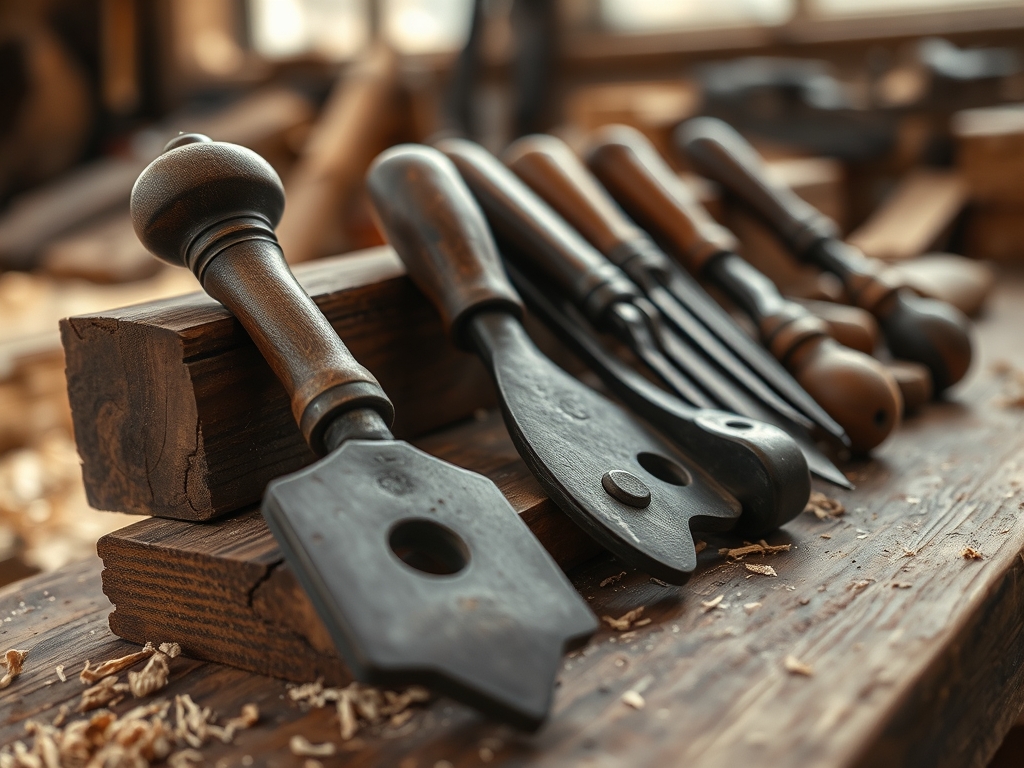
To master the art of the seasonal shift, you need more than just a hammer. You need precision. My go-to kit starts with a high quality digital caliper to measure board thickness down to the thousandth of an inch. I also keep a moisture meter clipped to my apron; this is non-negotiable for checking if your lumber has properly acclimated to your studio environment. For marking, skip the dull pencil and grab a marking awl. It slices the wood fibers, giving you a physical track for your saw to follow, which prevents splintering.
When it comes to the materials, we are looking at the tensile strength and porosity of our species. White oak is a beast with closed pores (tyloses) that make it rot resistant, while walnut is softer and more forgiving under a burnish. If you cannot find the premium hardwoods, look for Material Substitutions like high grade Baltic birch plywood. Because plywood is constructed with alternating grain directions in its ply layers, it is dimensionally stable and won't expand nearly as much as solid timber. You can also swap traditional wood glue for a polyurethane adhesive if you need a bit more "flex" in a high stress joint.
THE TEMPO
The Maker's Rhythm is not just about how fast you can cut; it is about the "breathing room" you give the wood. I break my builds into three distinct tempos. First is the Acclimation Phase. This takes about five to seven days. You cannot just bring wood from a humid lumber yard into an air conditioned studio and start cutting. It needs to reach an equilibrium moisture content.
Second is the Milling Phase, which usually takes two days. I never mill to final dimensions in one go. I rough cut, let the internal stresses of the wood relax overnight, and then do my final passes. Third is the Assembly and Finishing Phase. This is the slow burn. You have to account for the time it takes for glues to cure and for oils to penetrate the capillary structure of the grain. If you rush the finish, you might trap moisture inside, leading to "blushing" or a cloudy appearance under the surface.
THE CORE METHOD
1. Mapping the Grain Orientation
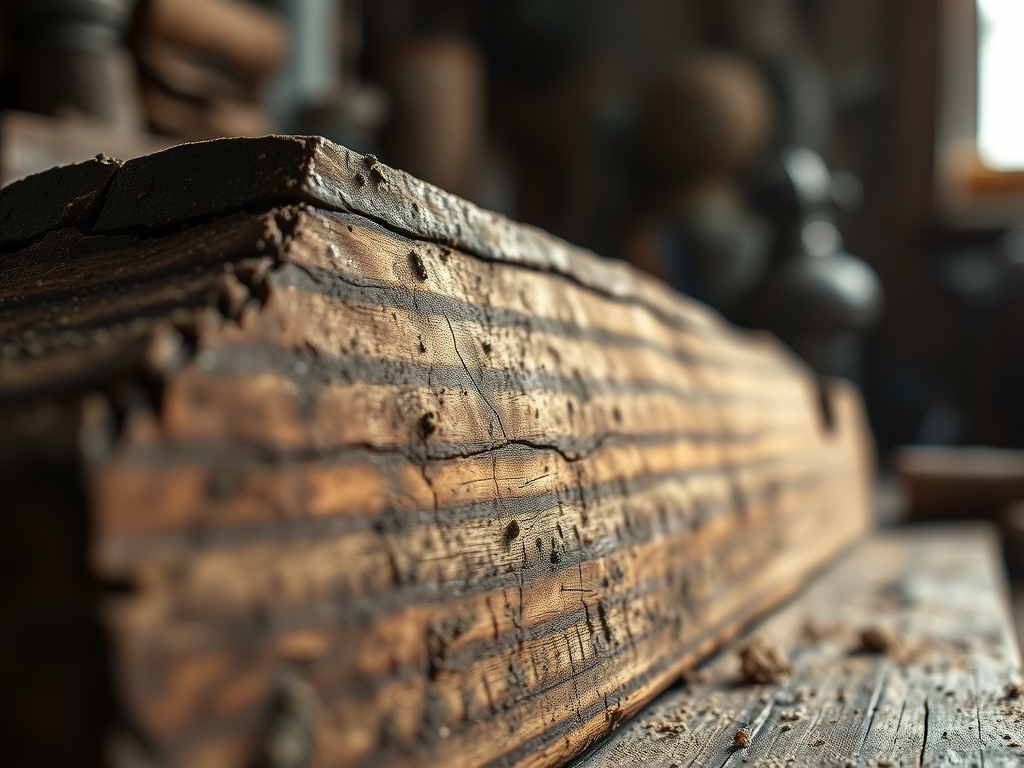
Before I even touch a saw, I look at the end grain. You are looking for the difference between flatsawn, quartersawn, and riftsawn boards. Quartersawn lumber is the gold standard for stability because the growth rings are perpendicular to the face of the board. This means when it expands, it mostly changes in thickness rather than width.
Mastery Tip: Always check the tangential vs. radial shrinkage ratios. Wood shrinks roughly twice as much along the growth rings (tangentially) as it does across them (radially). By selecting riftsawn boards for your table legs, you ensure the piece remains square regardless of the season.
2. Engineering the Floating Joint
You can never "lock" a wide panel into a solid frame. If you glue a solid breadboard end across a tabletop without allowing for movement, the top will eventually split down the middle. I use Z-clips or figure-eight fasteners to attach tops to bases. These allow the wood to slide back and forth underneath the screws as the humidity changes.
Mastery Tip: This relies on the science of structural integrity. By decoupling the tabletop from the apron, you prevent the build-up of internal mechanical stress. Think of it like an expansion joint on a bridge; it gives the material a place to go so it doesn't buckle.
3. Calculating the Expansion Gap
I use a specific formula based on the species' shrinkage coefficient. If I am building a door for a cabinet, I leave a "nickel's width" gap in the winter. In the summer, that gap might close up entirely. I use a feeler gauge to ensure these tolerances are consistent across the entire project.
Mastery Tip: This involves capillary action and surface tension. If your gaps are too tight, the finish can actually bridge the gap and then crack when the wood moves. A clean, calculated gap ensures the finish remains an unbroken protective envelope.
4. Sealing the End Grain
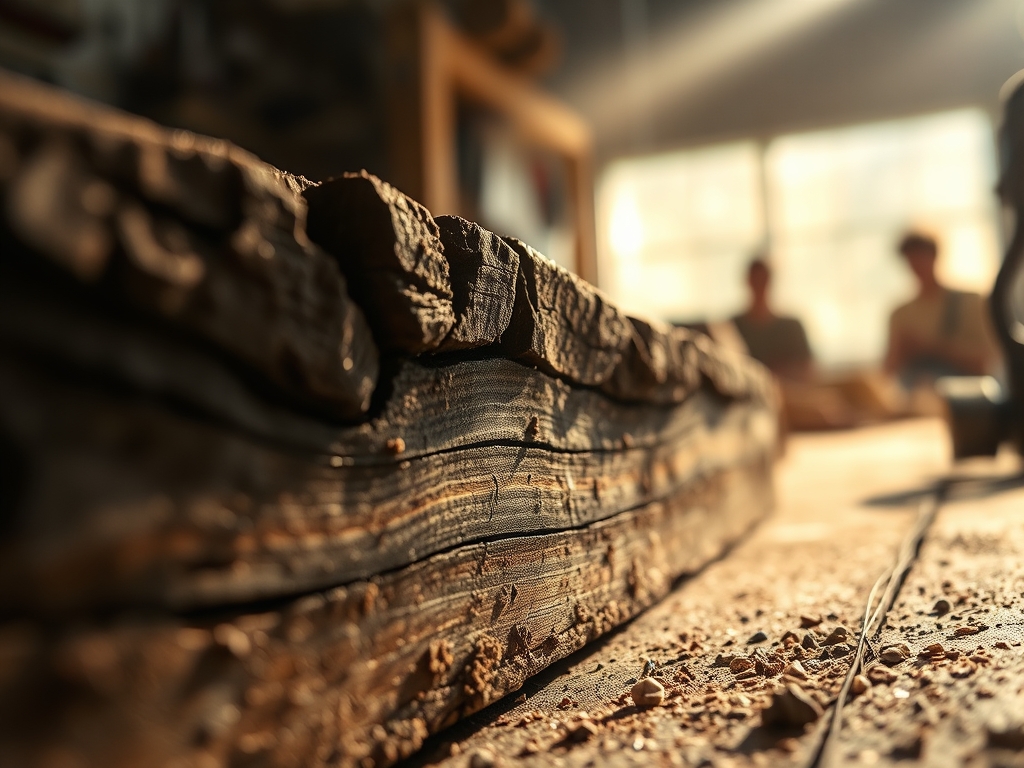
The end grain is like a bundle of open straws. It absorbs and releases moisture way faster than the face of the board. I always apply an extra two coats of finish to the ends to slow down this process. This prevents the ends of the board from shrinking faster than the middle, which is what causes those annoying "end checks" or cracks.
Mastery Tip: By sealing these porous openings, you are regulating the rate of moisture exchange. This creates a uniform internal pressure throughout the timber, which significantly reduces the risk of warping or "cupping" over time.
THE TECHNICAL LEDGER
Maintenance & Longevity: To keep your build in peak condition, apply a fresh coat of paste wax every six months. This adds a hydrophobic layer that helps repel atmospheric moisture. Avoid placing your furniture directly over HVAC vents, as the localized dry air will cause extreme, uneven shrinkage.
Material Variations:
- Sustainable: Reclaimed Douglas fir has a high tensile strength but can be brittle. Watch for old nail holes that can act as stress risers.
- Premium: Tropical hardwoods like Ipe are incredibly dense but require specialized carbide tipped tools because their high silica content will dull standard steel blades in minutes.
The Correction:
- The Mistake: A drawer is sticking in the summer. The Fix: Use a block plane to shave the "cheeks" of the drawer side. Do not sand it; a plane creates a cleaner cellular shear.
- The Mistake: A tabletop has cupped (curved upward). The Fix: This usually means the bottom wasn't finished as well as the top. Sand the finish off the bottom and let it sit in a neutral environment to balance out.
- The Mistake: A joint has opened up. The Fix: Do not just shove wood filler in there. Use a veneer shim of the same species, glue it into the gap, and flush cut it with a japanese pull saw.
Studio Organization: Store your lumber horizontally on a rack with "stickers" (small strips of wood) between every layer. This allows for 360 degree airflow. Never store wood directly on a concrete floor, as the concrete will leach moisture into the bottom boards, causing them to bow.
THE FINAL REVEAL
There is nothing quite like that moment when you pull the clamps off and see a piece that is perfectly balanced. When you plan for expansion, you aren't just building a thing; you are engineering a legacy. The way the light hits a burnished edge or the way a drawer slides with a satisfying "whoosh" of air is all thanks to that meticulous planning. Your build is now a living part of the room, breathing with the seasons but staying perfectly aligned. It feels solid, it feels professional, and honestly? It looks expensive because it was built with brains and heart.
STUDIO QUESTIONS
How do I know if my wood is dry enough?
Use a moisture meter to ensure the internal moisture content is between 6% and 8% for indoor furniture. This level matches the average humidity of most homes, preventing dramatic warping or shrinking after the project is moved from the studio.
What is the best way to attach a tabletop?
Use tabletop fasteners like Z-clips or figure-eight connectors. These mechanical fasteners allow the wood to expand and contract across its width while keeping the top securely attached to the frame. Never rely solely on glue for wide, solid wood panels.
Does plywood move as much as solid wood?
No, plywood is incredibly stable. Its cross-laminated construction means the grain of each layer runs perpendicular to the next. This configuration cancels out the natural movement of the wood fibers, making it ideal for cabinet carcasses and large flat panels.
Can I stop wood movement entirely with finish?
No, you can only slow it down. Even the thickest polyurethane or epoxy finish is vapor permeable over time. Wood will always eventually reach equilibrium with the surrounding air. Proper joinery is the only permanent solution for managing seasonal changes.