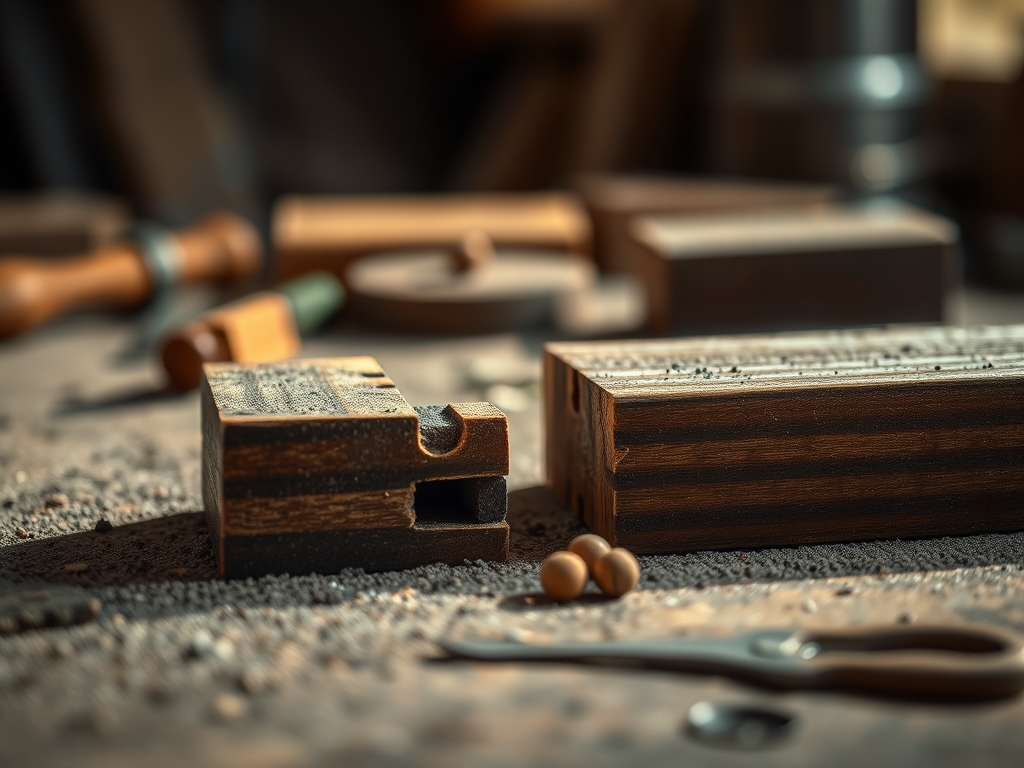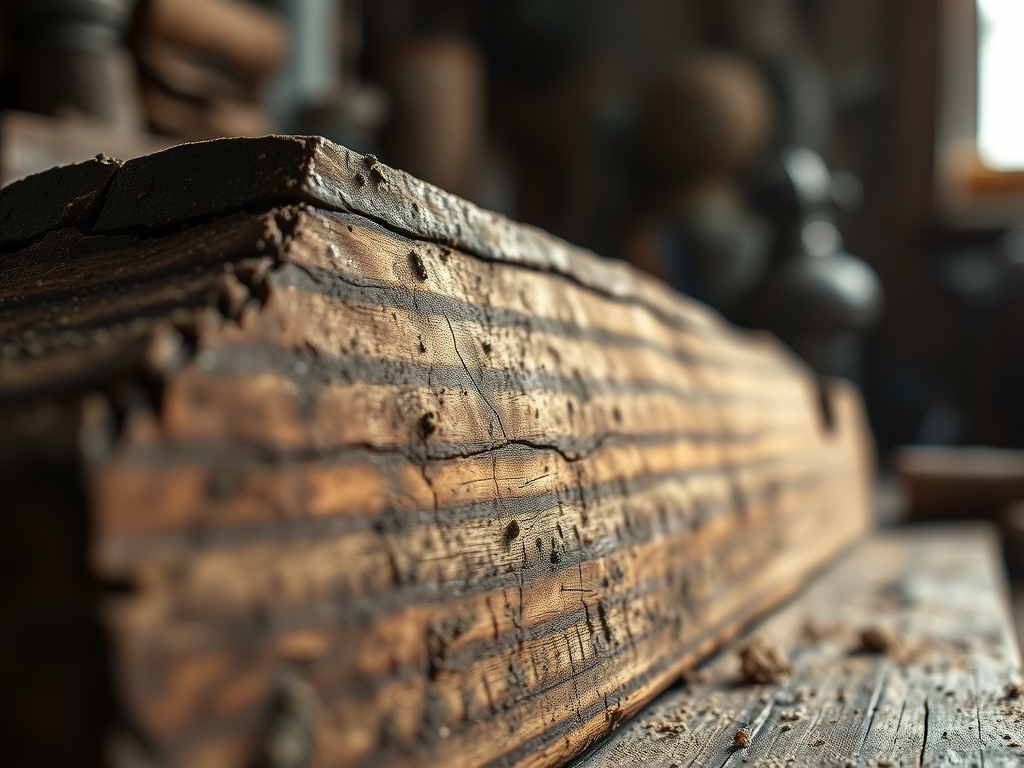
Imagine the scent of freshly milled black walnut meeting the sharp, metallic tang of a cold steel blade. Your fingertips graze the grain, feeling the microscopic ridges of the cellular structure that define the wood's density. This is where the magic happens; however, without Precision Measuring Tools, that magic quickly turns into a structural nightmare of gaps and wobbles. I used to think a cheap plastic ruler was enough until I realized that a single degree of error at the joint translates to a massive misalignment at the edge.
When you hold a high grade machinist square, the weight is substantial. It feels like gravity is finally on your side. The light reflects off the ground stainless steel, showing you exactly where your previous cuts failed the test of physics. We are talking about tolerances measured in thousandths of an inch. That level of accuracy is the difference between a project that looks handmade and one that looks engineered. In this studio session, we are diving deep into why the geometry of your tools dictates the longevity of your craft. It is time to stop guessing and start measuring with the cold, hard certainty of a pro.
THE STUDIO KIT
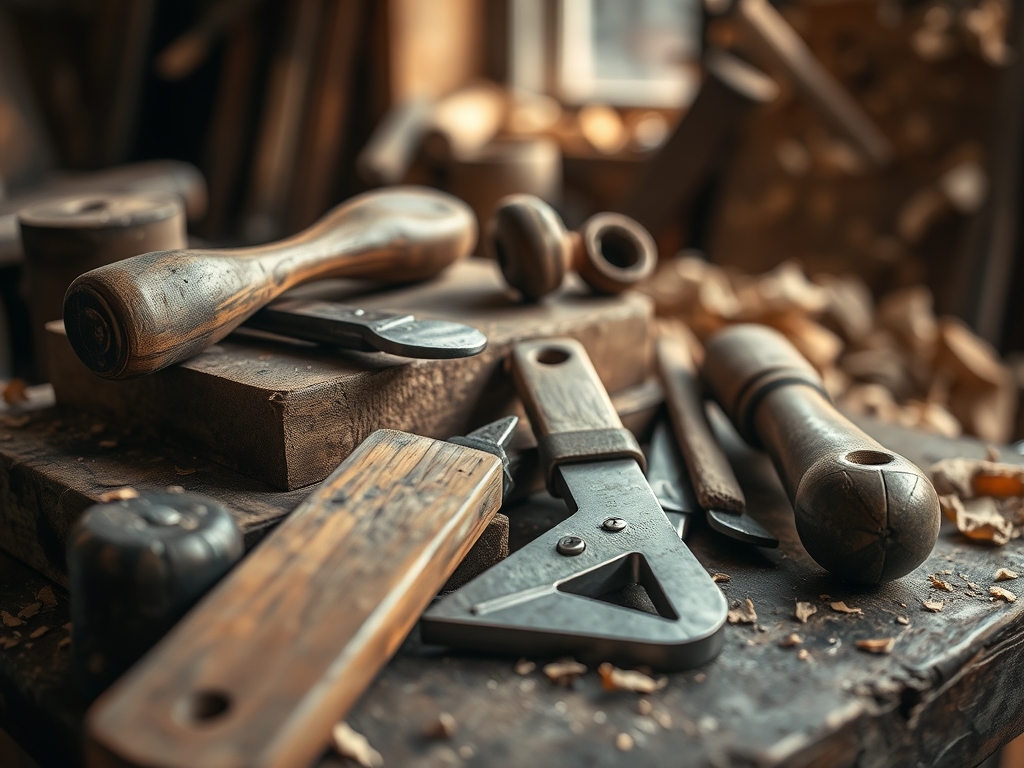
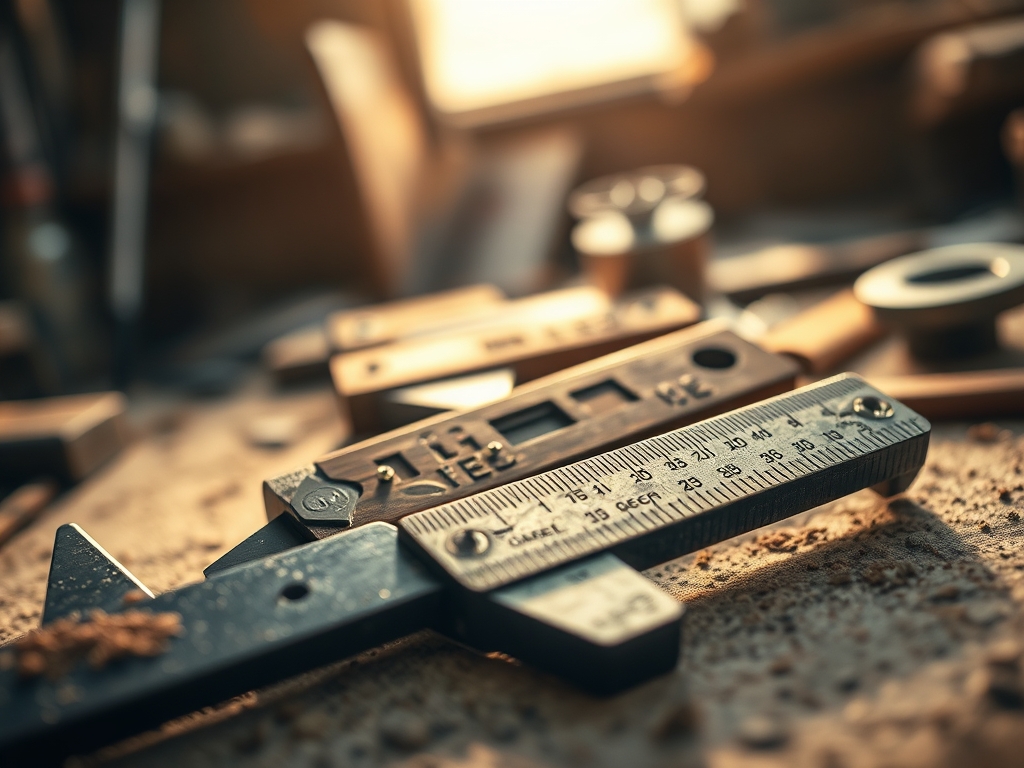
To master the geometry of your build, you need a kit that respects the laws of physics. Our star is the hardened steel square, which offers a fixed 90 degree reference point that will not deflect under pressure. Alongside it, you need digital calipers for measuring material thickness. Wood is a porous medium; it expands and contracts based on ambient humidity. Knowing the exact gauge of your stock allows you to account for this movement.
You will also need a marking awl instead of a pencil. A pencil line has physical width (the graphite thickness), which introduces error. An awl severs the wood fibers, creating a precise physical track for your saw to follow. For finer work, a bone folder is essential for creating crisp creases in paper or leather without compromising the tensile strength of the fibers.
Material Substitutions: If you cannot source premium hardwoods like white oak, look for high density fiberboard (HDF). Unlike standard MDF, HDF has a higher fiber density, making it more stable for jigs. If steel squares are out of reach, look for "Grade A" aluminum squares; they are lighter but still offer excellent ergonomic handling for vertical layouts.
THE TEMPO
The "Maker's Rhythm" is not just about speed; it is about the thermal and structural stabilization of your materials.
Phase 1: Acclimation (24 to 48 hours). Before you even touch your Precision Measuring Tools, your materials must reach equilibrium with your studio environment. If you cut wood that is still shedding moisture, your perfect 90 degree angle will warp into an ugly trapezoid by Tuesday.
Phase 2: The Layout (1 to 2 hours). This is the slowest part of the process. You are mapping the grain direction to ensure the highest structural integrity.
Phase 3: The Execution (3 to 5 hours). Once the layout is etched, the cutting moves fast. The rhythm here is steady and repetitive. You are not thinking about where to cut; you are simply following the tracks your tools already laid down.
THE CORE METHOD
1. Calibrating the Reference Edge
Before you can measure anything, you must establish a "true" edge. Use your square to check the flat face of your material against the side. If light peeks through the gap, your surface is not flat. Use a hand plane or sander to achieve a perfectly flush connection.
Mastery Tip: This relies on the principle of planarity. If your reference edge is not perfectly flat, every subsequent measurement will be skewed by an additive error, compounding as you move further from the starting point.
2. Scribing the Initial Datum
Place your square firmly against your reference edge. Use the marking awl to scribe a line across the grain. Do not just draw; press hard enough to sever the lignin. This creates a "knife wall."
Mastery Tip: Scribing utilizes mechanical shearing of the wood cells. By pre-cutting the surface fibers, you prevent "tear-out" when the power tools or saws hit the wood, ensuring the edge remains sharp and crisp.
3. Verification with Calipers
Measure the thickness of your material at three different points. Wood is rarely uniform. Use the locking screw on your calipers to set the average width. This measurement will dictate the depth of your joinery.
Mastery Tip: This accounts for material variance. Even "surfaced" lumber has hills and valleys. By using the average gauge, you ensure that joints like mortise and tenons have enough friction to hold without splitting the wood.
4. Setting the Square for Joinery
When marking out dovetails or lap joints, use the square to carry your lines around all four sides of the piece. The lines must meet perfectly at the starting point. If they do not, your piece is "in wind" (twisted).
Mastery Tip: This tests the parallelism of your stock. If the lines do not meet, it indicates that the opposite faces of your material are not parallel, which will cause the entire structure to rack or wobble once assembled.
THE TECHNICAL LEDGER
Maintenance & Longevity: Steel tools are prone to oxidation. Wipe your Precision Measuring Tools with a light coat of camellia oil after every session. This creates a hydrophobic barrier that prevents rust. Store them in a padded drawer; a single drop onto a concrete floor can knock a square out of alignment by a fraction of a degree.
Material Variations:
- Sustainable: Bamboo ply is incredibly stable but hard on blades due to high silica content.
- Premium: Quarter sawn timber offers the best dimensional stability because the grain runs perpendicular to the face.
The Correction:
- The Gap: If a joint has a gap, do not just fill it with glue. Use a "shim" made from the same wood species to maintain color consistency and expansion rates.
- The Over-cut: If you scribe too deep, burnish the wood with a smooth metal rod to compress the fibers back into place.
- The Out-of-Square Frame: If an assembly is skewed, use a pipe clamp on the long diagonal to pull it back into alignment before the glue sets.
Studio Organization: To prevent degradation, store wood horizontally in a temperature controlled zone. Vertical storage leads to "bowing" due to the constant pull of gravity on the cellular structure.
THE FINAL REVEAL
There is nothing quite like the moment you slide two pieces of material together and hear that "whoosh" of air escaping because the fit is so tight. When you use Precision Measuring Tools, your work transforms from a "project" into a "specimen." The corners are sharp enough to catch the light, the surfaces are perfectly flush, and the entire piece feels solid, like it was grown rather than built. It is a tactile high that only comes from respecting the physics of the craft. You did not just make something; you mastered the space it occupies.
STUDIO QUESTIONS
Why is a steel square better than a plastic one?
Steel offers superior rigidity and does not deform under pressure. Plastic can flex or warp over time, leading to inaccurate angles. A hardened steel square maintains a constant 90 degree reference, ensuring your structural geometry remains perfectly true throughout the build.
How do I check if my square is still accurate?
Draw a line against a straight edge, then flip the square over. If the blade aligns perfectly with the line from both sides, it is square. Any deviation indicates the tool is "out," which requires professional recalibration or replacement to ensure precision.
What does "burnishing" do for my project?
Burnishing involves rubbing a hard object against a surface to compress the fibers. This increases surface density and creates a subtle sheen. It is a technical way to harden edges and improve the tactile quality of the finished material without adding chemicals.
Can I use a tape measure for precision joinery?
Tape measures are designed for long distances and have a "floating hook" that introduces slight variances. For joinery, use a rigid steel rule or digital calipers. These tools provide the sub-millimeter accuracy required for tight, professional grade mechanical fits and seams.