Close your eyes and listen for that crisp, rhythmic hiss as the steel edge bites into the wood. It is the sound of absolute precision. We are not just making sawdust today; we are aiming for those ethereal, gossamer ribbons that float on a stray breeze. Mastering the Hand Plane is about more than just smoothing a board; it is a high-stakes dance with cellular biology and metallurgy. When you get it right, the wood does not just look flat. It glows because you have severed the fibers so cleanly that light reflects off the internal cell walls rather than getting trapped in the fuzzy, crushed debris left by sandpaper. You can feel the tensile strength of the wood resisting the blade until the moment of shear. It is a tactile conversation between your muscles and the growth rings of the tree. We are chasing a surface so perfect it feels like glass. This is the peak of the maker's craft, where we transform a rugged plank into a masterpiece of light and shadow. Grab your favorite bench plane because we are about to turn physics into art.
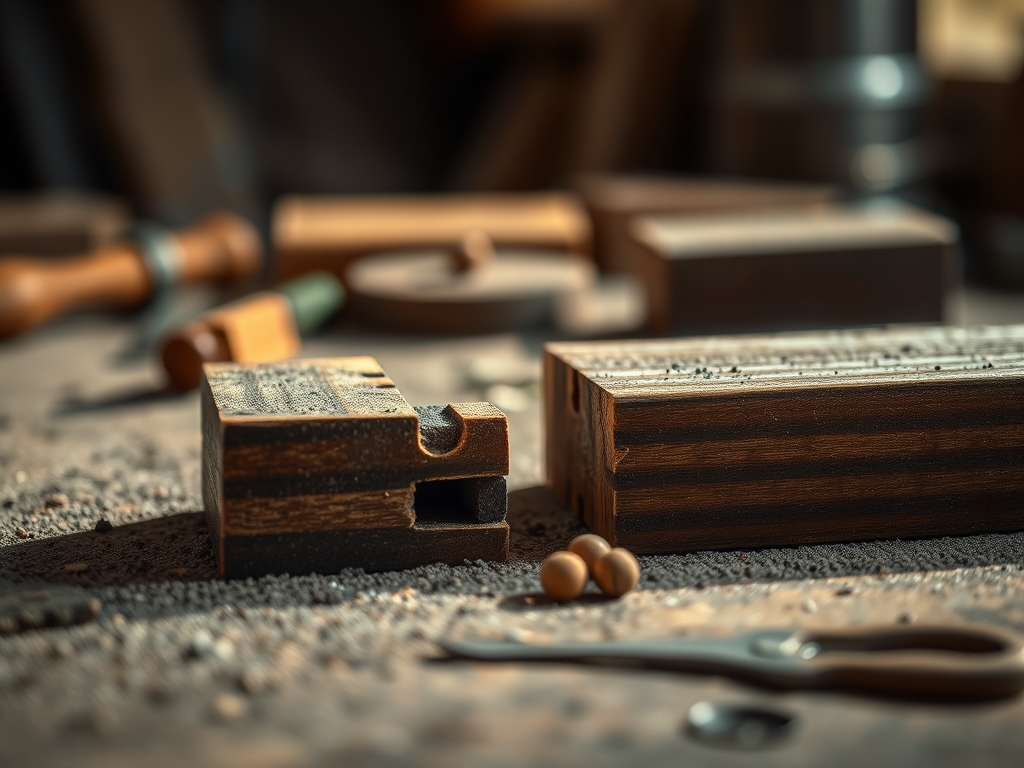
THE STUDIO KIT

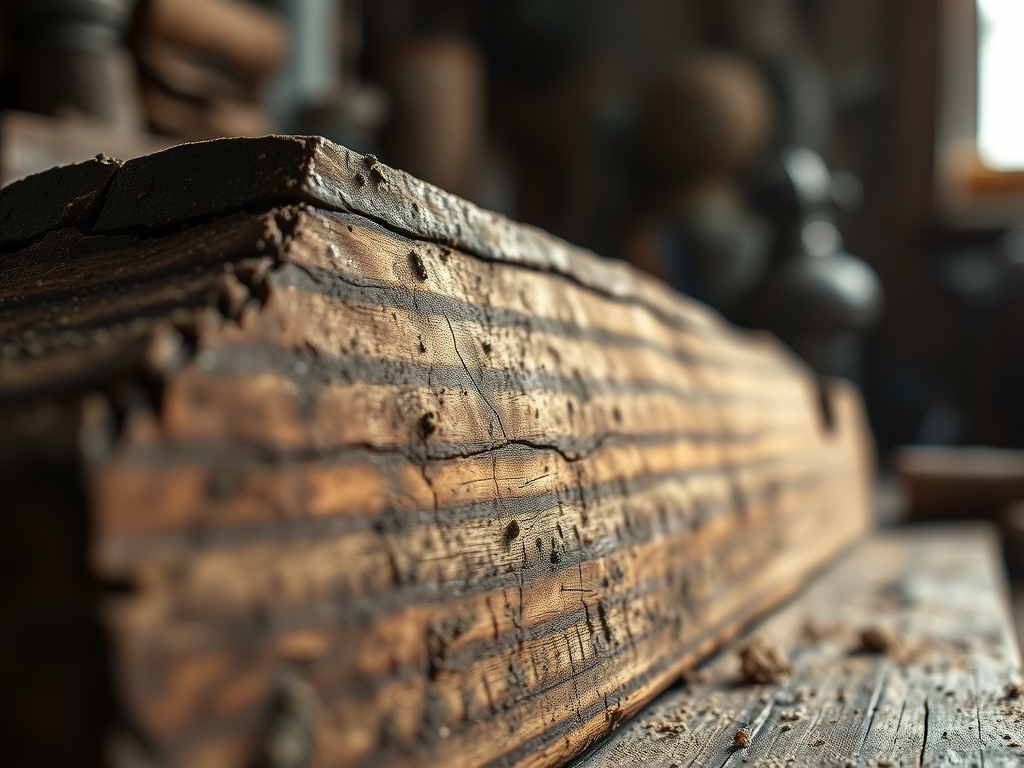
To achieve transparency in your shavings, your kit must be tuned to a surgical standard. The centerpiece is a No. 4 Smoothing Plane or a Low-Angle Block Plane. The sole of the tool must be perfectly flat; use a machinist's square to check for any hollows. Your blade, or iron, should be made of High-Carbon Steel or A2 tool steel, honed to a mirror polish. You will need a set of water stones ranging from 1,000 to 8,000 grit to achieve a razor edge. Use digital calipers to measure your shavings; we are aiming for a thickness of .001 inches or less. For the material, start with a straight-grained hardwood like Cherry or Black Walnut. These species have a consistent fiber density that allows for predictable shearing.
Material Substitutions: If you cannot find premium hardwoods, a clear piece of vertical-grain Douglas Fir is a fantastic substitute, though its alternating latewood and earlywood densities require a much steeper blade angle. If you lack high-end water stones, the "scary sharp" method using progressively finer automotive sandpaper on a piece of float glass works beautifully. Always keep a bit of paraffin wax or camellia oil nearby to lubricate the sole of the plane; this reduces friction and prevents "stuttering" across the wood surface.
THE TEMPO
The "Maker's Rhythm" is a three-act play. Act one is the Preparation Phase, which takes about 45 minutes. This involves flattening the sole of your plane and honing the iron until it can shave hair. Do not rush this; a dull blade is the enemy of transparency. Act two is the Calibration Phase, lasting 20 minutes. Here, you adjust the frog and the lateral lever to ensure the blade is projecting evenly and at a microscopic depth. Act three is the Execution Phase. Depending on the size of your workpiece, this can take anywhere from 30 minutes to several hours of meditative, steady stroking. The rhythm should be consistent; breathe out as you push the plane, using your legs and core rather than just your arms to maintain a steady velocity.
THE CORE METHOD
1. Orienting the Grain Direction
Before the blade ever touches the wood, you must read the "cathedrals" or the grain lines on the side of the board. Always plane in the direction the fibers are running "up" and away from you. If you plane against the grain, the blade will catch the fibers and tear them out, creating divots. Mastery Tip: This is due to the anisotropic nature of wood; it has different physical properties in different directions. By following the grain, you ensure the blade compresses the fibers into the body of the wood before shearing them, preventing structural tear-out.
2. Setting the Mouth Opening
The gap between the blade and the front of the plane's mouth should be almost invisible. Loosen the screws on the frog and slide it forward until the opening is just wide enough for a hair to pass through. Mastery Tip: A tight mouth provides downward pressure on the wood fibers immediately before they are cut. This prevents the wood from splitting ahead of the blade, which is the primary cause of surface roughness in figured woods.
3. The Micro-Adjustment
Turn the depth adjustment nut until the blade is fully retracted, then slowly advance it while taking test passes on a scrap piece. You want to hear the "whisper" before you see the shaving. Mastery Tip: Use the principle of capillary action to your advantage by lightly misting the wood with denatured alcohol. This temporarily softens the lignin, the natural glue holding the fibers together, allowing for a cleaner cut with less resistance.
4. The Full Body Stroke
Stand with your feet shoulder-width apart and shift your weight from your back foot to your front foot as you push. Apply pressure to the front knob at the start of the stroke and the rear handle at the end of the stroke. Mastery Tip: This maintains the planar integrity of the board. If you apply equal pressure throughout, you will naturally "dub" or round off the ends of the board because of the physics of leverage.
THE TECHNICAL LEDGER
Maintenance & Longevity: After every session, retract the blade so it sits safely inside the body. Wipe the metal surfaces with a microfiber cloth and a drop of jojoba oil to prevent oxidation. Wood is hygroscopic, meaning it absorbs moisture from the air; store your projects in a climate-controlled area to prevent warping.
Material Variations:
- Sustainable: Reclaimed White Oak offers incredible durability but requires a very sharp 35-degree bevel to handle its high silica content.
- Premium: Curly Maple or Bubinga are stunning but prone to tear-out; use a high-angle frog (50 or 55 degrees) to scrape rather than peel the fibers.
The Correction:
- Problem: The plane "chatters" or vibrates. Fix: Tighten the lever cap; the blade is likely flexing because it is not held firmly against the frog.
- Problem: Shavings are thicker on one side. Fix: Use the lateral adjustment lever to square the blade to the sole; check alignment with a marking gauge.
- Problem: The blade won't bite. Fix: You have likely "dubbed" the edge during sharpening, creating a rounded profile that prevents the apex from touching the wood. Re-grind the primary bevel.
Studio Organization: Store your hand planes on a wooden shelf with a small strip of wood under the toe. This keeps the blade from touching any surface, preserving the edge. Keep your sharpening station set up permanently; if it is a chore to sharpen, you will settle for dull tools.
THE FINAL REVEAL
Look at that! You have done it. Those shavings are so thin they are practically translucent; you could read a newspaper through them. The surface of your board now has a "chatoyancy," a jewel-like depth that no sandpaper could ever achieve. When you run your hand across it, there is no friction, only the cool, silky touch of perfectly sheared cellulose. This is the moment where the physics of the tool and the biology of the wood meet in a perfect union. You have mastered the hand plane, and your work will reflect that level of soul and precision for generations to come.
STUDIO QUESTIONS
Why are my shavings curling into tight spirals?
Tight spirals usually indicate that your chipbreaker is set too close to the edge or is too blunt. This forces the shaving to bend abruptly. For thinner shavings, move the chipbreaker back to about 1/32 of an inch.
How often should I sharpen my plane iron?
In hardwoods, you should hone your edge every 30 to 45 minutes of active use. If you notice the "whisper" sound turning into a "scrape" or see streaks on the wood, your edge geometry has failed.
Can I use a hand plane on plywood?
It is not recommended. The alternating grain directions and abrasive glues in plywood will dull your blade almost instantly. Stick to solid timber or thick lumber core veneers to maintain your tool's longevity and sharpness.
What is the best way to stop rust?
Apply a thin layer of paste wax or camellia oil to the sole and sides. In humid environments, store your tools in "socks" treated with vapor corrosion inhibitors to create a protective chemical envelope around the metal.
Why does my plane stop cutting mid-stroke?
This usually happens because the throat is clogged with shavings. A tight mouth is great for fine work, but if the capillary space is too small for the shaving thickness, it will jam. Back off the depth slightly.