Close your eyes and listen to the sound of a perfectly tuned workshop. It is the rhythmic slide of a hand plane against cherry wood and the satisfying click of a dry fit joint coming together. When you tackle a Complex Furniture Assembly, the air feels different. It is thick with the scent of sawdust and the electric anticipation of the final bond. You are not just sticking two pieces of wood together; you are orchestrating a chemical marriage between cellulose fibers. My hands always tingle when I feel the grain direction. You can sense the moisture content through your fingertips. If the wood is too thirsty, it will suck the moisture right out of the adhesive before the bond can stabilize. If it is too cold, the molecules move like molasses. We are looking for that sweet spot where the tactile resistance of the wood meets the fluid grace of the resin. This is the moment where physics meets art, and I am going to make sure your next assembly is as smooth as a burnished tabletop.
THE STUDIO KIT
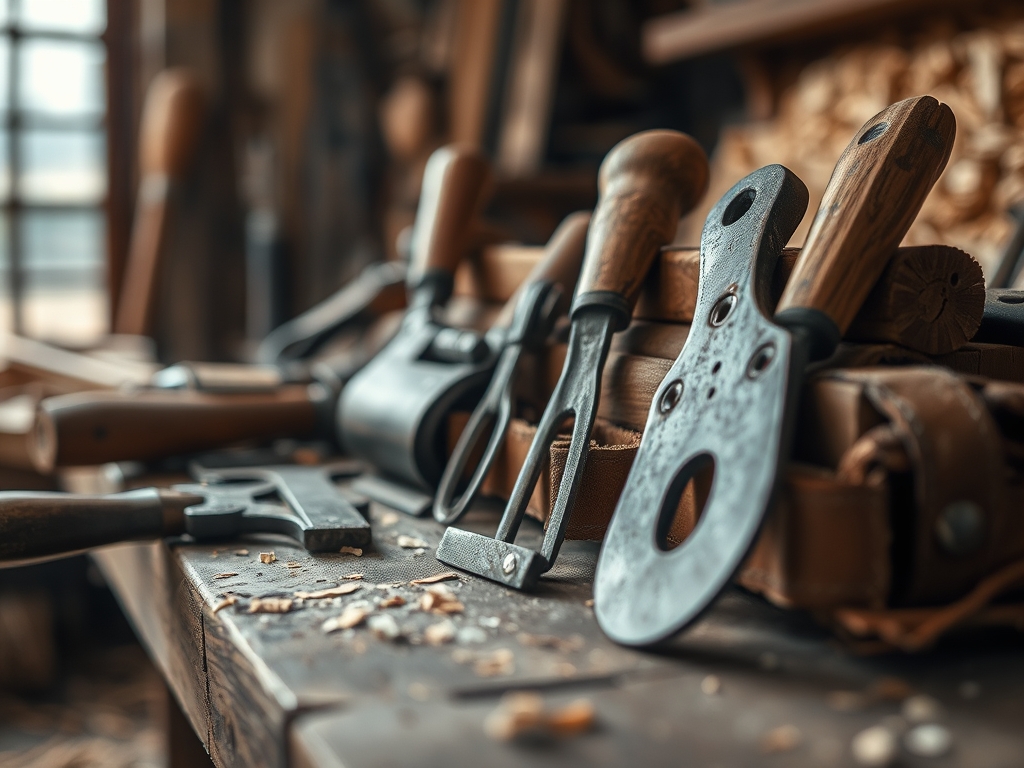
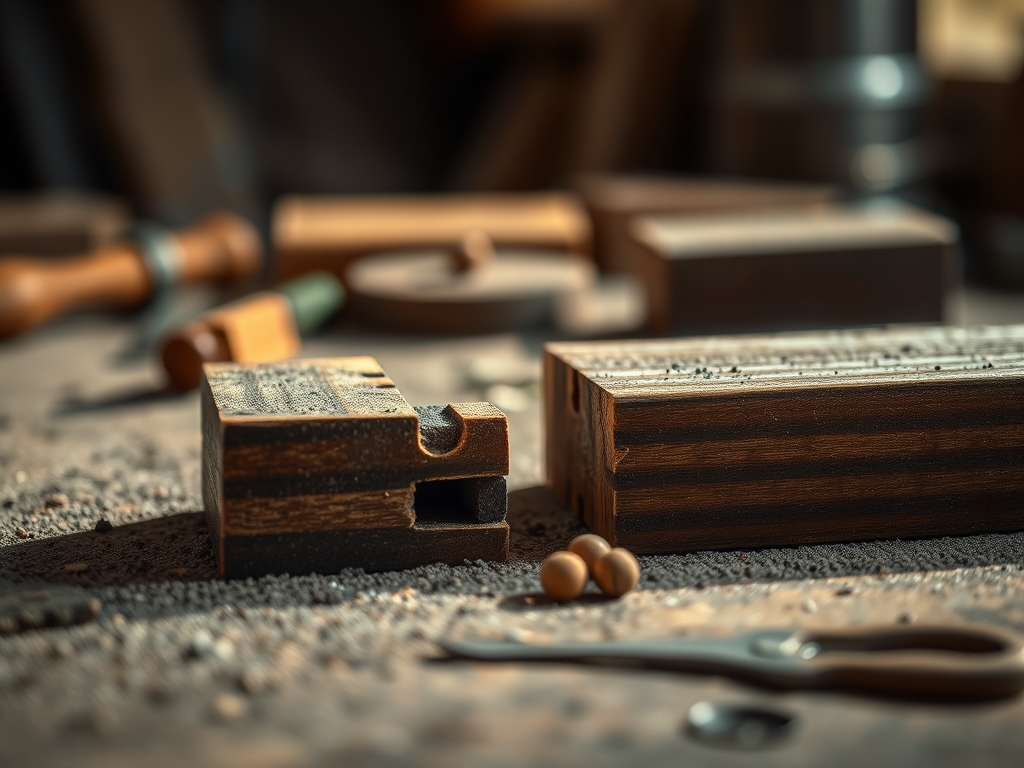
To master the art of the bond, your kit must be an extension of your own senses. We start with Parallel Jaw Clamps, which provide even pressure across the entire surface area to prevent bowing. Use your Digital Calipers to verify that your tenons are within a 0.005 inch tolerance. A loose fit creates a "starved joint" while a fit that is too tight will squeeze out all the lubricant, leaving no room for the adhesive to work its magic. You will also need a Silicon Glue Brush for even distribution and a Dead Blow Hammer to persuade joints into place without marring the delicate wood fibers.
For Material Substitutions, if you are working with oily hardwoods like Teak or Ipe, standard PVA glue will fail. You must substitute with a Polyurethane Adhesive or a two part epoxy. These chemically bond to the resins within the wood rather than relying solely on mechanical penetration. Always keep a bottle of distilled water and a clean rag nearby. Tap water contains minerals that can react with the tannins in oak, leaving permanent blue stains that no amount of sanding will ever fully remove.
THE TEMPO
The Maker's Rhythm is a dance against the clock. Once the glue hits the wood, the "Open Time" begins. This is usually a window of ten to twenty minutes depending on the ambient temperature and humidity. I divide my tempo into three distinct movements. The first is the Dry Run, which takes thirty minutes. This is where we troubleshoot every clamp position. The second movement is the Application, a frantic but focused five minute sprint. The final movement is the Cure, which requires twenty four hours of undisturbed silence. Do not be tempted to move the piece early. The cross linking of the polymer chains requires time to reach full tensile strength. If you disrupt the piece during the "tack" phase, you create microscopic fractures that will eventually lead to structural failure.
THE CORE METHOD
1. The Clinical Cleanse
Before a drop of adhesive touches the surface, you must ensure the wood is chemically receptive. Use an air compressor or a fine bristled brush to remove every speck of dust from the mortise. Even a single grain of sawdust acts like a boulder in a stream, disrupting the flow of the adhesive.
Mastery Tip: This relies on Surface Energy. Wood is naturally porous, but sanding to a high grit can actually burnish the surface and close the pores. Keep your joint surfaces at 120 grit to maximize the surface area for the glue to grab onto.
2. The Even Spread
Apply a consistent bead of glue to both mating surfaces. Use your silicon brush to ensure 100 percent coverage. You are looking for a "wet look" without dripping. In a Complex Furniture Assembly, skipping a spot creates an air pocket that acts as a point of failure under stress.
Mastery Tip: This stage utilizes Capillary Action. The adhesive is drawn into the microscopic tubes of the wood grain. If you only apply glue to one side, the dry side will absorb the moisture too quickly, preventing the two sides from knitting together.
3. The Progressive Clamp
Start clamping from the center of the piece and work your way outward. This pushes the excess glue and trapped air toward the edges. Apply pressure until you see a uniform line of "squeeze out" beads. If the glue runs in a river, you have used too much pressure.
Mastery Tip: We are managing Hydraulic Pressure. Because liquids are incompressible, applying too much force too quickly can actually split the wood or "hydroplane" the joint out of alignment. Slow and steady wins the race.
4. The Squareness Check
Use a precision square or measure the diagonals of your frame. If the measurements are identical, your geometry is perfect. If not, use a diagonal clamp to pull the long dimension back into alignment while the glue is still lubricated.
Mastery Tip: This is about Structural Integrity. Even a one degree deviation at the joint can result in a half inch wobble at the end of a table leg. The glue acts as a lubricant during this phase, allowing for micro adjustments before the set begins.
THE TECHNICAL LEDGER
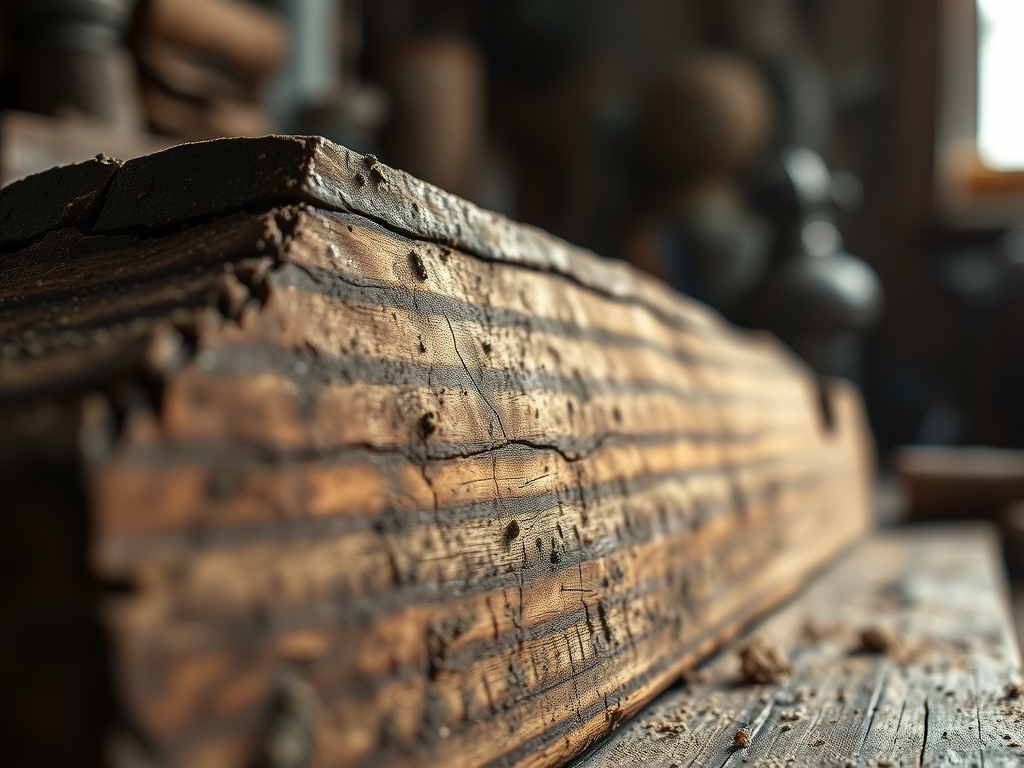
Maintenance and longevity start with the environment. Wood is a living material that breathes. To prevent your masterpiece from checking or warping, maintain a consistent humidity level in your studio. High fluctuations cause the wood to expand and contract at different rates than the glue line, which can lead to delamination over time.
For material variations, remember that Sustainable Plywood requires different handling than Premium Walnut. Plywood has alternating grain directions which can make glue absorption unpredictable. Always "prime" the end grain of plywood with a thin layer of glue five minutes before the final assembly to prevent it from drinking the joint dry.
The Correction: Three Common Fails
- The Ghost Line: This happens when you sand off glue squeeze out too early, pushing glue into the pores. Fix: Let the glue dry to a rubbery consistency, then peel it off with a sharp chisel.
- The Starved Joint: Caused by too much clamping pressure. Fix: If a joint fails, you must scrape away all old glue down to raw wood before re gluing; glue does not bond to old glue.
- The Twisted Frame: Caused by uneven clamp pressure. Fix: Heat the joint with a heat gun to soften the adhesive, disassemble, and re square.
Studio Organization: Store your assembled projects on a dead flat surface. If you lean a curing tabletop against a wall, gravity will pull it into a permanent bow. Use "stickers" or small wood scraps to allow airflow around all sides of the piece during the drying process.
THE FINAL REVEAL
There is nothing quite like the moment you release the clamps and the piece stands on its own for the first time. The joints are seamless; the wood feels like a single, continuous organism. You have successfully navigated the complex physics of moisture, pressure, and chemistry. Your furniture is no longer just a collection of parts; it is a testament to your precision and patience. Run your hand over the surface. Feel that? That is the vibration of a job done perfectly. You are not just a maker; you are a master of the bond.
STUDIO QUESTIONS
How do I know if I used enough glue?
Look for consistent, small beads of squeeze out along the entire length of the joint. If there are dry spots, you lacked coverage. If there are heavy runs, you used too much. Perfect beads indicate total internal saturation.
Can I use a hair dryer to speed up drying?
No. Rapid heating causes the exterior of the glue line to skin over while the interior remains wet. This creates internal tension and weak bonds. Let the natural evaporation and chemical cross linking happen at room temperature.
What is the best way to clean up wet glue?
Avoid using a soaking wet rag, as this thins the glue and pushes it deeper into the grain, causing finishing issues later. Use a slightly damp cloth or wait until the glue is "rubbery" and flick it off with a chisel.
Does grain direction really matter during glue up?
Absolutely. Glueing long grain to long grain creates a bond stronger than the wood itself. However, glueing end grain is like glueing the ends of a bunch of straws; it is weak and requires a mechanical joint like a dowel.