Close your eyes and listen to that specific sound. It is not a scrape or a grind; it is a crisp, rhythmic hiss that sounds like a secret being whispered by a sharp blade to a piece of cherry wood. Mastering the Block Plane is about more than just shaving off a few millimeters. It is about the visceral connection between your palm and the cellular structure of the timber. When you feel that first gossamer-thin ribbon of wood curl through the mouth of the tool, you are witnessing the physics of shear force overcoming the lignin bonds of the material. This tool is my absolute obsession for trimming and chamfering because it offers a level of tactile feedback that no power tool could ever replicate. We are talking about precision measured in microns, where the warmth of your hand transfers to the cast iron body of the plane, making the tool feel like a literal extension of your own reach. It is the ultimate dance of geometry and grit, and I am going to show you exactly how to lead.
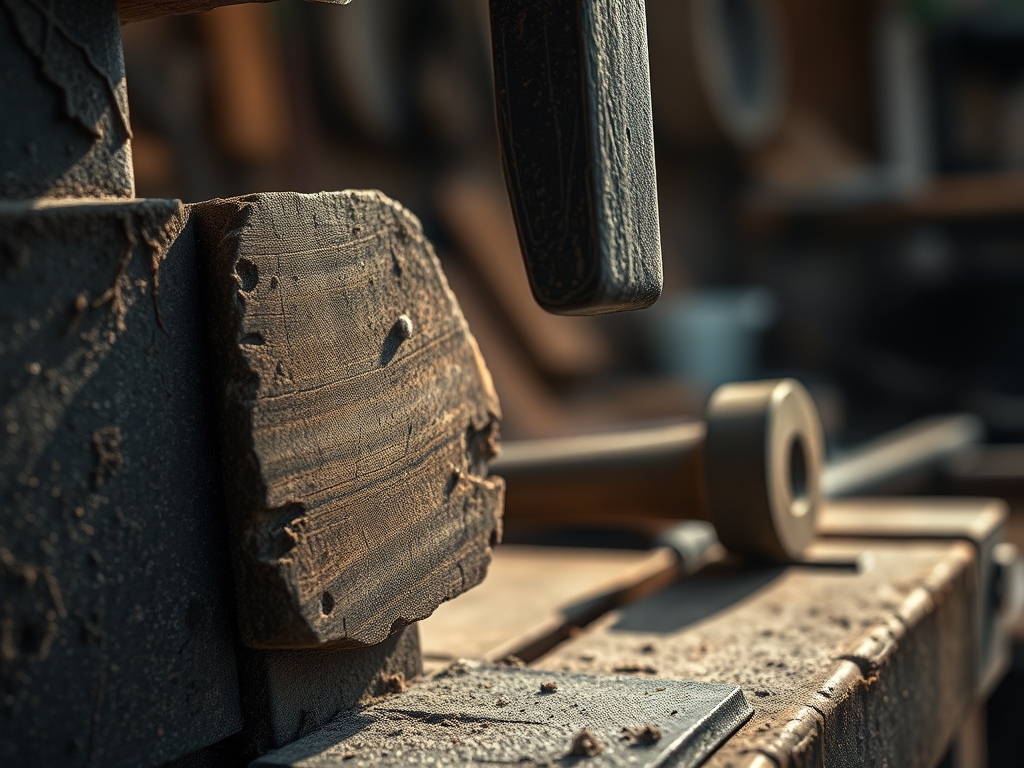
THE STUDIO KIT

To achieve that glass-smooth finish, your kit must be curated for high-performance friction management. At the heart of this setup is a low-angle block plane, typically set at a 12 degree bed angle. This shallow pitch is essential for slicing through end-grain fibers without tearing. You will also need a set of digital calipers to verify your chamfer depths and a high-quality honing guide to maintain a consistent 25 degree primary bevel on your iron. For marking, skip the pencil; use a marking gauge or a steel awl to sever the wood fibers cleanly before the blade even touches them.
Material selection is where the physics gets fun. I prefer working with dense hardwoods like walnut or maple because their high fiber density allows for cleaner shear cuts. If you are practicing, look for straight-grained stock. Material Substitutions: If you cannot source premium hardwoods, high-density fiberboard (MDF) can be used to practice chamfering, though it lacks the tensile strength of natural wood and will dull your blade faster due to the high glue content. For a sustainable twist, reclaimed Douglas fir offers a beautiful challenge; its alternating layers of soft springwood and hard latewood require a razor-sharp iron to prevent "stepping" during the cut.
THE TEMPO
The "Maker's Rhythm" is not about speed; it is about the frequency of calibration. You should spend the first 15 minutes of your studio session on tool preparation. This includes flattening the sole of your plane on a diamond stone and stropping the iron to a mirror finish. Once the tool is tuned, the actual trimming process is surprisingly fast. A standard chamfering task on a small box or furniture leg takes approximately 5 to 10 minutes per edge.
However, you must account for the "Cooling Phase." After heavy use, the friction between the metal and wood creates localized heat. I recommend a 2-minute pause between long sessions to allow the metal to stabilize, ensuring your depth of cut remains consistent. Total project time for a fully chamfered set of coasters or a small tray usually lands around 45 minutes of active, high-focus work.
THE CORE METHOD
1. Setting the Lateral Alignment
Before the blade touches the wood, you must ensure the iron is perfectly square to the mouth. Use the lateral adjustment lever while sighting down the sole. This ensures that the clamping pressure is distributed evenly across the width of the blade.
Mastery Tip: The science here involves uniform load distribution. If the blade is skewed, one corner will dig deeper, creating uneven torque that can cause the wood to split along the grain line rather than shearing through it.
2. The Skewed Approach
Never push the plane straight forward. Instead, hold it at a 45 degree angle to the direction of travel while still moving it straight along the edge. This effectively lowers the cutting angle, allowing the blade to slice through the fibers with less resistance.
Mastery Tip: This technique utilizes the "Slicing Effect." By skewing the blade, you are increasing the effective length of the cutting edge relative to the wood, which reduces the compressive force required to sever the tracheids.
3. Managing the End Grain
When trimming the ends of a board, work from the outside toward the center. If you plane all the way across, you will "blow out" the far corner because the fibers have no support.
Mastery Tip: This addresses structural integrity. Wood fibers act like a bundle of straws. Without support at the end of the run, the lateral force of the blade exceeds the inter-cellular adhesion, causing the wood to splinter.
4. Establishing the Chamfer
Set your marking gauge to the desired width and scribe a line on both the face and the edge. Tilt the block plane to a 45 degree angle and take light passes until you reach both lines.
Mastery Tip: This relies on visual parallax and muscle memory. By creating a physical "track" with your marking gauge, you provide a microscopic shoulder for the blade to catch, which stabilizes the initial bite of the tool.
THE TECHNICAL LEDGER
Maintenance & Longevity: To prevent oxidation, always retract the iron into the body when not in use. Apply a thin coat of camellia oil to the cast iron sole to minimize coefficient of friction and prevent rust.
Material Variations:
- Sustainable: Bamboo ply is incredibly hard but brittle; it requires a very high-angle "back bevel" to prevent splintering.
- Premium: Exotic woods like Cocobolo are naturally oily, which acts as a built-in lubricant for your plane iron.
The Correction:
- The Mistake: Tear-out or "chatter" marks on the surface. The Fix: Close the mouth of the plane to provide more support to the fibers right before they are cut.
- The Mistake: The plane "skips" across the wood. The Fix: Sharpen the iron. Skipping is usually a sign that the blade is rounded over and cannot achieve initial penetration.
- The Mistake: Tapered edges where one side is deeper. The Fix: Check your hand pressure. Ensure you are applying downward force on the front knob at the start of the stroke and the rear handle at the end.
Studio Organization: Store your block plane on its side on a wooden shelf. Never set it sole-down on a metal surface or a workbench covered in grit, as this will mar the optical flatness of the tool's base.
THE FINAL REVEAL
Look at those edges! When you master the block plane, the light hits the chamfered corners and creates a crisp, architectural shadow line that defines the entire piece. The surface should be so smooth that it feels almost soft to the touch; no sandpaper can ever achieve this level of surface clarity because a blade severs the fibers cleanly while sandpaper crushes them. You have successfully navigated the complexities of grain direction and tool geometry. Your project is no longer just a piece of wood; it is a refined object of craft, reflecting your precision and your understanding of the materials.
STUDIO QUESTIONS
Why is my block plane leaving ridges?
Ridges occur when the corners of the iron are too sharp. Use a sharpening stone to slightly "soften" or camber the outer edges of the blade. This ensures the center does the cutting while the edges fade away.
Can I use a block plane on plywood?
Yes, but be cautious. The alternating grain directions in plywood layers mean you will always be hitting end grain. Use a very low-angle block plane and keep the iron razor-sharp to prevent delamination of the veneers.
How often should I sharpen the iron?
In a high-intensity session with hardwoods, you should strop the blade every 20 minutes. If you feel increased resistance or see a dulling of the wood's sheen, it is time to return to the stones.
What is the best angle for chamfering?
A 45 degree angle is the standard for aesthetic chamfers. It provides a balanced transition between the two planes of the wood and is the most ergonomically natural movement for the human wrist during a stroke.
Why does the wood feel fuzzy after planing?
Fuzziness is a sign of "crushing" rather than "cutting." This happens if your blade is dull or if you are planing against the grain. Check the grain direction and ensure your iron can shave hair.