
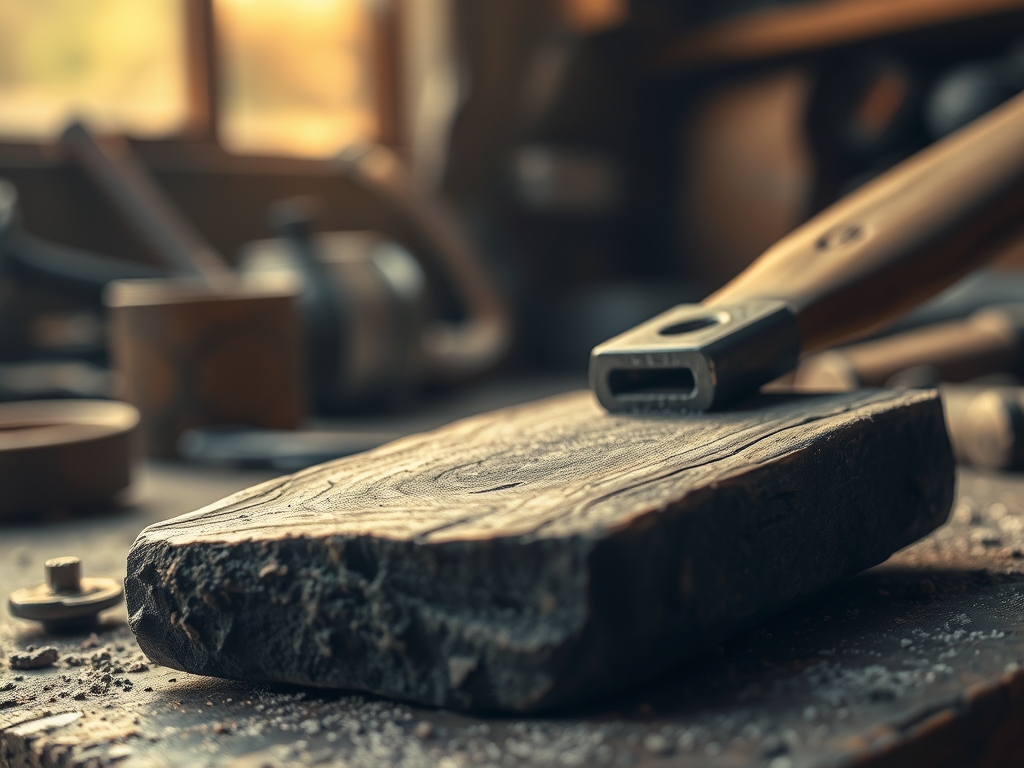
Imagine the scent of mineral spirits and the heavy, cool weight of a Novaculite slab resting in your palm. There is a specific, grounding magic in the friction between steel and earth that modern diamond plates just cannot replicate. When you are Mastering the Oil Stone, you are not just sharpening; you are engaging in a high stakes dance of molecular abrasion.
The tactile feedback is immediate. As the blade glides over the porous surface, you feel the microscopic peaks of the stone shearing away the dull, rolled edge of your tool. It is a symphony of physics where surface tension and lubricant viscosity dictate the final keenness of your edge. I have spent years chasing the perfect burr, and honestly, nothing beats the organic soul of a traditional stone. It is about that visceral connection to the metal, feeling the exact moment the bevel locks into place against the grit.
THE STUDIO KIT
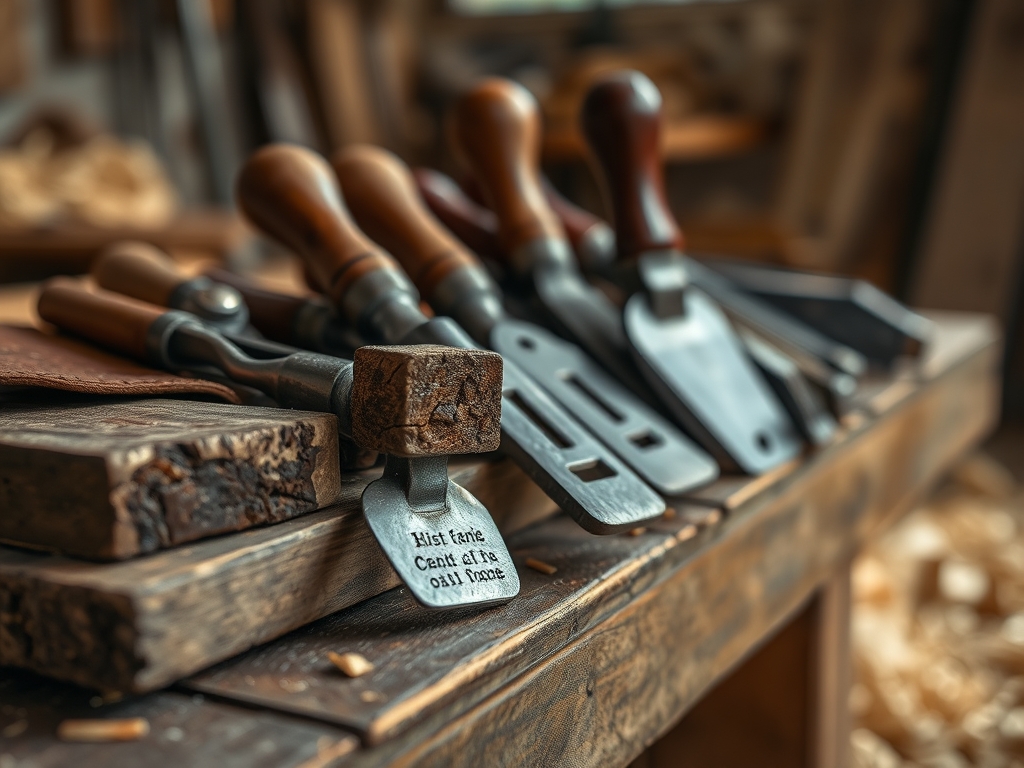
To begin this journey, you need a curated selection of high density abrasives. My primary kit revolves around the Arkansas stone family, specifically the Soft, Hard, and Black varieties. These are not synthetic bonds; they are crystalline silica structures with varying levels of porous density. You will also need a high quality honing oil, which acts as a suspension fluid to lift "swarf" (the tiny metal shavings) away from the stone to prevent clogging.
For technical precision, keep a pair of digital calipers nearby to measure your bevel angle consistency. A jeweler's loupe is non-negotiable for inspecting the scratch pattern at 10x magnification. If you lack a dedicated honing oil, a thin mineral oil is an acceptable Material Substitution, though you should avoid vegetable oils as they go rancid and gummy over time. I also keep a burnishing tool and a leather strop loaded with chromium oxide paste to finalize the edge's tensile strength and luster.
THE TEMPO
The "Maker's Rhythm" is a meditative state where time is measured in strokes rather than minutes. Expect to spend roughly fifteen minutes on the initial "grind" phase if the tool is significantly damaged. The middle refinement stage takes about ten minutes, while the final polishing on a Black Arkansas stone is a lightning fast three minute affair.
This is not a process you can rush. If you increase your speed too much, you risk losing the ergonomic alignment of your wrists, which leads to a rounded, useless edge. The tempo should be steady and deliberate, much like the beat of a metronome. You are working with the stone, not against it.
THE CORE METHOD
1. Preparing the Surface
Before the steel ever touches the stone, you must saturate the surface with a thin layer of honing oil. This creates a capillary action that draws metal particles upward, preventing them from becoming embedded in the stone's pores.
Mastery Tip: The science here is all about fluid dynamics. If the oil beads too high, your viscosity is too thick, which can actually lift the blade off the stone and prevent a crisp edge. Aim for a shimmering, thin film.
2. Setting the Bevel Angle
Place your blade on the stone and rock it forward until you feel the flat of the bevel "click" into place. This is where your tactile sensitivity becomes your greatest asset. Use your dominant hand to maintain the angle while your other hand provides downward pressure over the stone.
Mastery Tip: Maintaining a consistent angle is vital for structural integrity. Even a two degree deviation creates a secondary bevel that weakens the edge's ability to slice through dense hardwood grain.
3. The Reciprocating Stroke
Move the blade in a steady, back and forth motion across the entire length of the stone. This ensures even wear on the abrasive surface. You are looking for the "burr," a microscopic wire edge that forms on the opposite side of the steel.
Mastery Tip: This phase relies on mechanical abrasion. The harder the steel's Rockwell rating, the more pressure you must apply to initiate the molecular displacement required to form that burr.
4. Refining and Polishing
Switch to your finest stone. The goal here is to replace the coarse scratch pattern with a mirror finish. The strokes should become lighter, almost as if you are trying to shave a thin layer of oil off the surface without touching the stone itself.
Mastery Tip: At this stage, surface tension plays a massive role. A fine stone with the right oil creates a suction effect that helps hold the blade flat, ensuring a perfectly uniform polish across the apex.
THE TECHNICAL LEDGER
Maintenance & Longevity: To keep your stones from "dishing" (wearing down in the center), you must occasionally flatten them. Use a silicon carbide powder on a piece of float glass to grind the stone back to a true flat. This ensures your gauge remains accurate for years.
Material Variations: While I love natural Arkansas stones, you can explore Sustainable/Recycled options like reclaimed ceramic rods or even high grit wet-dry sandpaper mounted on granite. However, for Premium results, nothing replaces the uniform crystalline structure of a natural novaculite.
The Correction:
- The Rounded Edge: Caused by rocking the wrist. Fix this by locking your elbow and moving your entire torso.
- Glazed Stones: Caused by dried oil and swarf. Fix this by scrubbing the stone with an oscillating tool fitted with a brush attachment and fresh solvent.
- The Stubborn Burr: If the wire edge won't flip, your angle is too shallow. Increase the pitch by one degree to finish the edge.
Studio Organization: Store your oil stones in custom fit wooden boxes to prevent dust contamination. Dust is the enemy of a fine finish; a single grain of sand on a polishing stone can leave a deep gouge in your steel.
THE FINAL REVEAL
There is nothing quite like the moment you wipe the oil away to reveal a shimmering, surgically sharp edge. When you take that blade to a piece of scrap wood and it curls off a translucent, whisper thin shaving, you feel like a literal god of the workshop. Mastering the Oil Stone is a rite of passage. It transforms a simple tool into an extension of your own hand, imbued with the patience and precision you poured into the sharpening process. It is beautiful, it is functional, and it is pure physics in motion.
STUDIO QUESTIONS
Why use oil instead of water on these stones?
Oil has a higher viscosity, which provides better lubrication for the high density natural crystals. It prevents the stone from "loading" with metal particles more effectively than water, ensuring the porous surface stays open and aggressive.
How do I know when to switch to a finer grit?
Switch once you have developed a consistent burr along the entire length of the blade. Use a jeweler's loupe to verify that the scratch pattern from the previous stone has been completely replaced by the current grit's finer marks.
Can I use these stones for stainless steel?
Yes, but be aware that some high carbide stainless steels are extremely wear resistant. You may need to increase your downward pressure or spend more time on the coarse stone to achieve the desired tensile sharpness.
What is the best way to clean my stones after use?
Wipe them down with a clean rag and a fresh splash of honing oil to lift any remaining swarf. This prevents the metal from oxidizing and "locking" into the stone's surface, which maintains the tool's longevity and performance.

