
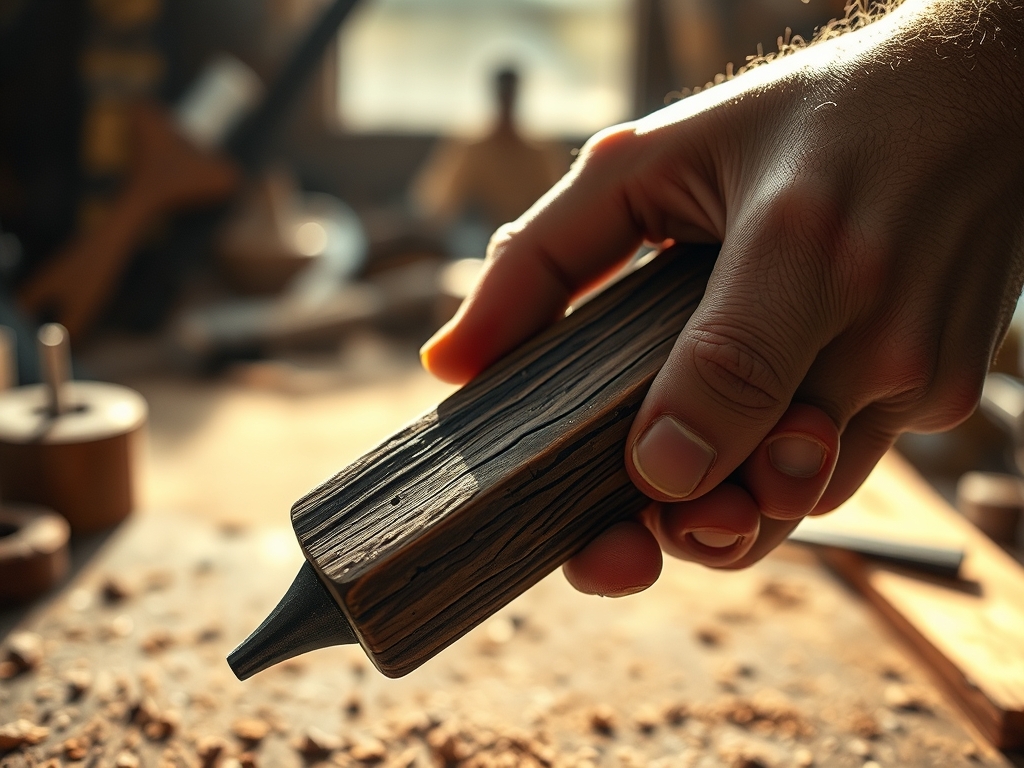
Close your eyes and listen to that specific, high pitched scream of a router bit hitting a piece of cherry that just will not stay put. It is the sound of a project dying. If your timber is dancing across the surface, you are not just losing accuracy; you are losing the battle against physics. Mastering Professional Work Holding is the secret handshake of the elite maker. It is the difference between a surface that feels like glass and one riddled with chatter marks. When I touch a piece of kiln dried walnut, I am feeling for the grain direction and the moisture content. I am calculating the friction coefficient between the wood and my bench. If that board moves even a millimeter under the pressure of my hand plane, the tensile strength of the wood fibers will resist the blade unevenly. We are looking for total rigidity. We want that wood to feel like it is an extension of the workbench itself, fused by mechanical force or clever geometry. It is about control, power, and that gorgeous, silent glide of a sharp tool.
THE STUDIO KIT
THE STUDIO KIT
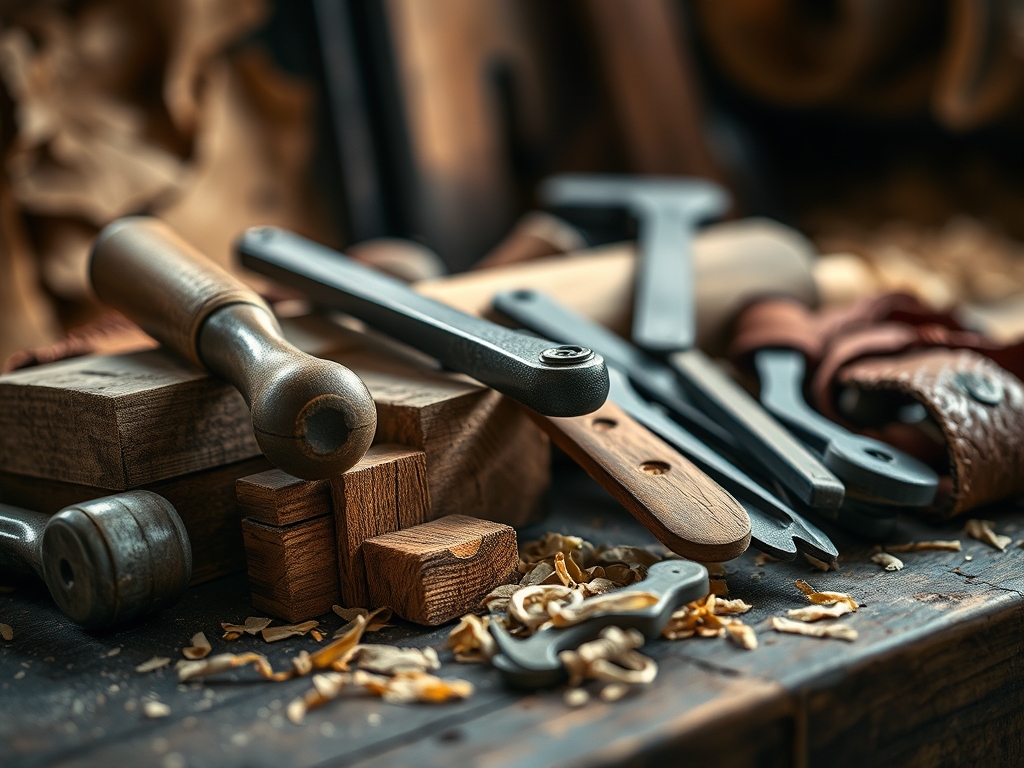
To achieve a locked down state, your kit needs to be as diverse as the species you work with. We start with bench dogs, which are essentially the anchors of your workspace. I prefer solid brass dogs because they are softer than my steel calipers, ensuring that if a blade slips, the tool breaks before the workpiece is ruined. You will also need a high quality tail vise with a massive lead screw to provide the necessary clamping pressure. For delicate operations where mechanical clamps might crush the porous cellular structure of softwoods like pine, we utilize the "blue tape and CA glue" trick. This creates a temporary chemical bond with high shear strength but low peel strength.
Material Substitutions: If you lack a traditional French oak workbench with pre-drilled dog holes, you can substitute with a torsion box assembly table. Instead of expensive holdfasts, use heavy duty F-style clamps with non-marring rubber pads. If you do not have a vacuum chuck for lathe work, a custom faceplate with sacrificial MDF backing works beautifully to distribute centrifugal force evenly across the base of your bowl.
THE TEMPO
The Maker's Rhythm is a three act play. First is the Static Setup (15 minutes). This is where you analyze the geometry of your stock. Is it bowed? Is it cupped? You spend this time ensuring the reference face is flat enough to make full contact with the bench. Next is the Active Engagement (5 to 45 minutes). This is the heart of the work where you are constantly adjusting your Professional Work Holding devices as you remove material. Every time you flip the board to plane the opposite face, you must recalibrate your clamps to account for the new gauge of the wood. Finally, we have the Release and Reset (10 minutes). This is the cooldown where you check for any compression marks left by the clamps and steam them out if necessary. It is a methodical dance that prevents the frantic "clamping panic" mid-cut.
THE CORE METHOD
1. The Triangulated Dog Lock
Position your first bench dog against the end grain and the second against the long grain. By using your tail vise to apply pressure, you create a three point contact system that neutralizes lateral movement.
Mastery Tip: This method relies on structural integrity. By placing dogs at the strongest points of the wood's anatomy, you prevent the board from "racking" or twisting under the load of an oscillating tool.
2. The High Friction Shim
Sometimes a clamp is too much. For light sanding or detail work with an awl, place a high friction silicone mat or a piece of 120-grit sandpaper (face down) between the wood and the bench.
Mastery Tip: This utilizes surface tension and increased friction coefficients. The microscopic peaks of the sandpaper bite into the bench, while the weight of the workpiece creates enough downward force to prevent sliding without marring the tactile surface of the wood.
3. The Sacrificial Cleat
Screw a thin strip of scrap wood directly into your workbench (if it is a utility bench) or into a secondary plywood base. This creates a "stop" that the wood can butt against.
Mastery Tip: This method manages kinetic energy. As your plane hits the wood, the force is transferred through the board and into the cleat, which distributes the energy across the entire width of the bench rather than a single point of failure.
4. The Tape and Cyanoacrylate Bond
Apply blue painter's tape to both the bench and the workpiece. Apply a bead of CA glue to one tape surface and an activator to the other, then press them together.
Mastery Tip: This creates a bond based on capillary action. The glue seeps into the fibers of the tape but not the wood, allowing for a rock solid hold that can be broken with a thin spatula without damaging the delicate ply of the material.
THE TECHNICAL LEDGER
Maintenance & Longevity: Your holding tools are precision instruments. Wipe down your steel clamps with a light machine oil once a month to prevent oxidation. Check your bench dog holes for sawdust buildup; compressed dust can act like a wedge and split your benchtop over time.
Material Variations:
- Sustainable: Use cork lined jaw pads to protect surfaces; cork is renewable and offers incredible grip.
- Recycled: Old bicycle inner tubes make the best non-slip pads for custom jigs.
- Premium: Invest in titanium holdfasts for a high tensile strength-to-weight ratio that will last three lifetimes.
The Correction:
- The Dent: If a clamp leaves a mark, apply a drop of distilled water and hit it with a soldering iron. The steam will swell the crushed fibers back to their original position.
- The Slip: If the wood moves during a router pass, check for "glaze" on your clamp pads. Clean them with denatured alcohol to restore their "bite."
- The Bow: If your workpiece bows upward when clamped, you are applying too much horizontal pressure. Add a vertical holdfast to keep the board flat against the bench.
Studio Organization: Store your clamps vertically on a rack sorted by throat depth. This prevents the bars from warping and ensures you can grab the right tool with one hand while holding a heavy timber with the other.
THE FINAL REVEAL
Look at that. When the work stays still, the results are breathtaking. There is a specific shimmer on the wood, a "chatoyance," that only appears when a blade cuts cleanly without vibration. By mastering Professional Work Holding, you have moved from fighting the material to dancing with it. The edges are crisp, the joinery is airtight, and your hands are safe. This is not just about safety; it is about the professional pride of a clean, controlled shop. Your bench is no longer just a table; it is a high precision fixture.
STUDIO QUESTIONS
Why does my wood move even when clamped?
This is usually due to racking. If the clamp is not perfectly perpendicular to the wood, the force is directed at an angle, causing the board to pivot. Ensure your clamp heads are square to the grain.
Can I use magnets for work holding?
Magnets are excellent for holding steel tools or small hardware, but they lack the mechanical advantage needed for timber. They are best used as "third hand" helpers for holding metal rulers or squares in place.
What is the best way to hold round objects?
Use a V-block jig. This converts the downward pressure of a clamp into two points of contact on the curved surface, preventing the wood from rolling or spinning during a cut or drill.
How do I prevent clamps from staining oak?
Steel clamps can react with the tannins in oak, leaving a black stain. Always use a "caul" or a scrap piece of wood between the clamp and the oak to prevent this chemical reaction.
When should I use a vacuum table?
Vacuum tables are ideal for thin, flat materials where traditional clamps would obstruct the tool path, such as in CNC routing or veneer work. They rely on atmospheric pressure to hold the piece.

