
Imagine the smell of fresh cedar shavings mixing with the sharp, metallic tang of a hot brass brand. You are holding a piece of history in your hands, feeling the velvet texture of the grain against your fingertips. This is not just a hobby; it is the moment where your identity meets the physical world through Professional Maker Branding. Every mark you leave on your work is a testament to your skill and a promise to the future owner that this object was built to last. When you press that mark into the wood or leather, you are engaging with the material at a molecular level. You are not just decorating. You are claiming ownership of your craft.
The tactile feedback of a well-finished surface is the ultimate reward for a maker. Whether you are feeling the tensile strength of top-grain leather or the rigid resistance of a kiln-dried hardwood, the signature is the final seal of quality. It tells the next generation that you understood the hygroscopic nature of your materials and accounted for every expansion and contraction. We are going to dive deep into how you can make your mark permanent, professional, and poetic.
THE STUDIO KIT
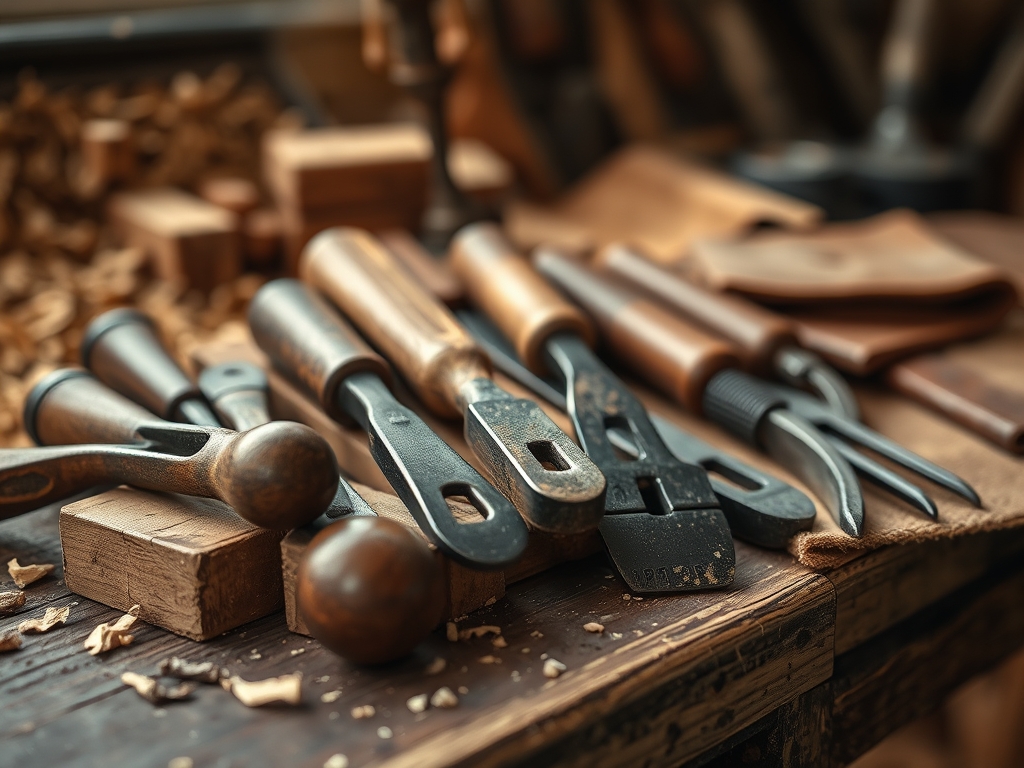
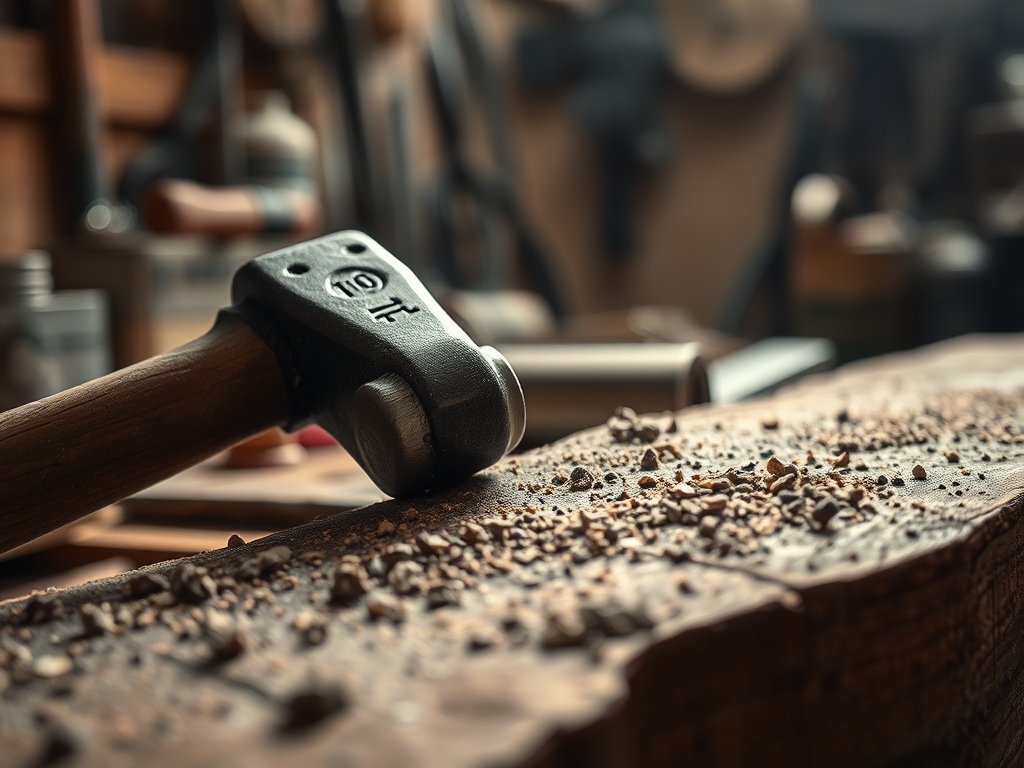
To leave a mark that survives a century, your kit needs to be as precise as a surgeon's tray. We start with the Electric Branding Iron, featuring a custom CNC-machined brass head. Brass is the gold standard here because of its incredible thermal conductivity, which allows for even heat distribution across the entire logo. You will also need a Digital Pyrometer to monitor the exact temperature of the heating element; consistency is the enemy of the "smudge."
For softer materials or delicate paper goods, a Steel Embossing Die is essential. This tool uses high pressure to rearrange the fibers of the material rather than burning them. You should also have a set of Calipers for perfect centering and an Awl to pre-mark your strike points. If you are working with metal, a Hardened Steel Punch and a Dead-Blow Hammer are your best friends to prevent double-striking or "ghosting" the image.
Material Substitutions: If you cannot afford a custom brass brand yet, a Laser Engraver offers incredible precision but lacks the deep, tactile "char" of a physical brand. For a low-tech alternative, a Linoleum Block Cut with archival pigment ink works beautifully on porous woods, though it lacks the three-dimensional permanence of a heat-pressed mark.
THE TEMPO
Timing in the studio is less about the clock and more about the Maker's Rhythm. Professional branding is a three-phase process: The Calibration, The Strike, and The Cure. Calibration takes about twenty minutes as you wait for your iron to reach a steady-state temperature. This is the "quiet time" where you test your mark on scrap pieces of the exact same species and moisture content as your final project.
The Strike is the fastest phase, lasting only three to five seconds per piece, but it requires the highest level of focus. This is where your heart rate slows down. Finally, the Cure phase involves allowing the carbonized wood or compressed leather fibers to cool and stabilize. Rushing to apply a finish over a fresh brand can cause "bleeding" of the carbon into the surrounding grain. Give it at least thirty minutes of rest.
THE CORE METHOD
1. Thermal Equilibrium and Testing
Before the brand even touches your masterpiece, you must achieve Thermal Equilibrium. Plug in your iron and let it heat for at least fifteen minutes. Use your pyrometer to ensure the head has reached approximately 650 to 750 degrees Fahrenheit, depending on the wood density.
Mastery Tip: The science of Heat Transfer dictates that different wood densities require different dwell times. A soft wood like Pine has a lower Ignition Point and higher porosity, meaning it will char almost instantly. A dense hardwood like White Oak has high Thermal Mass, requiring a longer press to achieve a deep, crisp mark.
2. Surface Preparation and Leveling
Your branding surface must be perfectly flat. Use a Block Plane or high-grit sandpaper to ensure there are no ridges. Any deviation in the surface level will result in an uneven mark where one side of the logo is deep and the other is faint.
Mastery Tip: This is all about Planar Alignment. Even a half-millimeter slope across the width of your brand will cause an uneven distribution of pressure. By leveling the surface, you ensure that the Force per Square Inch (PSI) is identical across every letter of your signature.
3. The Controlled Strike
Position your brand using your pre-marked awl points. Lower the iron vertically. Do not "rock" the brand; instead, apply firm, downward pressure. Count slowly. When you lift the iron, do it in one swift, vertical motion to avoid dragging the hot edges across the grain.
Mastery Tip: This step relies on Capillary Action. If you press too hard or too long, the heat liquefies the natural resins in the wood, which then travel along the grain lines. This creates "feathering." A clean strike sears the cell walls instantly, locking the carbon in place before the resins can migrate.
4. Post-Brand Burnishing
Once the mark is cool to the touch, take a Bone Folder or a very fine 600-grit sanding block and lightly pass over the area. This removes any loose carbon "soot" and levels the charred edges with the rest of the workpiece.
Mastery Tip: This process is called Mechanical Consolidation. By burnishing the charred fibers, you are physically pressing them into the voids of the wood cells. This makes the mark more resistant to fading and ensures that your final topcoat (like lacquer or oil) adheres to a stable surface.
THE TECHNICAL LEDGER
Maintenance & Longevity: To keep your brand sharp, clean the brass head with a Brass Wire Brush after every session. Carbon buildup acts as an insulator, which will eventually cause cold spots in your logo. Store your iron in a moisture-free environment to prevent oxidation of the heating element.
Material Variations:
- Sustainable: For reclaimed wood, increase your heat by 10% to account for the mineral deposits often found in older timber.
- Premium: On exotic woods like Ebony or Rosewood, the high oil content can cause "bubbling." Use a shorter dwell time with higher pressure.
- Recycled: When branding recycled plastics (HDPE), use a much lower temperature (around 300 degrees) to prevent toxic off-gassing and melting.
The Correction:
- The Ghost Image: If you accidentally move the brand, you will get a double image. Fix: Sand the area back with 80-grit paper until the mark is gone, then re-level and re-brand.
- The Over-Burn: If the mark is too dark and blurry, use a Cabinet Scraper to shave off the top layer of char. It often reveals a perfect, crisp mark underneath.
- The Fade: If the mark is too light, do not try to re-brand over it. You will never align it perfectly. Sand it off and start fresh.
Studio Organization: Store your custom dies in a padded, climate-controlled case. Organize them by "Material Type" so you never accidentally use a leather stamp on high-heat metal. Keep a Logbook of temperatures and dwell times for every wood species you use; this is your "Cheat Sheet" for future success.
THE FINAL REVEAL
Look at that! The way the light catches the depth of the brand is absolutely stunning. Your signature is no longer just a name; it is a permanent architectural feature of the piece. It feels professional because it is backed by physics and precision. When you run your thumb over that mark, you can feel the slight indentation, a physical "thank you" to the materials you worked with. This piece is now ready to be handed down through the decades, carrying your legacy with it.
STUDIO QUESTIONS
How do I prevent the wood from scorching around the edges of the brand?
Ensure your brand reaches the correct Steady-State Temperature before striking. A cold iron held too long causes "heat soak," which browns the surrounding area. A hot, fast strike limits the Heat Affected Zone to the logo itself.
Can I brand leather that has already been oiled?
It is not recommended. Oils can reach their Flash Point under the heat of the iron, causing bubbling or even small fires. Always brand your leather when it is in a "crust" or vegetable-tanned state before applying final conditioners.
What is the best way to center a brand on a circular object?
Use a Center Finder and a compass to mark your axis. Align the brand using a transparent template or a jig. Precision in Geometric Alignment is what separates a master craftsperson from an amateur maker.
Why does my brand look different on the end-grain versus the face-grain?
End-grain is composed of open Xylem Vessels, which act like straws. They wick heat away faster and char more deeply. You must reduce your dwell time on end-grain to prevent the mark from looking like a dark, blurry hole.
How often should I clean my branding iron?
Clean the head after every twenty strikes or at the end of every session. Use a Brass Brush to remove carbonized buildup. This maintains the Thermal Conductivity required for a crisp, professional mark every single time.

