
Close your eyes and imagine the scent of freshly sheared walnut dancing through the air. You are standing in the studio; the floor is littered with translucent, curly shavings that look like golden ribbons. This is the moment where raw timber transforms into an ergonomic masterpiece. When you are building a rocker, the transition from a blocky, bandsawn mess to a liquid curve is all about Mastering the Spokeshave. It is a tactile conversation between your hands and the grain. You can feel the tensile strength of the wood resisting the blade at first; then, suddenly, the tool finds its rhythm and the surface becomes glass. We are not just sanding away wood. We are sculpting it. The physics of a rocker chair requires perfect symmetry to ensure the center of gravity remains stable during use. If your curves are uneven, the chair will "walk" across the floor or, worse, tip. This guide is your backstage pass to understanding how a simple blade on a metal frame can create the most comfortable seat in the house.
THE STUDIO KIT
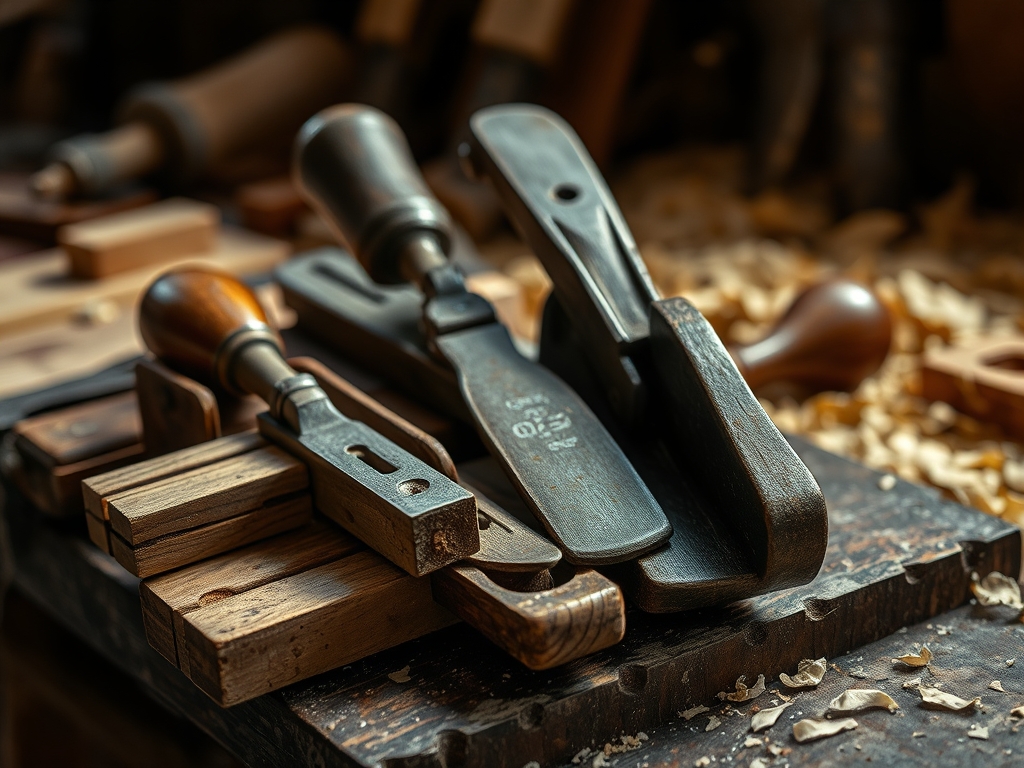
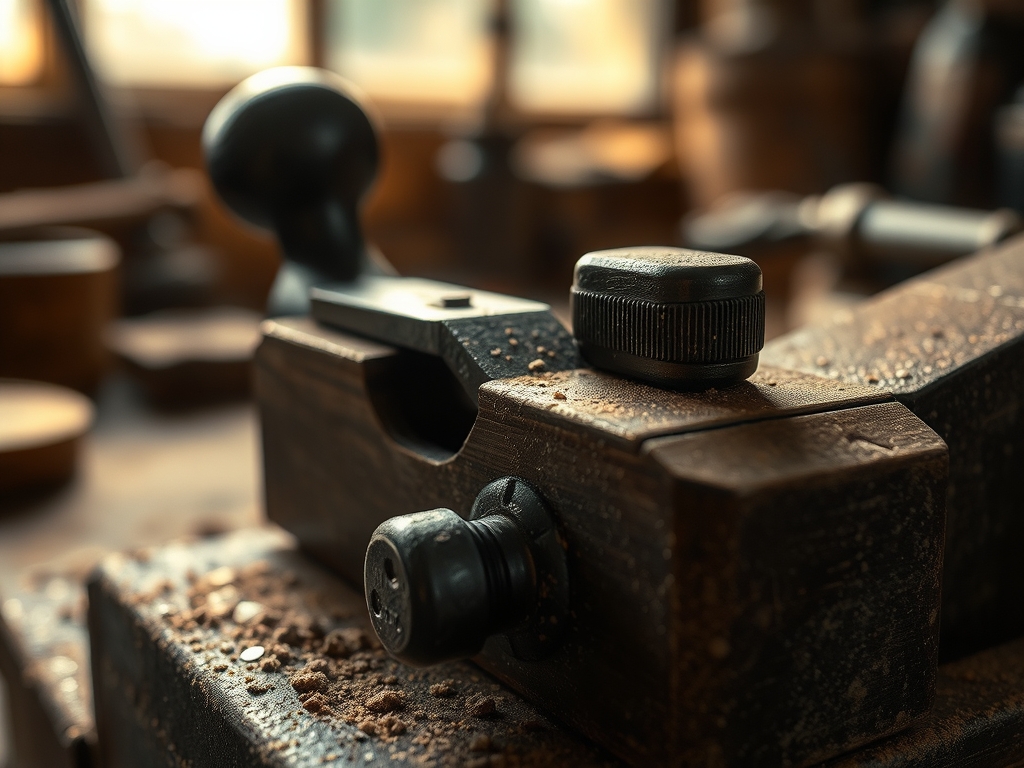
To achieve a professional finish, your toolkit must be calibrated for precision. The star of the show is the flat-bottom spokeshave, which handles convex curves with incredible stability. You will also need a round-bottom spokeshave for those tighter, concave transitions where the flat sole would bottom out. Technical accuracy requires a pair of digital calipers to ensure the thickness of your rockers remains consistent within a 0.5mm tolerance. For marking, skip the dull pencil and use a marking awl; it severs the wood fibers to prevent grain tear-out later.
The material choice is critical. I recommend kiln-dried White Oak or Black Walnut because of their high modulus of elasticity. These woods can handle the repetitive stress of rocking without developing structural fatigue. If you are looking for Material Substitutions, you can use Ash for its incredible shock resistance, though it is more porous and requires a heavier grain filler. For a sustainable twist, reclaimed Elm offers beautiful figure but requires a much sharper blade angle to manage its interlocking grain. You will also need a honing guide and a 6000-grit water stone; a dull blade is a dangerous blade.
THE TEMPO
The Maker's Rhythm is a psychological state where time dissolves into the repetitive motion of the tool. Expect to spend roughly two hours on the initial "rough-in" phase, where you remove the heavy saw marks. The "shaping phase" takes about four hours per chair; this is where you obsess over the taper and sweep. Finally, the "burnishing phase" takes ninety minutes. This is not just sanding. It is the process of compressing the surface fibers to create a natural luster. Do not rush the curve. If you work too fast, you risk "chatter," which occurs when the blade bounces off the wood fibers instead of slicing through them, leaving unsightly ripples that are a nightmare to remove.
THE CORE METHOD
1. Mapping the Grain Direction
Before the blade ever touches the wood, you must read the "cathedrals" of the grain. Wood is a bundle of microscopic straws; if you shave against the direction they are growing, the blade will catch and tear the wood. Always shave "downhill," following the fibers as they taper toward the floor.
Mastery Tip: This involves the science of fiber shearing. When you cut with the grain, you are utilizing the wood's longitudinal shear strength. Cutting against it forces the blade to pry the fibers upward, exceeding their tensile limit and causing "tear-out."
2. Setting the Depth of Cut
Adjust your spokeshave so the blade protrudes just a hair's breadth from the sole. You want shavings that are as thin as tissue paper. Use the adjustment thumbwheels to ensure the blade is perfectly parallel to the mouth of the tool.
Mastery Tip: This relates to mechanical advantage. A shallow depth of cut minimizes the "lever arm" effect on the wood fibers, preventing the blade from diving too deep into the porous summerwood layers.
3. The Fluid Pull Stroke
Grip the handles lightly with your fingers, using your thumbs to provide the driving force behind the blade. Lock your wrists and move your entire upper body in a fluid arc. This ensures the curve is a reflection of your body's natural radius, resulting in a more ergonomic shape.
Mastery Tip: This technique utilizes kinetic energy transfer. By using your core muscles rather than just your forearms, you maintain a constant velocity, which prevents the "stutter" marks caused by inconsistent manual pressure.
4. Refining with the Card Scraper
Once the spokeshave has done its job, use a burnished card scraper to remove the final tool marks. Flex the steel into a slight arc and push it across the surface. It should produce tiny shavings, not dust.
Mastery Tip: The card scraper works through friction-induced heat and a microscopic "hook" on the edge. This hook shears the wood at a molecular level, closing the pores and increasing the surface density for a superior finish.
THE TECHNICAL LEDGER
Maintenance & Longevity: To keep your spokeshave in peak condition, wipe the cast iron body with camellia oil after every session to prevent oxidation. Store the tool in a felt-lined drawer; if the blade knocks against other steel tools, it will develop micro-chips that leave streaks on your work.
Material Variations:
- Premium: Quarter-sawn Cherry offers a tight grain that burnishes to a high glow.
- Recycled: Old-growth Pine salvaged from beams is soft but has high resin content, which can gum up your blades; use mineral spirits to clean the tool frequently.
The Correction:
- The Mistake: Deep tear-out in a visible area. The Fix: Use a mixture of fine sanding dust and hide glue to create a "grain paste," then re-shave the area once dry using a higher "pitch" or steeper blade angle.
- The Mistake: Asymmetrical rockers causing a wobble. The Fix: Clamp the two rockers together and shave them as a single unit to ensure the profiles match perfectly.
- The Mistake: Blade chatter marks. The Fix: Close the "mouth" of the spokeshave by moving the frog forward, which provides more support to the wood fibers just before they are cut.
Studio Organization: When pausing this project, wrap the wood components in a breathable cotton cloth. Drastic changes in humidity can cause the wood to "cup" or "twist" before it is assembled, ruining the precision of your curves.
THE FINAL REVEAL
Look at that silhouette! The light should now slide across the wood without hitting a single flat spot or jagged edge. When you run your hand along the armrest, it should feel like a continuous, organic extension of the tree. Mastering the Spokeshave transforms a piece of furniture into a sculptural experience. You have conquered the physics of grain and the geometry of the arc. This rocker is not just a place to sit; it is a testament to your technical precision and your artistic soul. Now, go grab a cup of coffee, sit back, and feel that perfect, silent glide.
STUDIO QUESTIONS
Why is my spokeshave "chattering" or bouncing?
Chatter occurs when the blade is dull or the mouth opening is too wide. Sharpen the iron to a mirror finish and tighten the cap iron to provide better support for the cutting edge against the wood fibers.
How do I know which direction to shave?
Look at the side grain of the wood. Shave in the direction that the grain lines appear to be running "down" into the board. This prevents the blade from lifting and tearing the fibers during the cut.
Can I use a spokeshave on plywood?
It is not recommended. Plywood consists of alternating grain directions and abrasive glues that will instantly dull your blade and cause massive splintering. Stick to solid hardwoods for the best results and tool longevity.
What is the difference between a flat and round shave?
A flat-bottom shave is for outside (convex) curves and straight edges. A round-bottom shave is designed for inside (concave) curves, allowing the blade to reach into the hollows without the tool's frame getting in the way.
How often should I sharpen the blade?
In hardwoods like Oak, you should hone your blade every 30 to 45 minutes of active use. If you see "dust" instead of clean shavings, or if the tool requires more force, it is time to hit the stones.

