
The smell of toasted white oak is basically my signature perfume at this point. There is something intoxicating about the way a sharp blade shears through the dense lignin of a hardwood board; it is a mix of raw power and surgical precision that makes my heart race every single time. However, that rush comes with a heavy dose of respect because we are talking about Advanced Table Saw Safety today. This is not just about keeping your fingers; it is about mastering the physics of rotational force and wood tension to ensure every cut is as smooth as glass. When you feel the vibration of a three horsepower motor hum through the cast iron tabletop, you realize you are dancing with a machine that does not forgive. You have to be smarter than the steel. You have to anticipate how the internal stresses of the wood will react the moment the kerf is opened. It is a high stakes game of material science where your focus must be absolute.
THE STUDIO KIT
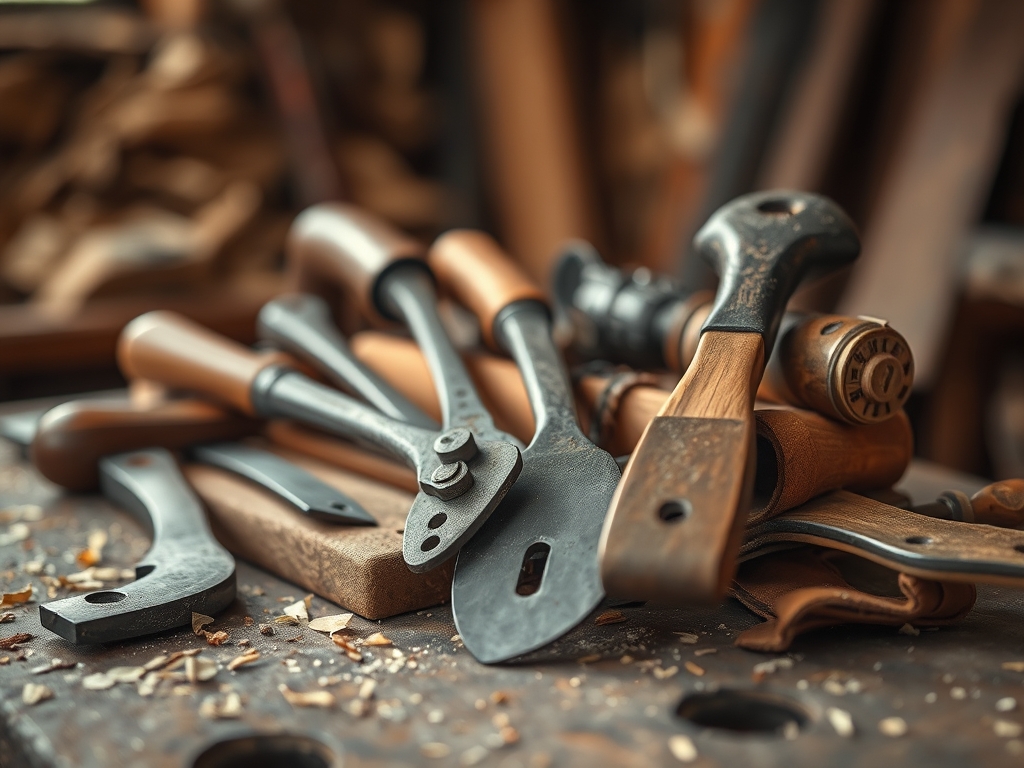
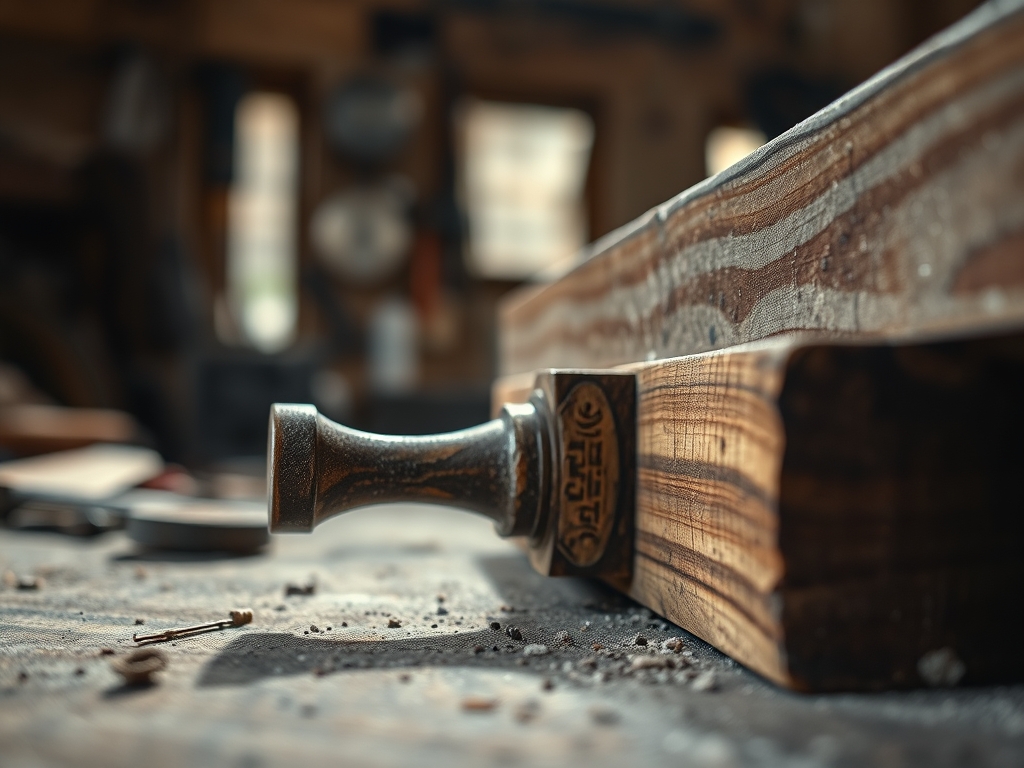
To master this beast, your kit needs to be as refined as your technique. We start with the carbide tipped blade, specifically an 80 tooth ATB (Alternate Top Bevel) for those buttery crosscuts. You will also need a digital protractor to ensure your miter gauge is dead nuts at ninety degrees. For the tactile side of things, I never work without my push blocks featuring high friction rubber soles; these provide the necessary downward and forward pressure to keep the workpiece tight against the fence.
We also use precision calipers to measure the thickness of our stock down to the thousandth of an inch. If you are working with figured maple or oily exotics like teak, the tensile strength and resin content change how the blade heat dissipates. For material substitutions, if you cannot find premium kiln dried hardwoods, you can use high density fiberboard (HDF) or Baltic birch plywood. Just remember that plywood has alternating grain directions in every layer, which means it is more prone to splintering if your zero clearance insert is not perfectly fitted.
THE TEMPO
The "Maker's Rhythm" is all about the cadence of the cut. You cannot rush the physics of friction. I break my studio time into three distinct phases. First is the Calibration Hour, where I check the blade parallelism to the miter slot. This is the "slow is smooth" portion of the day. Next is the Execution Phase, which usually takes two to three hours depending on the complexity of the joinery. This is where the high energy kicks in; you are moving with purpose, keeping a steady feed rate to avoid burning the wood fibers. Finally, we have the Refinement Period. This is an hour of hand work using a bone folder for marking or a jeweler's saw for cleaning up tight corners. The rhythm is a heartbeat: slow prep, steady action, and meticulous finishing.
THE CORE METHOD
1. The Zero Point Calibration
Before the blade even spins, we use a dial indicator to check the alignment of the fence. If the fence is even a fraction of a millimeter closer to the back of the blade than the front, you risk a kickback event. This happens when the wood gets pinched between the fence and the rising teeth of the blade.
Mastery Tip: This involves understanding rotational inertia. By ensuring the fence is slightly "toed out" by about 0.002 inches, you allow the wood to move away from the blade after the cut, reducing friction and heat buildup.
2. Managing Internal Wood Stress
When you rip a board, you are releasing tension that has been trapped in the fibers since the tree was standing. Sometimes the wood will "pinch" shut on the blade or "spring" open. This is why a riving knife is the most important safety feature on your saw.
Mastery Tip: This is a lesson in structural integrity. The riving knife acts as a physical barrier that prevents the kerf from closing, which stops the wood from climbing the back of the blade and being launched at your face.
3. The Controlled Feed Rate
Your hands should move like a metronome. If you push too fast, you lug the motor and create "tear out" on the exit. If you push too slow, the friction creates enough heat to caramelize the sugars in the wood, leaving ugly black burn marks.
Mastery Tip: This is all about thermal dynamics. A consistent feed rate allows the gullets of the saw blade to carry away the waste heat in the form of sawdust, keeping the cutting edge cool and sharp.
THE TECHNICAL LEDGER
Maintenance & Longevity: To keep your saw in peak condition, use a dry PTFE lubricant on the gears and trunnions. Avoid oil based lubes as they attract sawdust and create a "gunk" that will seize your adjustment wheels. Clean your blades regularly with a specialized solvent to remove pitch and resin.
Material Variations:
- Sustainable: Reclaimed barn wood is gorgeous but watch out for hidden nails; use a metal detector.
- Premium: Black Walnut offers incredible dimensional stability and is a joy to cut.
- Recycled: Compressed paper composites are dense and require a high gauge blade to prevent melting.
The Correction:
- The Burn: If you see smoke, your blade is likely dull or your feed rate is too slow. Fix: Clean the blade or increase speed.
- The Snipe: If the end of your cut is deeper than the rest, your support is failing. Fix: Use an outfeed table to keep the board level.
- The Splinter: If the bottom of your plywood is fuzzy, your insert is too wide. Fix: Swap to a zero clearance insert to support the wood fibers at the point of impact.
Studio Organization: Store your blades vertically in a wooden rack to prevent the carbide teeth from chipping against each other. Keep your push sticks in a dedicated holster on the saw so you never have to reach across the blade to find one.
THE FINAL REVEAL
There is nothing quite like the moment you pull a perfectly square, glass smooth piece of wood off the table. When those joints slide together with a satisfying "thunk" and the grain lines up like a masterpiece, you know the effort was worth it. Using the most dangerous tool in the shop does not have to be scary; it just requires you to be the most disciplined version of yourself. You have mastered the physics, respected the material, and created something that will last for generations. Now, go grab a rag and some linseed oil and watch that grain pop.
STUDIO QUESTIONS
How do I prevent kickback on a table saw?
Always use a riving knife to keep the wood kerf open. Ensure your fence is perfectly parallel to the blade and never use the miter gauge and rip fence together without a spacer block to prevent binding.
When should I replace my table saw blade?
Replace or sharpen the blade when you notice increased resistance, visible burn marks on the wood, or chipped carbide teeth. Dull blades require more force, which significantly increases the risk of slips and accidents.
What is a zero clearance insert used for?
It fills the gap between the blade and the throat plate. This provides maximum support to the wood fibers at the cutting edge, which eliminates "tear out" and prevents small offcuts from falling into the saw housing.
Can I cut metal on my table saw?
Only if you use a specialized non-ferrous metal blade and your saw is rated for it. Standard woodworking blades will shatter. Always use heavy lubrication and slower speeds for aluminum or brass to manage heat.
What is the safest way to cut small pieces?
Never use your bare hands near the blade. Utilize a dedicated crosscut sled or a "small parts" jig. These tools secure the workpiece and keep your fingers several inches away from the spinning teeth at all times.

