
The smell of fresh cedar sawdust is basically my morning coffee; it is sharp, resinous, and carries that unmistakable scent of raw potential. When I run my fingers over a fresh slab of black walnut, I am not just feeling wood; I am calculating the tensile strength and the way the grain direction will dictate every single cut of my saw. But here is the thing that separates the hobbyists from the masters: you cannot just vibe your way through a project if you want to stay in business. Mastering Professional Shop Accounting is the secret sauce that keeps my studio lights on and my creative heart beating. If you do not track every drop of finish and every minute spent sanding, you are not running a shop; you are just having an expensive hobby. I treat my time like a high-end material, measuring it with the same precision I use when checking a joint with my digital calipers. Every second of labor has a cost, just like every square inch of leather or every ounce of epoxy resin.
THE STUDIO KIT (H2)
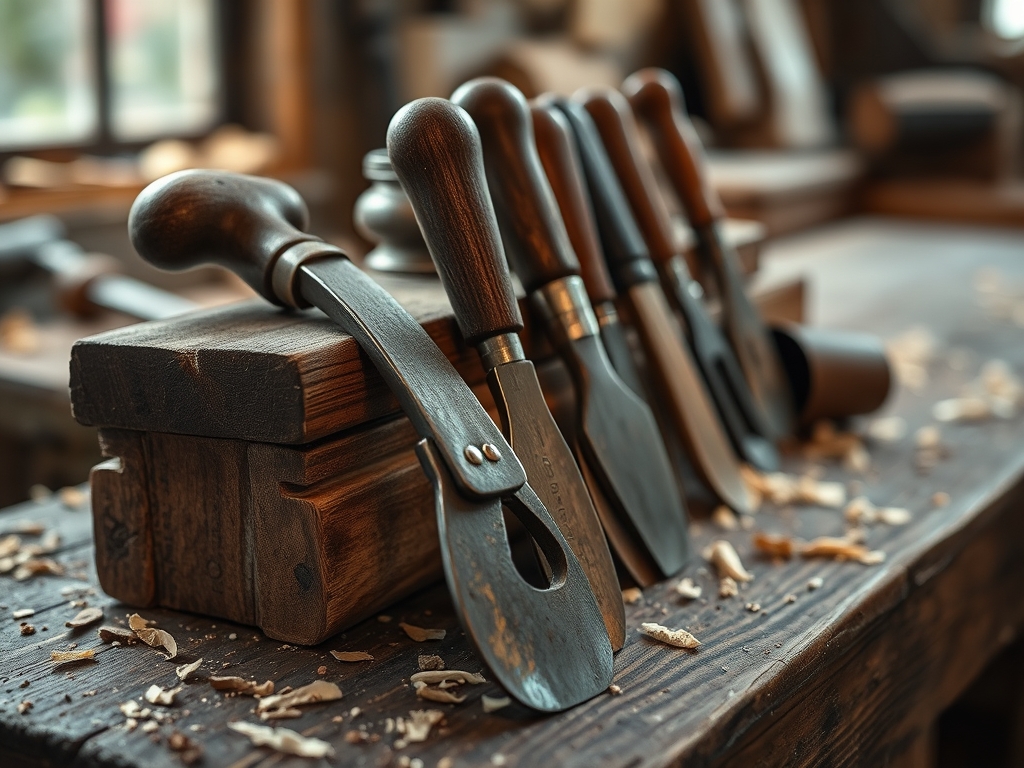
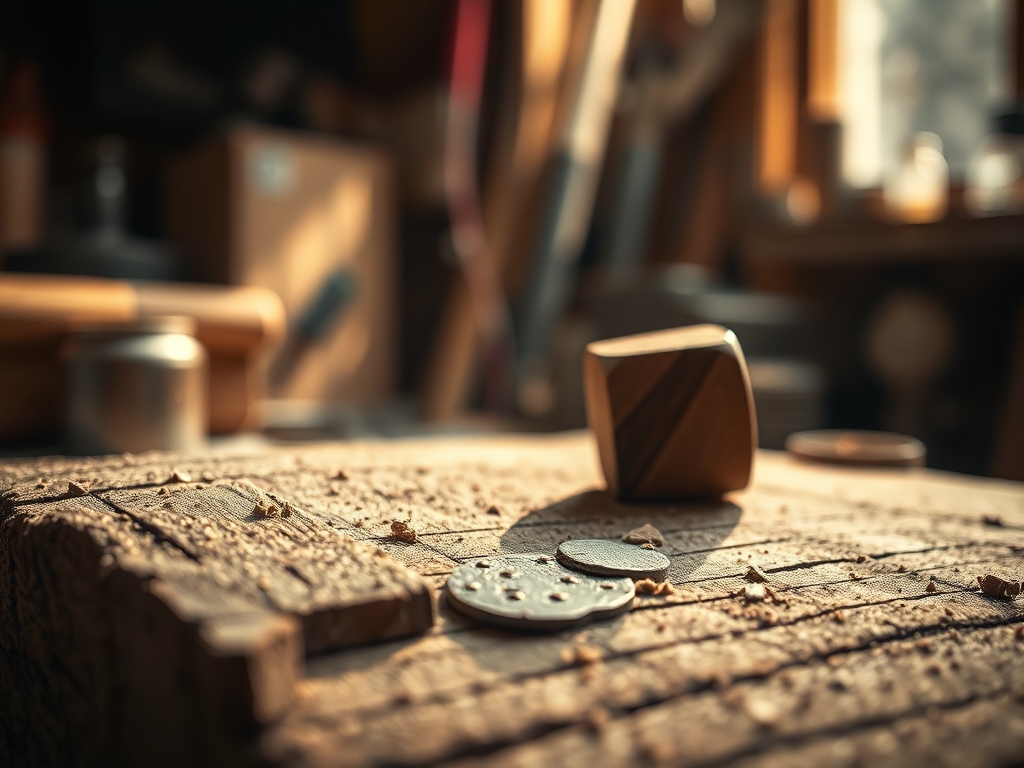
To get this right, you need a kit that balances raw tactile feedback with surgical precision. My workbench is currently a playground of high-performance tools. First up is the **bone folder**, which I use to create crisp, permanent creases in heavy-gauge paper or leather; it relies on the physical compression of fibers rather than just folding them. Next, we have the **rotary cutter**, featuring a tungsten carbide blade that slices through textiles with zero drag. I also keep a set of **precision awls** for marking pilot holes in hardwoods, ensuring that the **structural integrity** of the wood grain remains uncompromised during fastener insertion.
For materials, we are looking at high-density birch plywood for its incredible stability and vegetable-tanned leather for its ability to hold a burnish. Material Substitutions are always an option if you understand the physics. If you cannot find birch, look for a multi-ply marine grade; the key is the number of layers, as more plies equate to higher torsional rigidity. If premium leather is out of budget, a high-weight waxed canvas offers similar tensile durability while providing a distinct, rugged aesthetic that handles moisture better than untreated hide.
THE TEMPO (H2)
The "Maker's Rhythm" is a real physiological state where your brain waves actually sync with the repetitive motions of your tools. I break my studio time into three distinct phases to keep my Professional Shop Accounting accurate. Phase one is the Milling and Prep, which usually takes about twenty percent of the total project time. This is where I am fighting the natural internal stresses of the material. Phase two is the Assembly, the meat of the project, taking up fifty percent of the clock. This is the high-stakes dance of glue-ups and joinery. Finally, phase three is Finishing, taking the remaining thirty percent. You might think sanding is fast, but achieving a mirror-smooth tactile surface requires a methodical progression through grit densities that cannot be rushed.
THE CORE METHOD (H2)
1. The Dimensional Audit
Before I make a single mark, I use my steel rule to verify the dimensions of my raw stock. Wood can expand or contract based on the relative humidity of the shop, so I always account for a "seasonal margin." By measuring the moisture content with a pinless meter, I can predict how much the material will move once it is in a client's home.
Mastery Tip: Always cut with the grain, never against it. Cutting against the grain causes "tear-out" because you are essentially lifting and snapping the fibers rather than shearing them cleanly.
2. Precise Layout and Scribing
I don't use pencils for high-precision work; I use a marking knife. A knife line actually severs the surface fibers, providing a physical "track" for your saw or chisel to follow. This prevents the tool from wandering and ensures your joints are tight enough to rely on capillary action when you apply wood glue.
Mastery Tip: The "Capillary Effect" is what pulls glue deep into the pores of the wood. If your joint is too loose, the glue won't bridge the gap effectively; if it is too tight, you will starve the joint of adhesive.
3. The Controlled Assembly
During the glue-up, I use parallel jaw clamps to apply even pressure across the entire surface. This prevents the piece from bowing under the load. I always keep a damp microfiber cloth nearby to manage "squeeze-out" before it cures, as dried glue will block the absorption of oils or stains later on.
Mastery Tip: Over-clamping can actually weaken a project by forcing all the adhesive out. You want "beads," not "rivers," of glue to appear under pressure to maintain the bond strength.
4. Progressive Refinement
Sanding is a game of physics. I start with 80-grit to level the surface and move up to 220-grit for a professional feel. Each step removes the scratches left by the previous, coarser grit. I use an oscillating tool for the corners, ensuring that I don't create "swirl marks" by keeping the pad moving at all times.
Mastery Tip: Use a "tack cloth" between every single grit change. Even one stray grain of 80-grit sand trapped under a 220-grit pad will leave deep, visible gouges in your finish.
THE TECHNICAL LEDGER (H2)
Maintenance is not just about cleaning; it is about preserving the molecular stability of your work. For longevity, I recommend a yearly application of a high-quality beeswax and mineral oil blend. This creates a hydrophobic barrier that prevents moisture from penetrating the porous surface of the wood or leather.
When it comes to Material Variations, I love experimenting with recycled HDPE plastics for accents. They offer incredible impact resistance and add a modern, sustainable pop to traditional wood projects. However, remember that plastics have a different coefficient of thermal expansion than wood, so you must allow for movement in your mechanical fasteners.
The Correction: Three Common Pitfalls
- The Glue Ghost: If you see spots that won't take stain, you missed some dried glue. Fix it by lightly scraping the area with a cabinet scraper rather than sanding, which can heat the glue and smear it deeper.
- The Dull Blade: If your wood is burning, your blade is dull or dirty. Clean it with a specialized pitch remover to restore the cutting geometry of the teeth.
- The Grain Pop: If your finish looks "muddy," you didn't sand through the grits properly. You must sand until the previous scratches are completely gone to ensure light reflects evenly off the surface.
To prevent degradation, store your finished projects in a climate-controlled environment away from direct UV light. Sunlight can break down the chemical bonds in finishes and cause "photodegradation," which fades colors and makes protective topcoats brittle.
THE FINAL REVEAL (H2)
There is nothing quite like the moment you pull the clamps off a finished piece and see your vision standing there in three dimensions. The weight feels substantial; the surfaces are tactile and inviting; and every joint is a testament to your precision. Because you tracked your Professional Shop Accounting, you know exactly what this piece cost you in sweat and silver. You aren't just a maker; you are a master of your domain, and that confidence shines through in the quality of your work. Go ahead, run your hand over that burnished edge. You earned that smooth finish!
STUDIO QUESTIONS (H2)
How do I calculate the total cost of materials?
Sum the purchase price of all raw goods, then add a 10% "waste factor" for offcuts. Include consumables like sandpaper, glue, and finishing oils by estimating their per-project usage based on volume or surface area.
What is the best way to track shop labor?
Use a dedicated digital timer or a simple logbook. Record every minute from the initial design phase to the final packaging. Consistent tracking reveals your true hourly rate and helps identify "time-sink" tasks that need efficiency improvements.
Why is grain direction important for structural integrity?
Wood is strongest along the grain. Aligning the grain with the primary load-bearing direction prevents snapping and warping. Ignoring grain direction leads to "short grain" failures, where the wood splits easily under minimal mechanical stress.
How do I prevent my tools from rusting in the shop?
Maintain a low-humidity environment and apply a thin coat of paste wax or specialized machine oil to all cast-iron surfaces. This creates an airtight seal that prevents oxygen and moisture from initiating the oxidation process on steel.

