
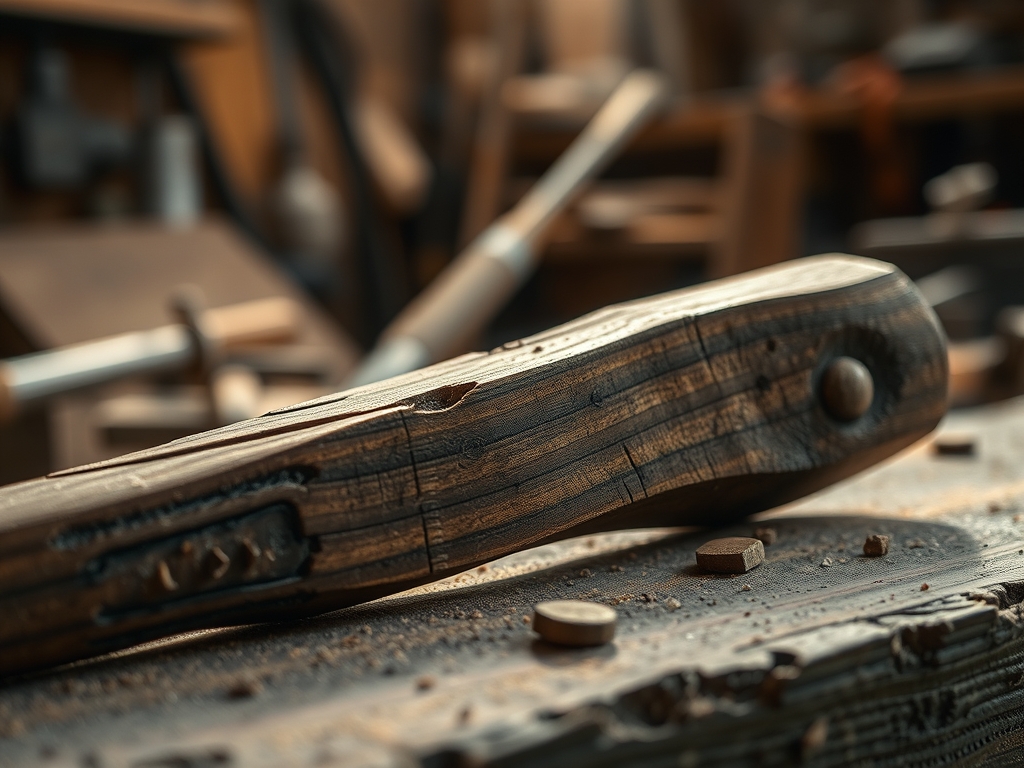
Imagine walking into a workshop where the air smells like spicy cinnamon and ancient earth; that is the immediate sensory payoff when you start exploring Advanced Wood Species Knowledge. It is not just about picking a pretty board at the local lumber yard. It is about understanding that a piece of Lignum Vitae is so dense it will literally sink in water, while a slab of African Blackwood carries a tensile strength that rivals some industrial metals. When I first ran my palms over a rough-cut plank of Ziricote, the tactile feedback was electric. You can feel the landscape of the grain, which is often so irregular and locked that it defies standard planing techniques. Mastering these exotic hardwoods requires more than just a sharp blade; it demands a deep respect for the cellular structure and the silica content that can dull a premium carbide bit in minutes. We are diving into a world where the material dictates the rules, and honestly, that is where the real magic happens for any serious maker.
THE STUDIO KIT
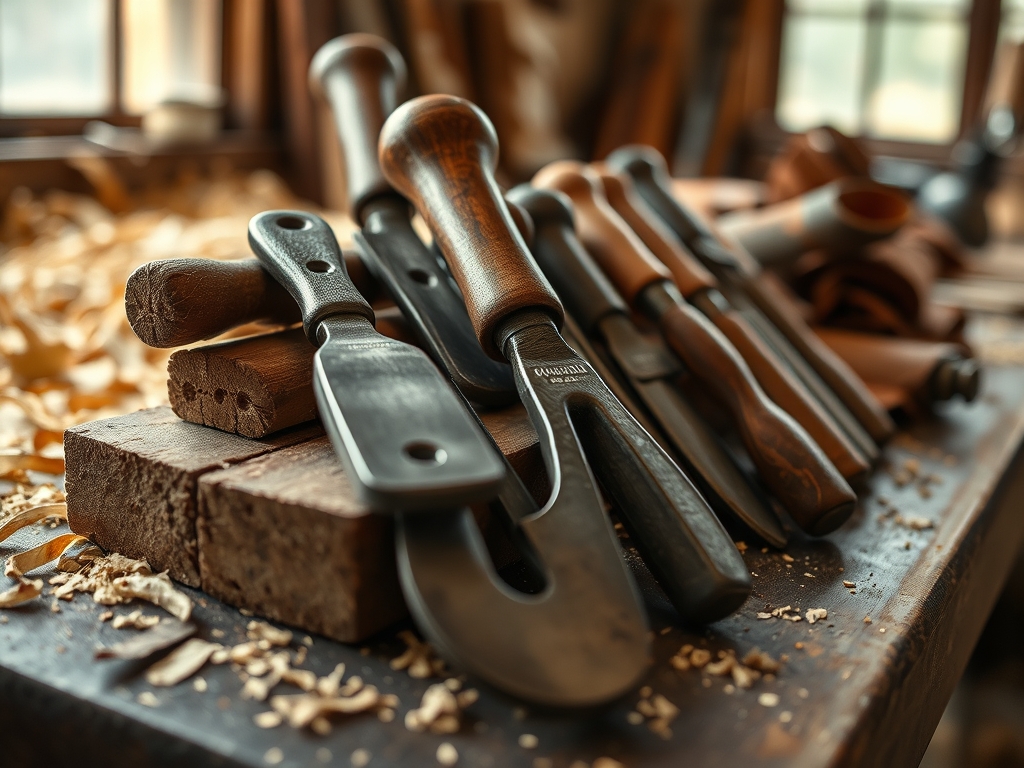
To handle the temperamental nature of exotics, your standard DIY kit needs a serious upgrade. You cannot approach a piece of Snakewood with a blunt chisel and hope for the best. My studio setup revolves around precision. I rely heavily on digital calipers to measure thickness down to the micron, as many of these woods expand and contract at different rates than domestic oak or pine. For shaping, a high-speed oscillating tool is essential for managing the high oil content found in species like Teak or Cocobolo, which can gum up traditional hand saws. I also keep a set of diamond-honed scrapers nearby; they are much more effective at taming interlocked grain than sandpaper, which often just creates a muddy slurry of dust and natural resins.
If you cannot source a specific premium exotic, consider Material Substitutions like thermally modified Ash or "Roasted" Maple. These undergo a process called torrefaction, which alters the hemicellulose content to mimic the stability and darkened hue of tropical species without the hefty price tag or environmental footprint. Regardless of the wood, you must have a moisture meter on hand. Working with wood that has not reached its equilibrium moisture content is a recipe for catastrophic warping once the piece moves into a climate-controlled home.
THE TEMPO
The "Maker's Rhythm" is less about a stopwatch and more about the hygroscopic behavior of the wood. You cannot rush the acclimation phase. When a new shipment of Macassar Ebony arrives, it sits in my studio for at least two weeks to stabilize. The actual crafting phase is a slow burn. Expect to spend 20 percent of your time on the initial breakout and a staggering 80 percent on surface preparation and finishing.
Exotics require a "rest and reassess" schedule. Because these woods are often brittle due to their high mineral content, I work in short, intense bursts of ninety minutes. This prevents tool overheating and user fatigue, both of which lead to "tear-out," a devastating mechanical failure where the wood fibers lift and snap rather than shearing cleanly. The tempo is a heartbeat: fast preparation, slow execution, and a rhythmic, meditative sanding process that brings out the chatoyancy or the "cat-eye" shimmer inherent in the grain.
THE CORE METHOD
1. Grain Orientation and Mapping
Before the first cut, I use a bright LED light to map the tracheid cells and identify the direction of the growth rings. This is vital for species like Zebrawood, where the dark stripes are significantly harder than the light ones. Mapping allows you to plan your cuts to minimize internal stress.
Mastery Tip: Always cut with the grain "downhill." This utilizes the wood's natural structural integrity to prevent the fibers from splintering. If the grain looks like it is diving into the board, flip the piece or change your tool direction to maintain a smooth shear.
2. The Precision Breakout
Using a jeweler's saw or a fine-tooth Japanese pull saw, I begin the rough shaping. Because exotic woods are often incredibly expensive, I leave a "margin of error" of only two millimeters. This requires absolute confidence in your layout lines, which I mark using a hardened steel awl for a permanent, physical groove.
Mastery Tip: High-density woods have low capillary action, meaning they do not absorb heat well. To prevent burning the wood, use a lower RPM on power tools and keep the blade moving constantly to dissipate thermal energy.
3. Surface Refinement and Burnishing
Once the shape is established, I move to card scrapers. Unlike sandpaper, which hides the beauty of the wood under a layer of dust, a scraper shears off microscopic curls, leaving the pores open and vibrant. For the final touch, I use a smooth piece of bone or a polished stone to burnish the surface.
Mastery Tip: Burnishing works by compressing the surface fibers, increasing the surface tension and density of the outermost layer. This creates a natural luster that requires significantly less chemical finish to achieve a mirror-like glow.
THE TECHNICAL LEDGER
Maintenance & Longevity: Exotic hardwoods are naturally durable, but they are sensitive to UV light. Over time, the vibrant purples of Purpleheart will shift to a deep brown due to photochemical oxidation. To slow this, use a finish with UV inhibitors and keep the piece out of direct sunlight.
Material Variations:
- Sustainable: Look for FSC-certified woods like Jatoba or Ipe.
- Recycled: Reclaimed Teak from old shipping vessels offers incredible stability.
- Premium: Gaboon Ebony remains the gold standard for density and "black-hole" color depth.
The Correction:
- The Mistake: Scorching the wood with a dull bit. The Fix: Use a scrap piece of the same wood and a mixture of fine dust and resin to "plug" the burn, then re-sand with a fresh abrasive.
- The Mistake: Glue failure due to natural oils. The Fix: Wipe the joinery surfaces with acetone immediately before applying an epoxy-based adhesive to strip the surface oils.
- The Mistake: End-grain checking (cracking). The Fix: Apply a thin layer of cyanoacrylate (CA) glue to the cracks to stabilize the ply and prevent further separation.
Studio Organization: Store your exotic blanks horizontally in a dark, cool space. Avoid stacking them directly on concrete floors, as the temperature differential can cause moisture to pull through the wood via osmosis, leading to a permanent cup or bow in the board.
THE FINAL REVEAL
There is nothing quite like the moment you apply the first coat of oil to a finished piece of Bocote. The yellow and black swirls suddenly pop with a three-dimensional depth that feels almost liquid. It is a high-energy transformation! When the light hits those ergonomic curves you spent hours refining, the wood seems to glow from within. The finished piece is heavy, cool to the touch, and carries a resonance that domestic woods simply cannot match. You have taken a raw, stubborn piece of the earth and, through a technical understanding of its physics, turned it into a legacy object.
STUDIO QUESTIONS
Why do exotic woods dull my tools so fast?
Many tropical species contain high levels of silica, which is essentially microscopic glass embedded in the wood fibers. This abrasive mineral content creates rapid friction heat that wears down even high-carbon steel edges much faster than standard hardwoods.
How do I stop my wood from changing color?
While you cannot stop oxidation entirely, using a finish with UV blockers helps. Species like Padauk or Purpleheart are highly reactive to light; keeping them in low-light environments is the best way to preserve their original, vibrant "neon" hues.
Can I use standard wood glue on Teak?
Standard PVA glue often fails on oily exotics because the oils prevent the glue from penetrating the pores. For a permanent bond, degrease the joint with a solvent like denatured alcohol or use a high-strength marine-grade epoxy.
What is the best way to sand oily woods?
Avoid high-grit sandpaper early on, as it will clog instantly. Use a cabinet scraper to remove the bulk of the material, then switch to "open coat" sandpaper which is designed to shed dust and resin more efficiently than closed-coat varieties.

