
Close your eyes and listen to that sound. It is not the screech of a power saw or the dull thud of a hammer; it is the crisp, rhythmic whisper of steel meeting wood. That sound is the anthem of a perfect joint. When you are standing at your workbench, the scent of cedar or white oak rising in the air, you realize that the difference between a wobbly chair and an heirloom is measured in microns. We are diving deep into the art of the joinery today because getting those joints to seat perfectly is a physical conversation between your hands and the grain. Mastering the Shoulder Plane is the absolute secret weapon for transforming a "good enough" tenon into a masterpiece of engineering. It is about more than just shaving wood; it is about managing the tensile strength of the fibers and ensuring that the load-bearing surfaces are perfectly perpendicular. When that shoulder finally snaps into place against the mortise face with a satisfying "pop," you will feel that rush of adrenaline that only a maker truly understands.
THE STUDIO KIT
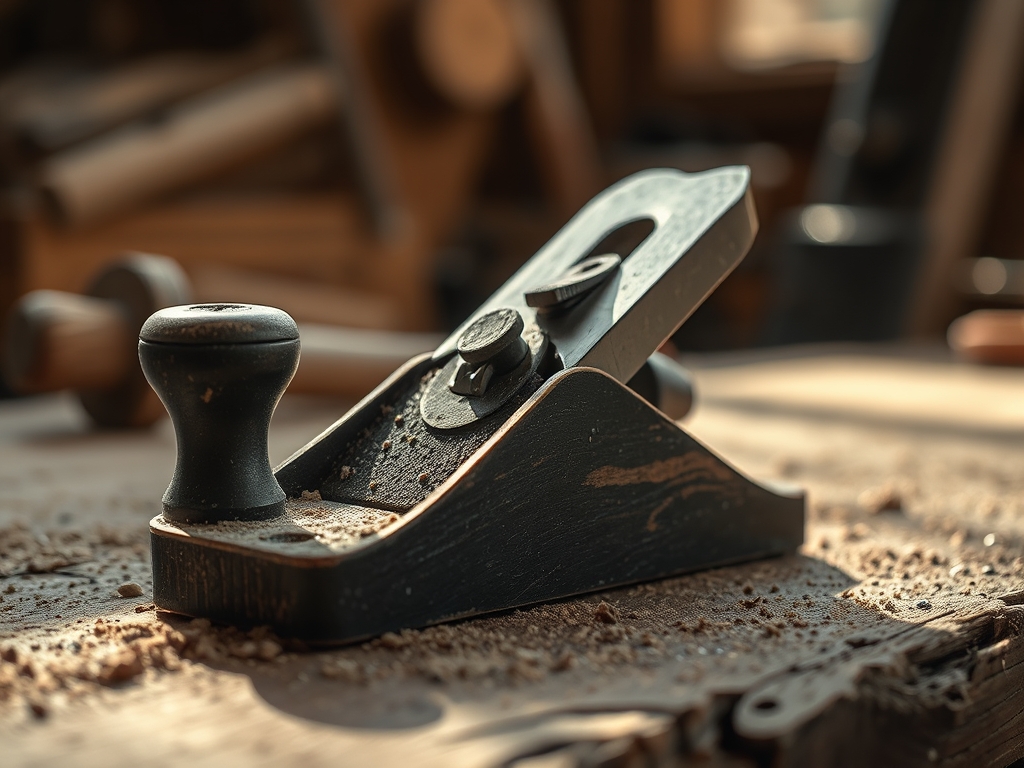
To achieve this level of precision, your toolkit needs to be as sharp as your wit. The star of the show is a medium-sized shoulder plane, preferably made of ductile iron with a high-carbon steel blade. Unlike a standard bench plane, the blade on a shoulder plane is exactly as wide as the body, allowing you to cut right into the corner of a joint. You will also need a pair of digital calipers to measure the thickness of your tenon cheeks to the nearest thousandth of an inch. A marking gauge with a circular cutter is essential for slicing through the wood fibers rather than tearing them. For the material, we are working with kiln-dried hardwood like cherry or walnut because their tight cellular structure holds a crisp edge.
Material Substitutions: If you are practicing and do not want to use premium hardwoods, reach for high-density plywood or even poplar. While poplar is softer and more porous, it provides excellent feedback for learning how to control your pressure. Avoid construction-grade pine for this specific exercise; the wide latewood bands and resin pockets will cause the plane to skip, ruining your accuracy.
THE TEMPO
Precision work cannot be rushed. The Maker's Rhythm is a three-phase process that respects the physical properties of the wood. Phase one is the Preparation Phase, taking about thirty minutes to calibrate your tools and layout your lines. Phase two is the Subtractive Phase, which is the actual planing and fitting. This takes roughly fifteen to twenty minutes per tenon. The final phase is the Assembly Phase, where you check for squareness and apply adhesive. Total time per joint is usually forty-five minutes. Remember that wood is hygroscopic, meaning it absorbs moisture from the air. If you layout your joints on a humid Monday and cut them on a dry Friday, the dimensional stability will have shifted. Work in a consistent environment to keep your tolerances tight.
THE CORE METHOD
1. Scribing the Boundary
Use your marking gauge to define the exact depth of the shoulder. You are not just drawing a line; you are pre-cutting the lignin bonds of the surface fibers. This prevents the wood from splintering when the plane blade exits the cut.
Mastery Tip: This technique utilizes mechanical shearing. By severing the fibers ahead of time, you create a physical "stop" for the plane blade, ensuring the shoulder remains perfectly flush with the mortise face.
2. Setting the Blade Projection
Adjust your shoulder plane so the blade is protruding just a hair's breadth. You want to take shavings that are translucent. If the shaving looks like cardboard, you are taking too much. The blade must be perfectly lateral, meaning it is parallel to the sole of the plane.
Mastery Tip: This relies on low-angle geometry. Most shoulder planes have a blade bedded at twelve degrees, which allows the tool to slice through end-grain fibers without crushing them, maintaining the structural integrity of the joint.
3. The Cross-Grain Pass
Hold the plane with a firm, ergonomic grip, placing your index finger in the hollow of the casting for stability. Move the plane across the shoulder, working from the outside toward the center. This prevents "spelching," which is when the wood breaks off at the far edge.
Mastery Tip: This step manages shear stress. By working toward the center, you are using the bulk of the wood as a backup, preventing the brittle fracture of the edge fibers.
4. Refining the Cheeks
If the tenon is too thick to enter the mortise, use the shoulder plane to take a full-length shaving off the cheek. Keep your pressure even to avoid creating a tapered or "dubbed" edge. Check your progress constantly with your calipers.
Mastery Tip: We are aiming for a friction fit. The goal is to leave enough space for a thin layer of glue to undergo capillary action, pulling the adhesive into the wood pores for a permanent chemical bond.
THE TECHNICAL LEDGER
Maintenance & Longevity: Your shoulder plane is a precision instrument. After every session, wipe the sole with a light coat of camellia oil to prevent oxidation. Check the blade for nicks using a jeweler's loupe. A dull blade will compress fibers rather than cutting them, leading to a loose, "mushy" fit.
Material Variations:
- Sustainable: Reclaimed white oak offers incredible tensile strength but can be hard on blades.
- Premium: African Mahogany provides a beautiful chatoyancy but has interlocked grain that requires a very sharp tool.
- Recycled: Old floor joists often contain dense, old-growth timber that is incredibly stable for joinery.
The Correction:
- Over-planed Tenon: If the joint is too loose, do not throw it away. Glue a thin veneer of the same species onto the cheek and re-plane it to size.
- Out of Square: If the shoulder is slanted, use a try square to find the high spot and apply localized pressure with the plane to level it.
- Tear-out: This happens if you plane against the grain. Reverse your direction or increase the blade sharpness to slice through the cellular walls cleanly.
Studio Organization: Store your finished joints in a climate-controlled area. If you leave them on a concrete floor, the hydrostatic pressure changes will cause the wood to warp. Use a dedicated rack to keep the pieces organized by their matching pairs.
THE FINAL REVEAL
There is nothing quite like the moment of truth. You slide the tenon into the mortise, and it moves with a smooth, hydraulic resistance. It does not wobble; it does not fall out when you turn it upside down. It is a perfect marriage of physics and craft. When you look at the shoulder, there is no gap, just a single, seamless line where two pieces of wood become one. This level of precision is what separates a hobbyist from a master. By Mastering the Shoulder Plane, you have elevated your work from a simple assembly to a feat of engineering that will last for generations.
STUDIO QUESTIONS
How do I know if my shoulder plane is sharp enough?
If the plane cannot take a shaving off the end grain of a piece of cherry without leaving white, crushed marks, it is dull. A sharp blade will leave a burnished, shiny surface that feels like glass.
What is the ideal clearance for a mortise and tenon joint?
You are looking for a clearance of approximately 0.002 inches. This allows for the viscosity of the wood glue to spread evenly without being squeezed out entirely, creating a superior mechanical and chemical bond.
Can I use a block plane instead of a shoulder plane?
A block plane's blade is not flush with its sides, so it cannot reach into the corner of the shoulder. You would end up with a rounded "fillet" at the corner, preventing the joint from seating flush.
Why is my tenon shoulder splintering at the edges?
This is likely caused by not pre-scribing your lines with a marking gauge. Without that initial cut to break the surface fibers, the plane blade lifts and tears the wood as it exits the stroke.

