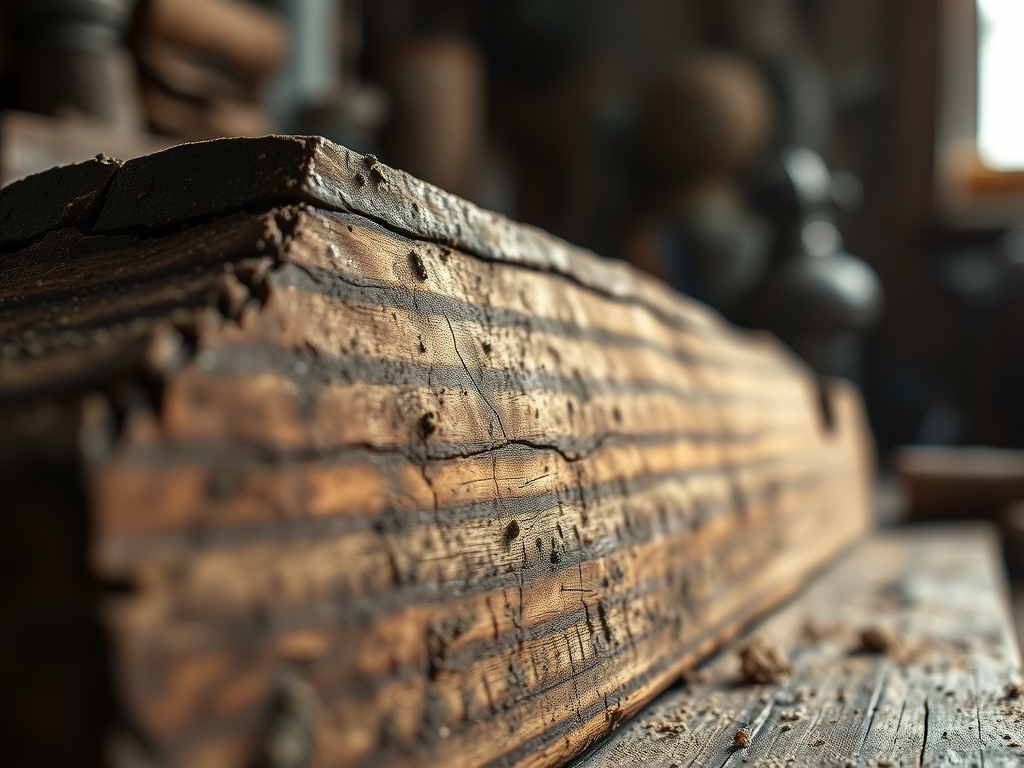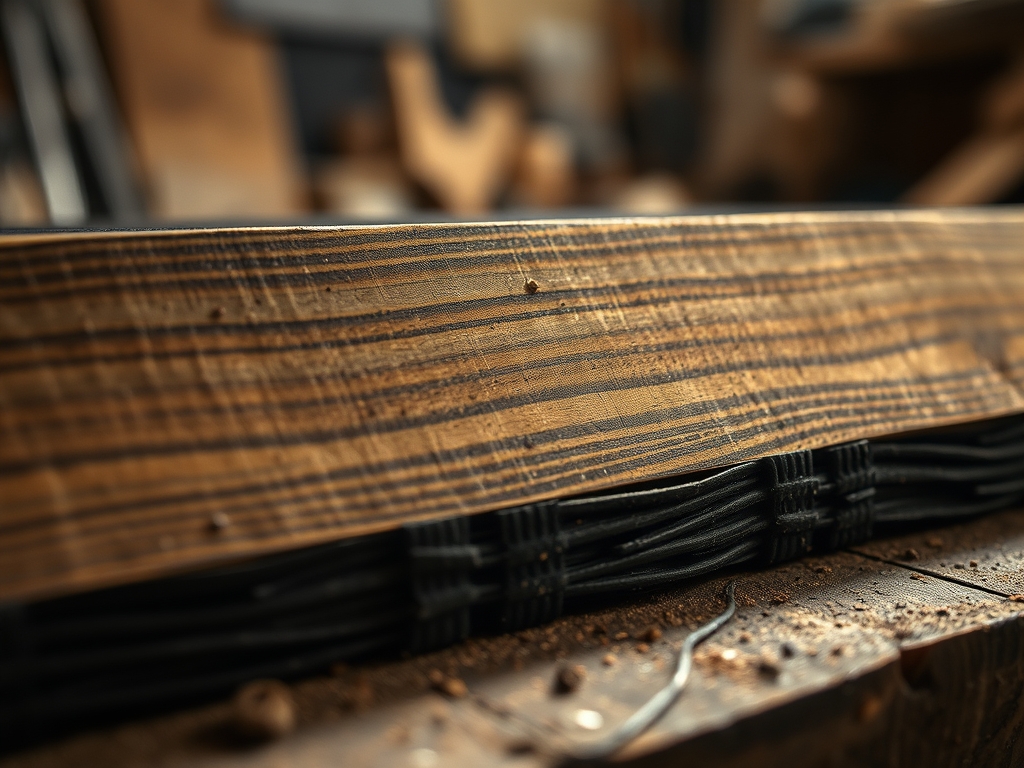
Imagine the smell of raw walnut and the velvet texture of a sheet so thin it feels like heavy paper. You are holding a slice of a tree that wants to snap the moment you force it into a radius. This is the ultimate test of patience and physics. To master this, we use Vacuum Press Veneering to marry rigid wood to elegant, fluid curves without a single mechanical fastener.
The magic happens when atmospheric pressure becomes your best friend. We are talking about fourteen pounds per square inch of invisible force crushing your veneer onto a substrate until they become a singular, structural unit. It is not just about glue; it is about managing the internal stresses of cellulose fibers. When you master the vacuum bag, you stop fighting the wood and start whispering to it. You are literally using the weight of the air to defy the natural rigidity of the grain. It is high stakes, high energy, and honestly, it feels like a superpower once that pump kicks on and the bag tightens.
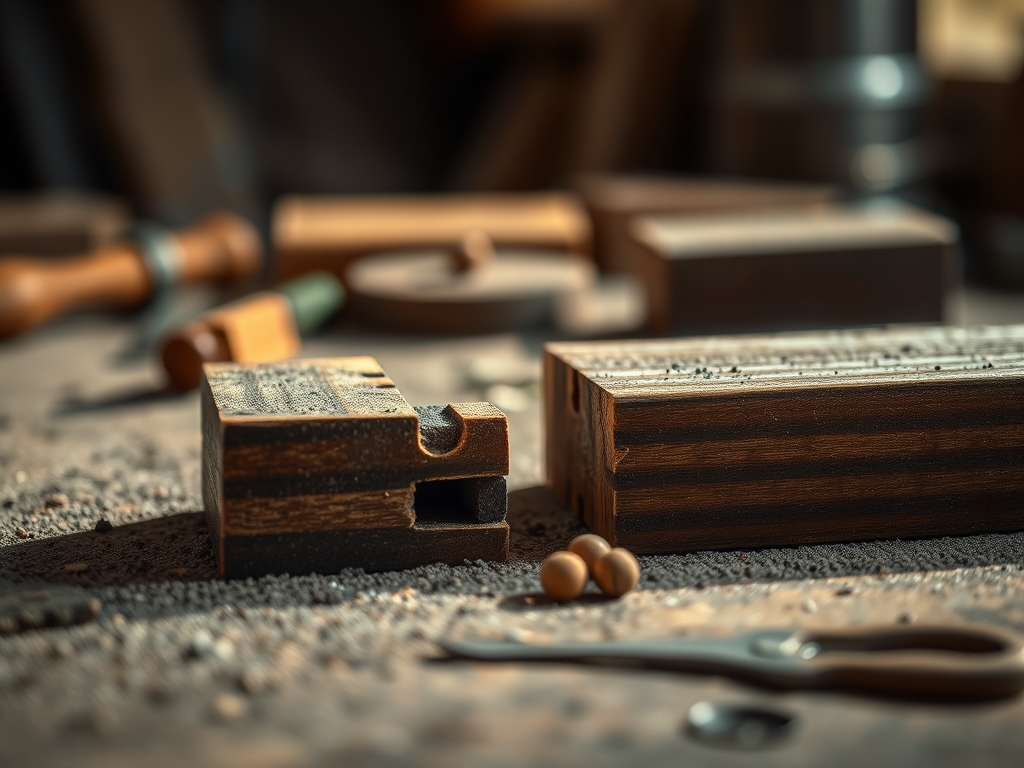
THE STUDIO KIT

To execute this, your workbench needs to look like a hybrid of a woodshop and a laboratory. First, you need your veneer sheets, typically sliced to a thickness of 1/42 of an inch. At this gauge, the wood is incredibly porous and fragile. You will need a rotary cutter and a straight edge for precision slicing; never use a standard utility knife because it tends to follow the grain and wander.
The heart of the operation is the vacuum pump and polyurethane bag. Unlike vinyl, polyurethane has a high elasticity and memory, meaning it will stretch over deep curves without tearing. You will also need a veneer tape, which is a water-activated paper tape used to join pieces. For the adhesive, skip the yellow school glue. You need a urea-formaldehyde resin or a specialized cold-press veneer glue. These adhesives dry incredibly hard, providing the structural integrity needed to prevent the wood from creeping or shifting over time.
Material Substitutions: If you cannot source premium hardwoods, high-quality birch aircraft plywood works as a fantastic substrate. If a vacuum bag is out of reach, you can use a "sand sandbag" method for small radii, though it lacks the uniform tensile distribution of a true vacuum. Always keep a bone folder nearby to burnish the edges of your tape; it is a low-tech tool that ensures high-tech results.
THE TEMPO
The "Maker's Rhythm" in veneering is all about the "Open Time" versus the "Cure Time." You cannot rush the prep, but once the glue is spread, you are on a ticking clock.
- The Prep Phase (2-3 Hours): This involves cutting the veneer, book-matching the grain patterns, and taping seams. This is slow, meditative work where you use your calipers to ensure every piece is uniform.
- The Glue Up (15 Minutes): This is the high-intensity sprint. You must spread the adhesive evenly across the substrate using a foam roller. If you take too long, the glue begins to skin over, ruining the capillary action required for a deep bond.
- The Press (4-6 Hours): Once the piece is in the bag and the vacuum is pulled, the physics takes over. You are waiting for the chemical cross-linking of the adhesive.
- The Curing (24 Hours): Even after the piece is out of the bag, the moisture levels need to stabilize. Removing it too early from the studio environment can cause the wood to "cup" or warp as it reaches equilibrium with the room's humidity.
THE CORE METHOD
1. Preparing the Substrate and Veneer
Observe the alignment in the step-by-step photos below. You must scuff the surface of your curved substrate (usually MDF or bent plywood) with 80-grit sandpaper. This creates "teeth" for the glue to grab onto. Use your jeweler's saw for any intricate inlay cuts on the veneer itself.
Mastery Tip: Wood is hygroscopic, meaning it absorbs moisture from the air. Before you glue, ensure your veneer and substrate have been in the same room for at least 48 hours. This prevents "expansion shock" where the veneer grows in size after being glued, leading to bubbles or ripples.
2. Applying the Adhesive
Use a notched spreader or a firm foam roller to apply a thin, even coat of glue. You want enough to see, but not so much that it oozes out of the seams. If you see "puddles," you have used too much.
Mastery Tip: This is all about surface tension. A uniform film of glue ensures that when the vacuum pressure is applied, the air is pushed out from the center to the edges. Excess glue creates hydraulic pockets that can actually crack thin veneer under pressure.
3. Creating the Sandwich
Place your veneer onto the substrate, then cover it with a "breather mesh" or a piece of thin carpet padding. This allows the vacuum pump to suck air out from the entire surface area of the bag, rather than getting "choked" at the valve.
Mastery Tip: Use a veneer hammer or a bone folder to lightly press the center of the veneer before sliding it into the bag. This mechanical "tack" prevents the veneer from sliding out of alignment as the bag begins to collapse under atmospheric pressure.
4. Pulling the Vacuum
Slide the assembly into the polyurethane bag and seal the closure. Turn on the pump and watch the gauge. You are looking for a minimum of 20 inches of mercury (Hg). As the bag tightens, use your hands to smooth out any wrinkles in the plastic over the curved edges.
Mastery Tip: The science here is isostatic pressure. Unlike a mechanical clamp which only applies force in one direction, the vacuum bag applies equal pressure from every single angle simultaneously. This is the only way to ensure the veneer stays perfectly flat against a complex, multi-axis curve.
THE TECHNICAL LEDGER
Maintenance & Longevity: To keep your vacuum bag in top shape, never put sharp corners inside without "softening" them with blue painter's tape. Wipe the interior of the bag with a damp cloth after every use to remove dried glue bits that could puncture the seal.
Material Variations:
- Sustainable: Use reconstituted veneers made from fast-growing poplar that is dyed to look like exotic ebony.
- Premium: Raw burls offer incredible visual density but require a "softening" solution (glycerin and water) to make them pliable enough for curves.
The Correction:
- The Bubble: If a small section fails to bond, use a fine awl to prick a tiny hole, inject glue with a syringe, and re-press with a hot iron.
- The Seam Gap: If your pieces shrink and leave a gap, mix fine wood dust with a bit of resin to create a matching filler.
- The Bleed-Through: If glue seeps through the pores, do not sand it while wet. Wait until it is brittle, then use a sharp scraper to flick it off.
Studio Organization: Store your veneer sheets flat, weighted down by a piece of plywood, in a climate-controlled area. If they get too dry, they become brittle; if too damp, they grow mold. Use a hygrometer to keep your studio at a steady 45 percent humidity.
THE FINAL REVEAL
When you finally peel back that polyurethane bag, the transformation is breathtaking. That flat, fragile sheet of wood is now a permanent skin on a graceful curve. The grain wraps around the edges like it grew that way. When you run your hand over the surface, it feels solid, cold, and perfectly smooth. There is no bounce or hollow sound because the vacuum press has eliminated every microscopic pocket of air. You have taken the raw physics of the atmosphere and turned it into a piece of high-end furniture. It is sleek, it is professional, and it is a total "mic drop" moment for any maker.
STUDIO QUESTIONS
What is the best glue for vacuum veneering?
Urea-formaldehyde or specialized cold-press veneer glues are best. They dry to a rigid, glass-like state which prevents "veneer creep." Standard PVA glues stay slightly elastic, which can lead to seam separation on tight curves over time as the wood moves.
How do I prevent the veneer from cracking on tight curves?
Apply a veneer softening solution containing glycerin and water. This lubricates the internal wood fibers, increasing the material's tensile flexibility. Allow the veneer to become "leathery" before pressing it into the vacuum bag to ensure it conforms without snapping.
Can I veneer over a 3D printed surface?
Yes, provided the surface is sanded and sealed. Use an epoxy-based adhesive instead of water-based glue to ensure a chemical bond with the plastic. The vacuum bag will easily mold the wood to the geometric complexities of a 3D print.
How long should I leave the piece in the vacuum bag?
Most resins require four to six hours under constant pressure. However, you should leave the piece to "breathe" for another twenty-four hours before sanding. This allows the moisture introduced by the glue to evaporate evenly, preventing post-press warping.